My apprentice Morgan has been working hard. She’s only been here a week and we’re already well into two pairs of boots!

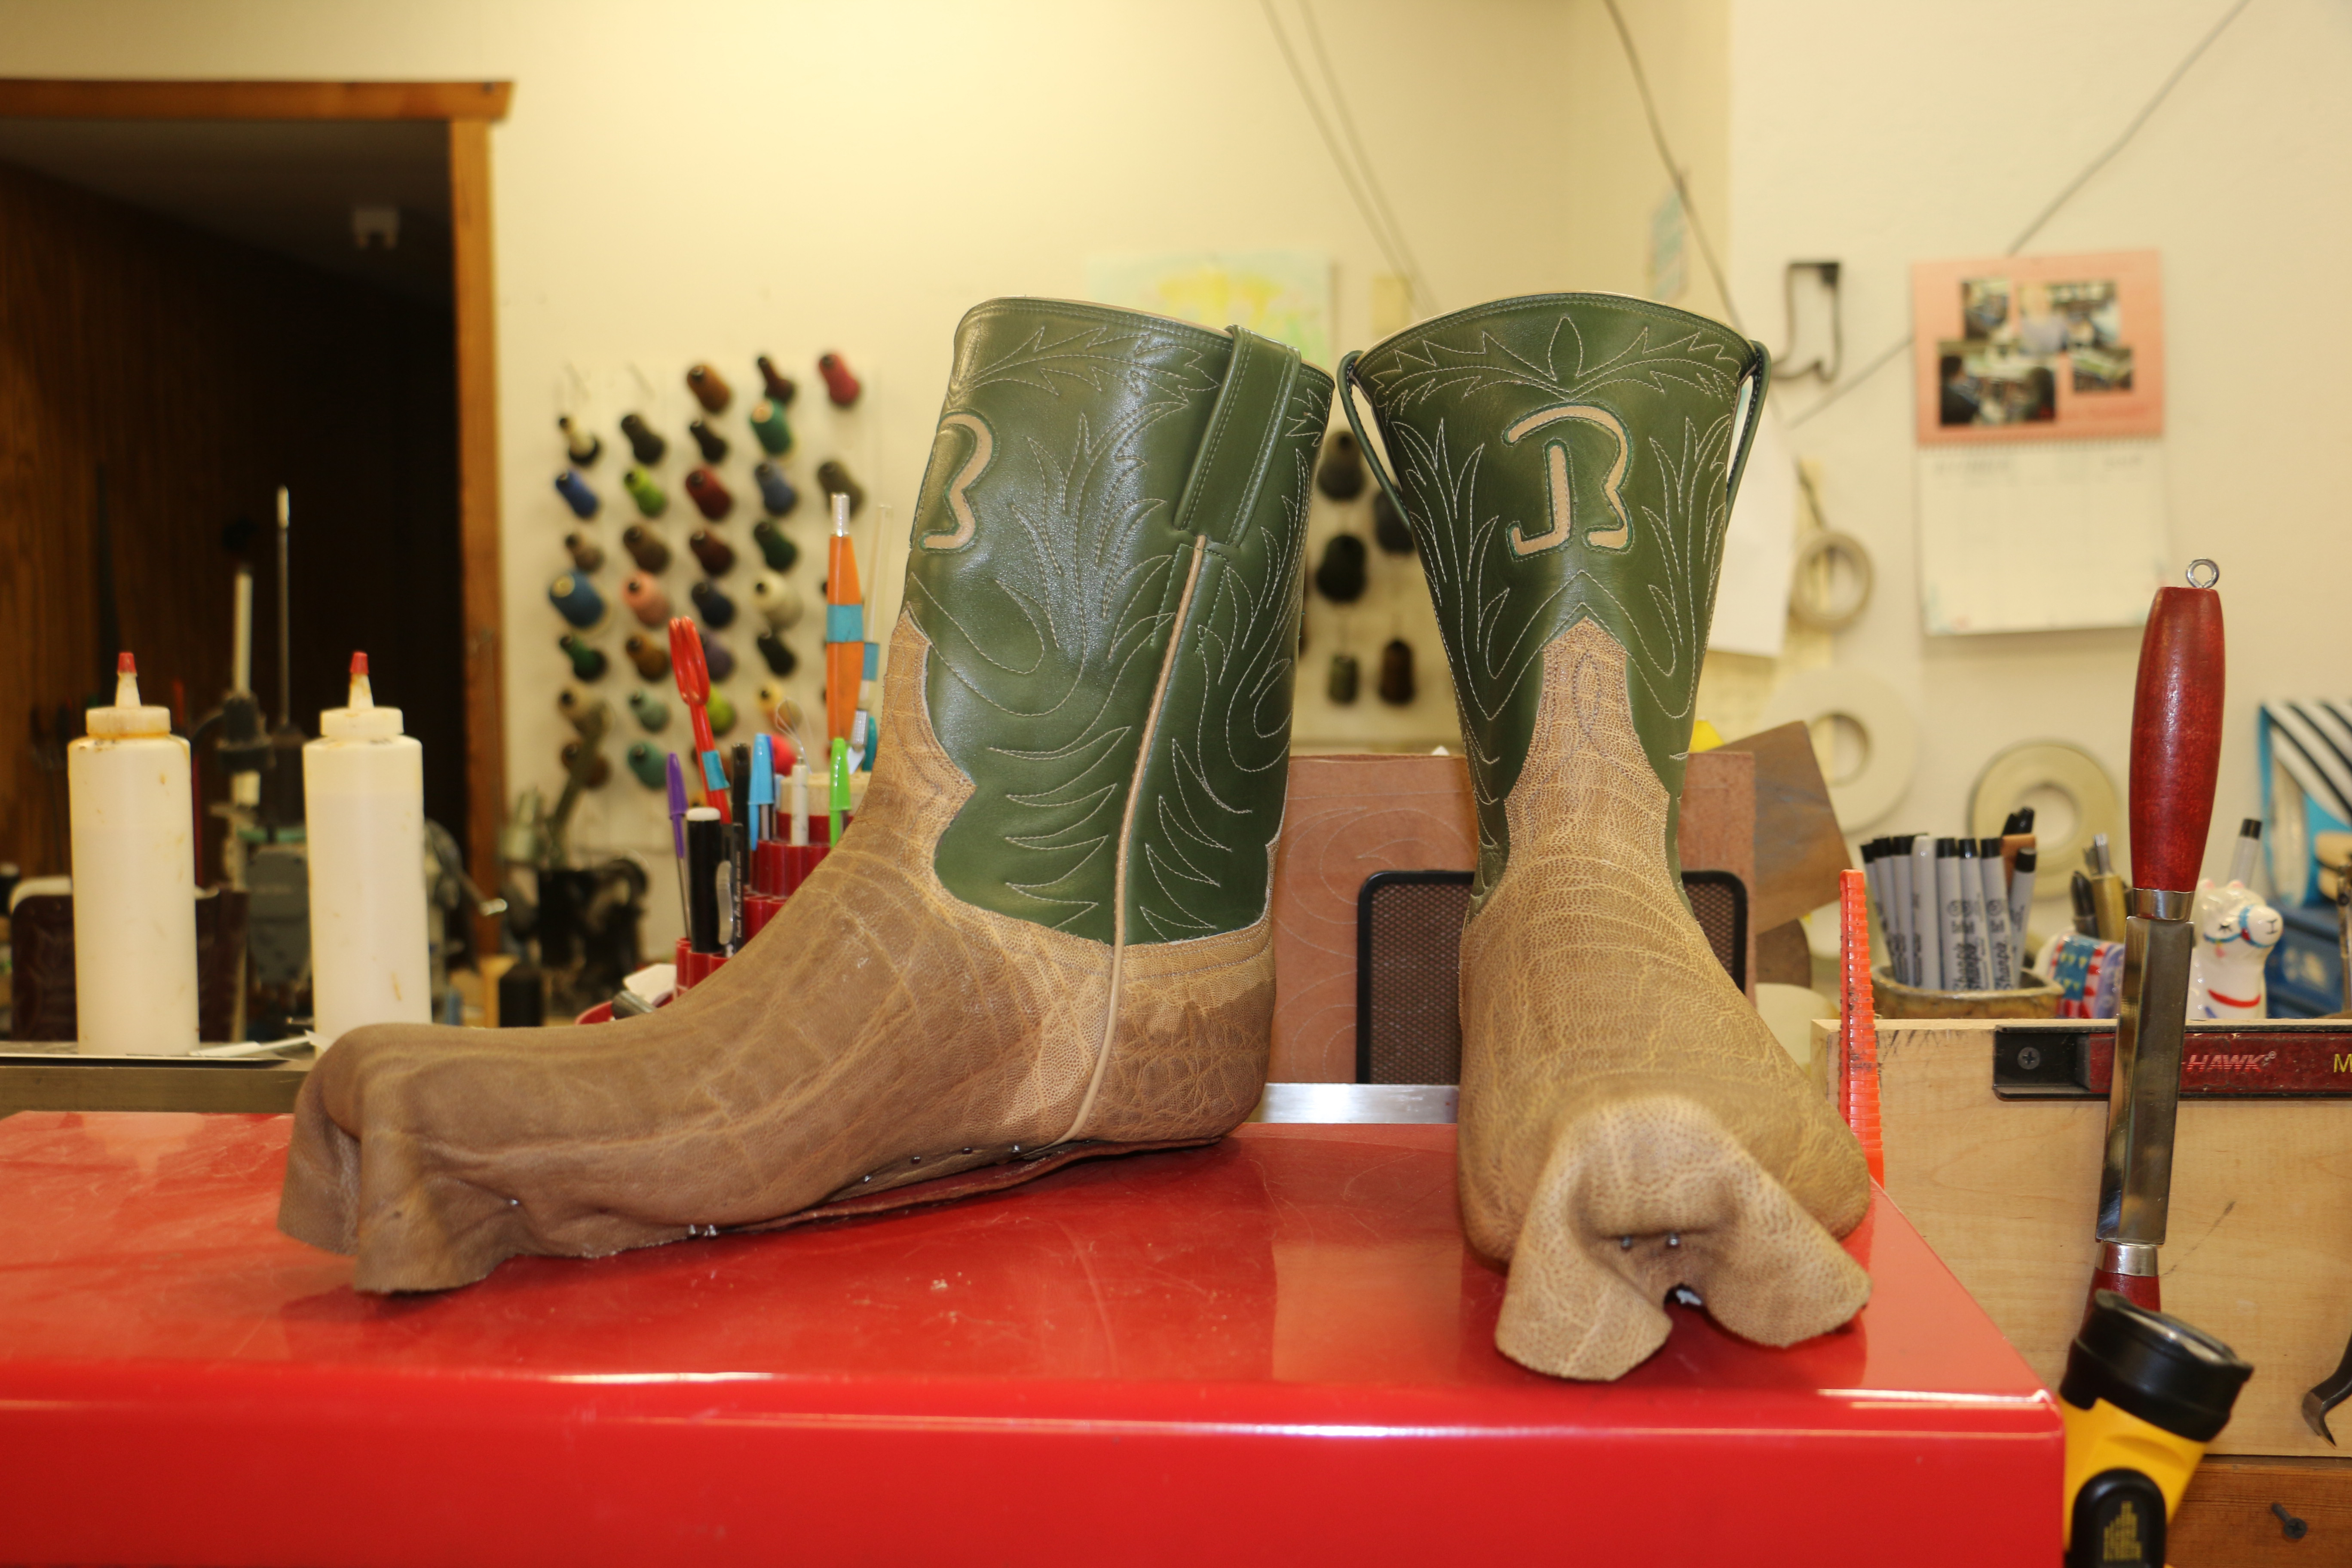

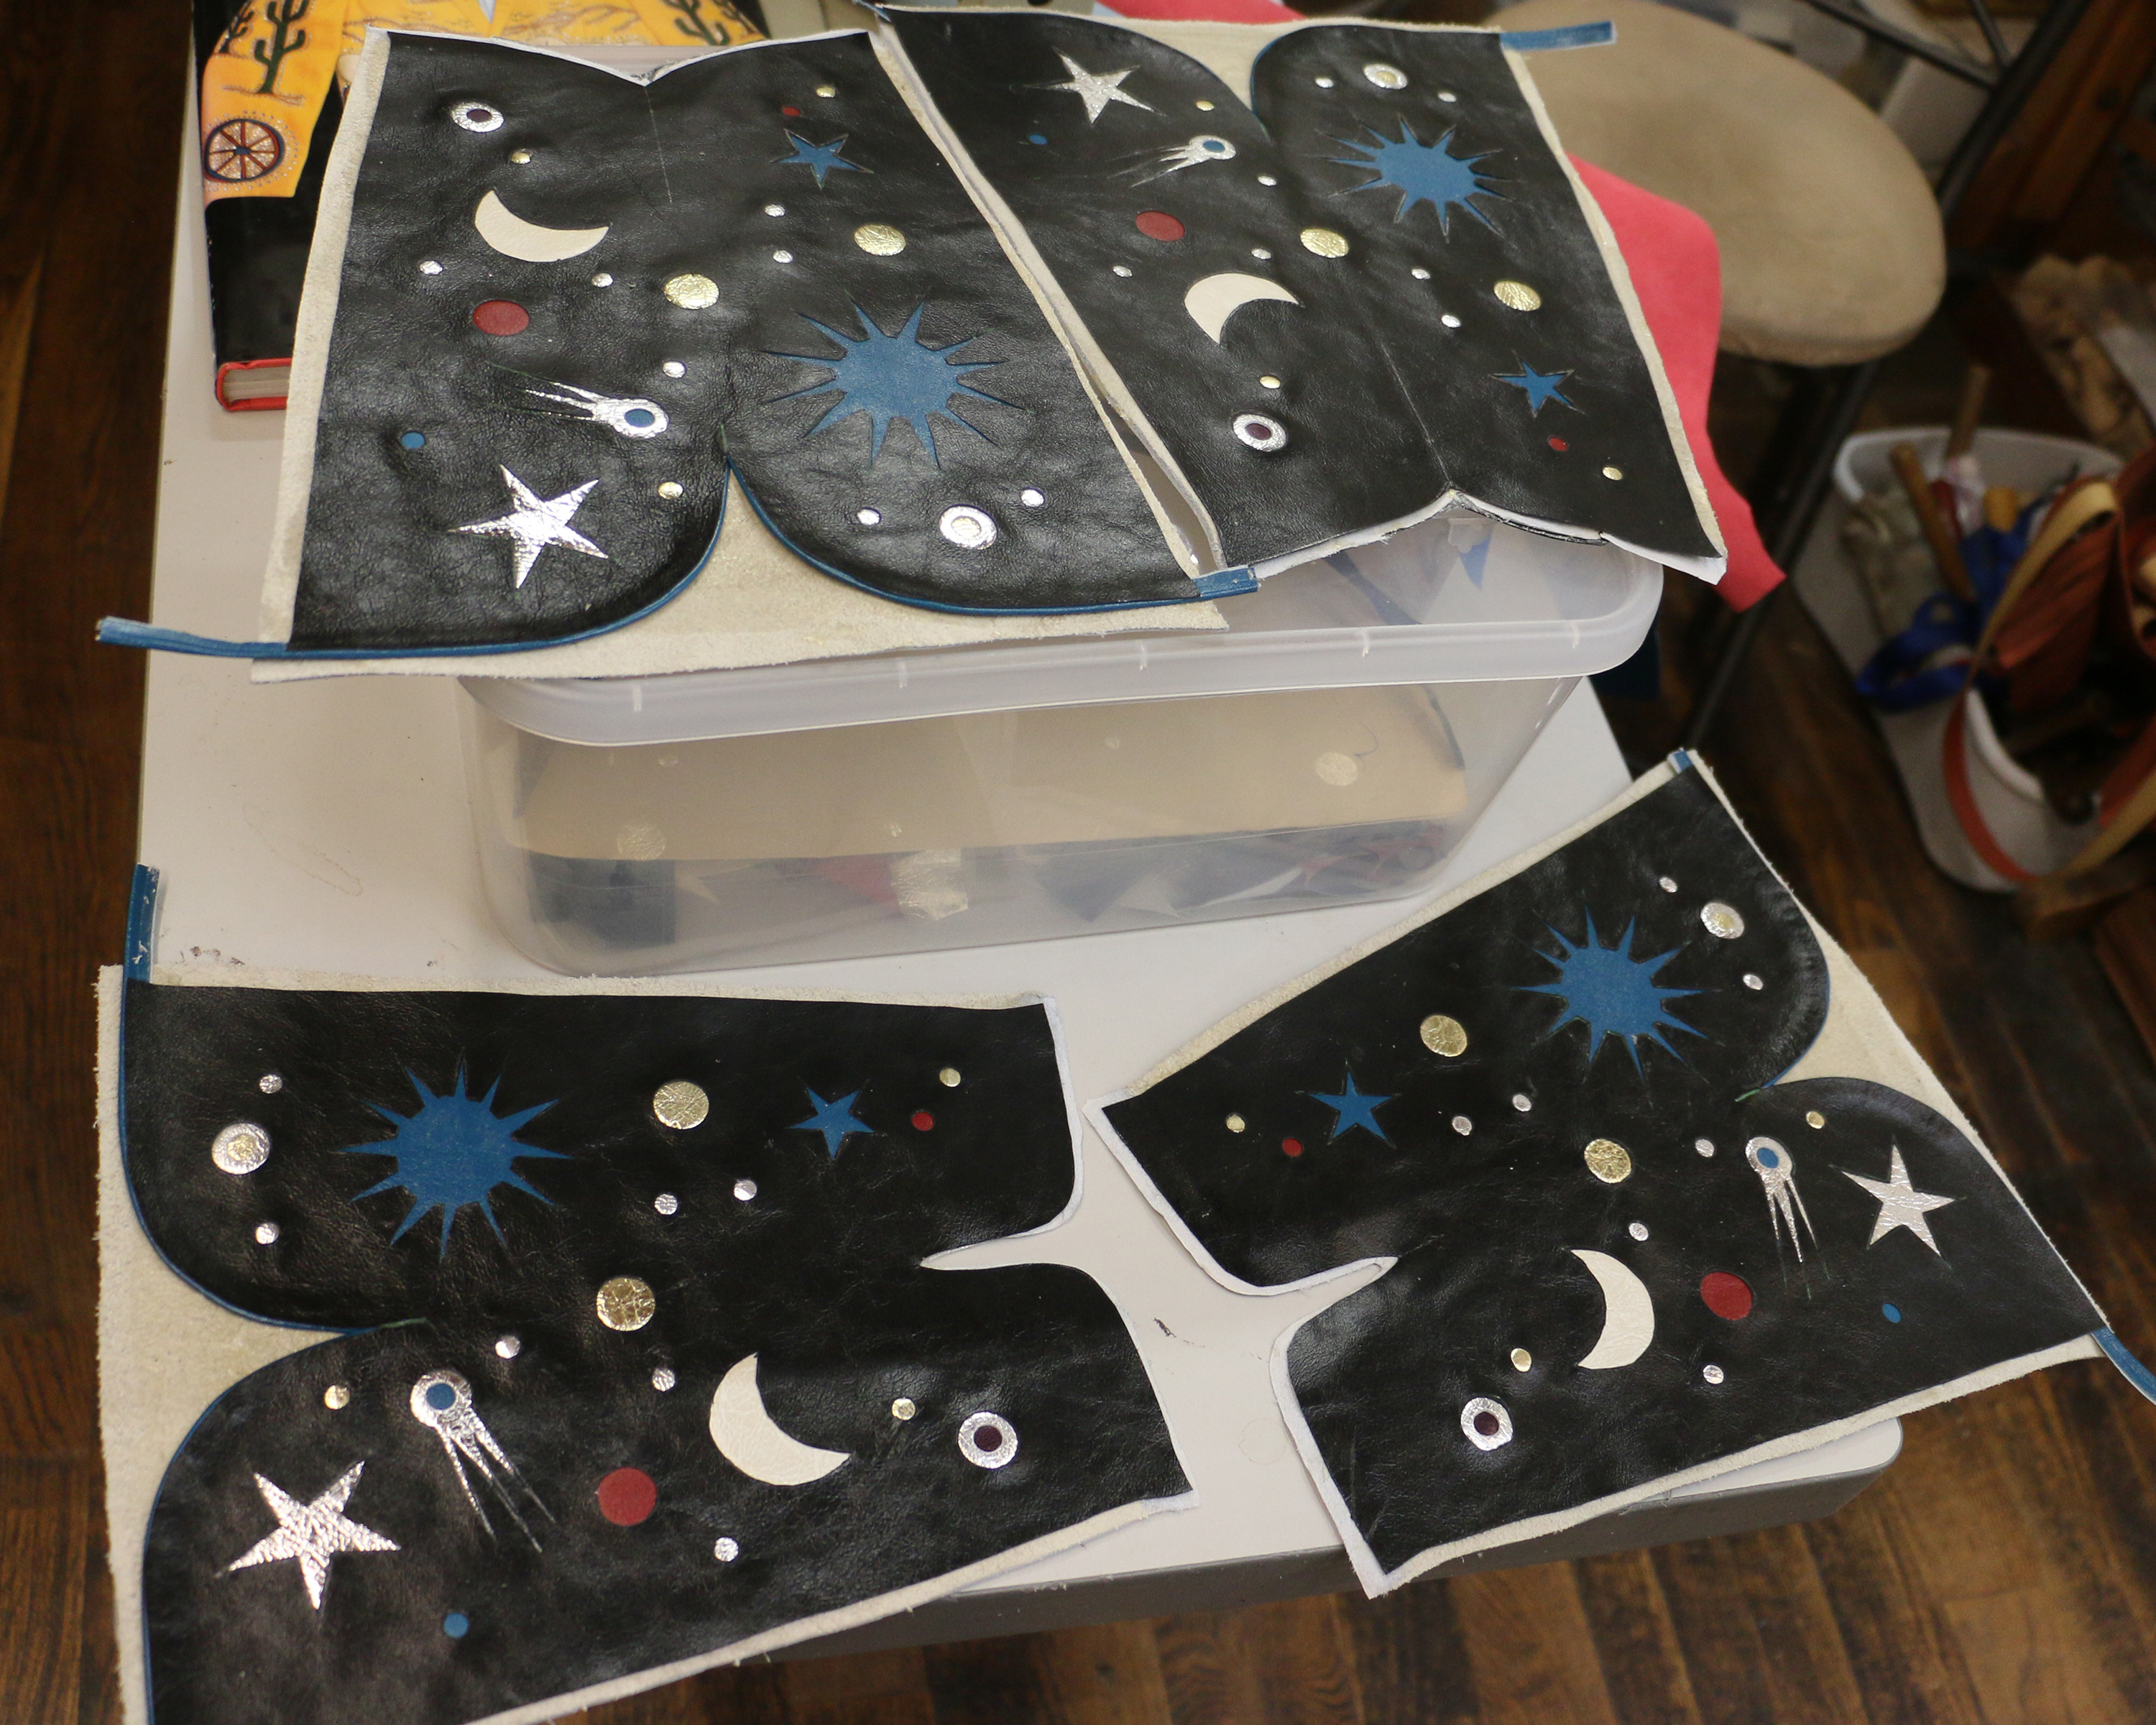
My apprentice Morgan has been working hard. She’s only been here a week and we’re already well into two pairs of boots!
The floor is unswept and the project I wanted to complete is in pieces on my workbench. I’m going home and I’ll think about what to name this pair while I’m relaxing on the couch.
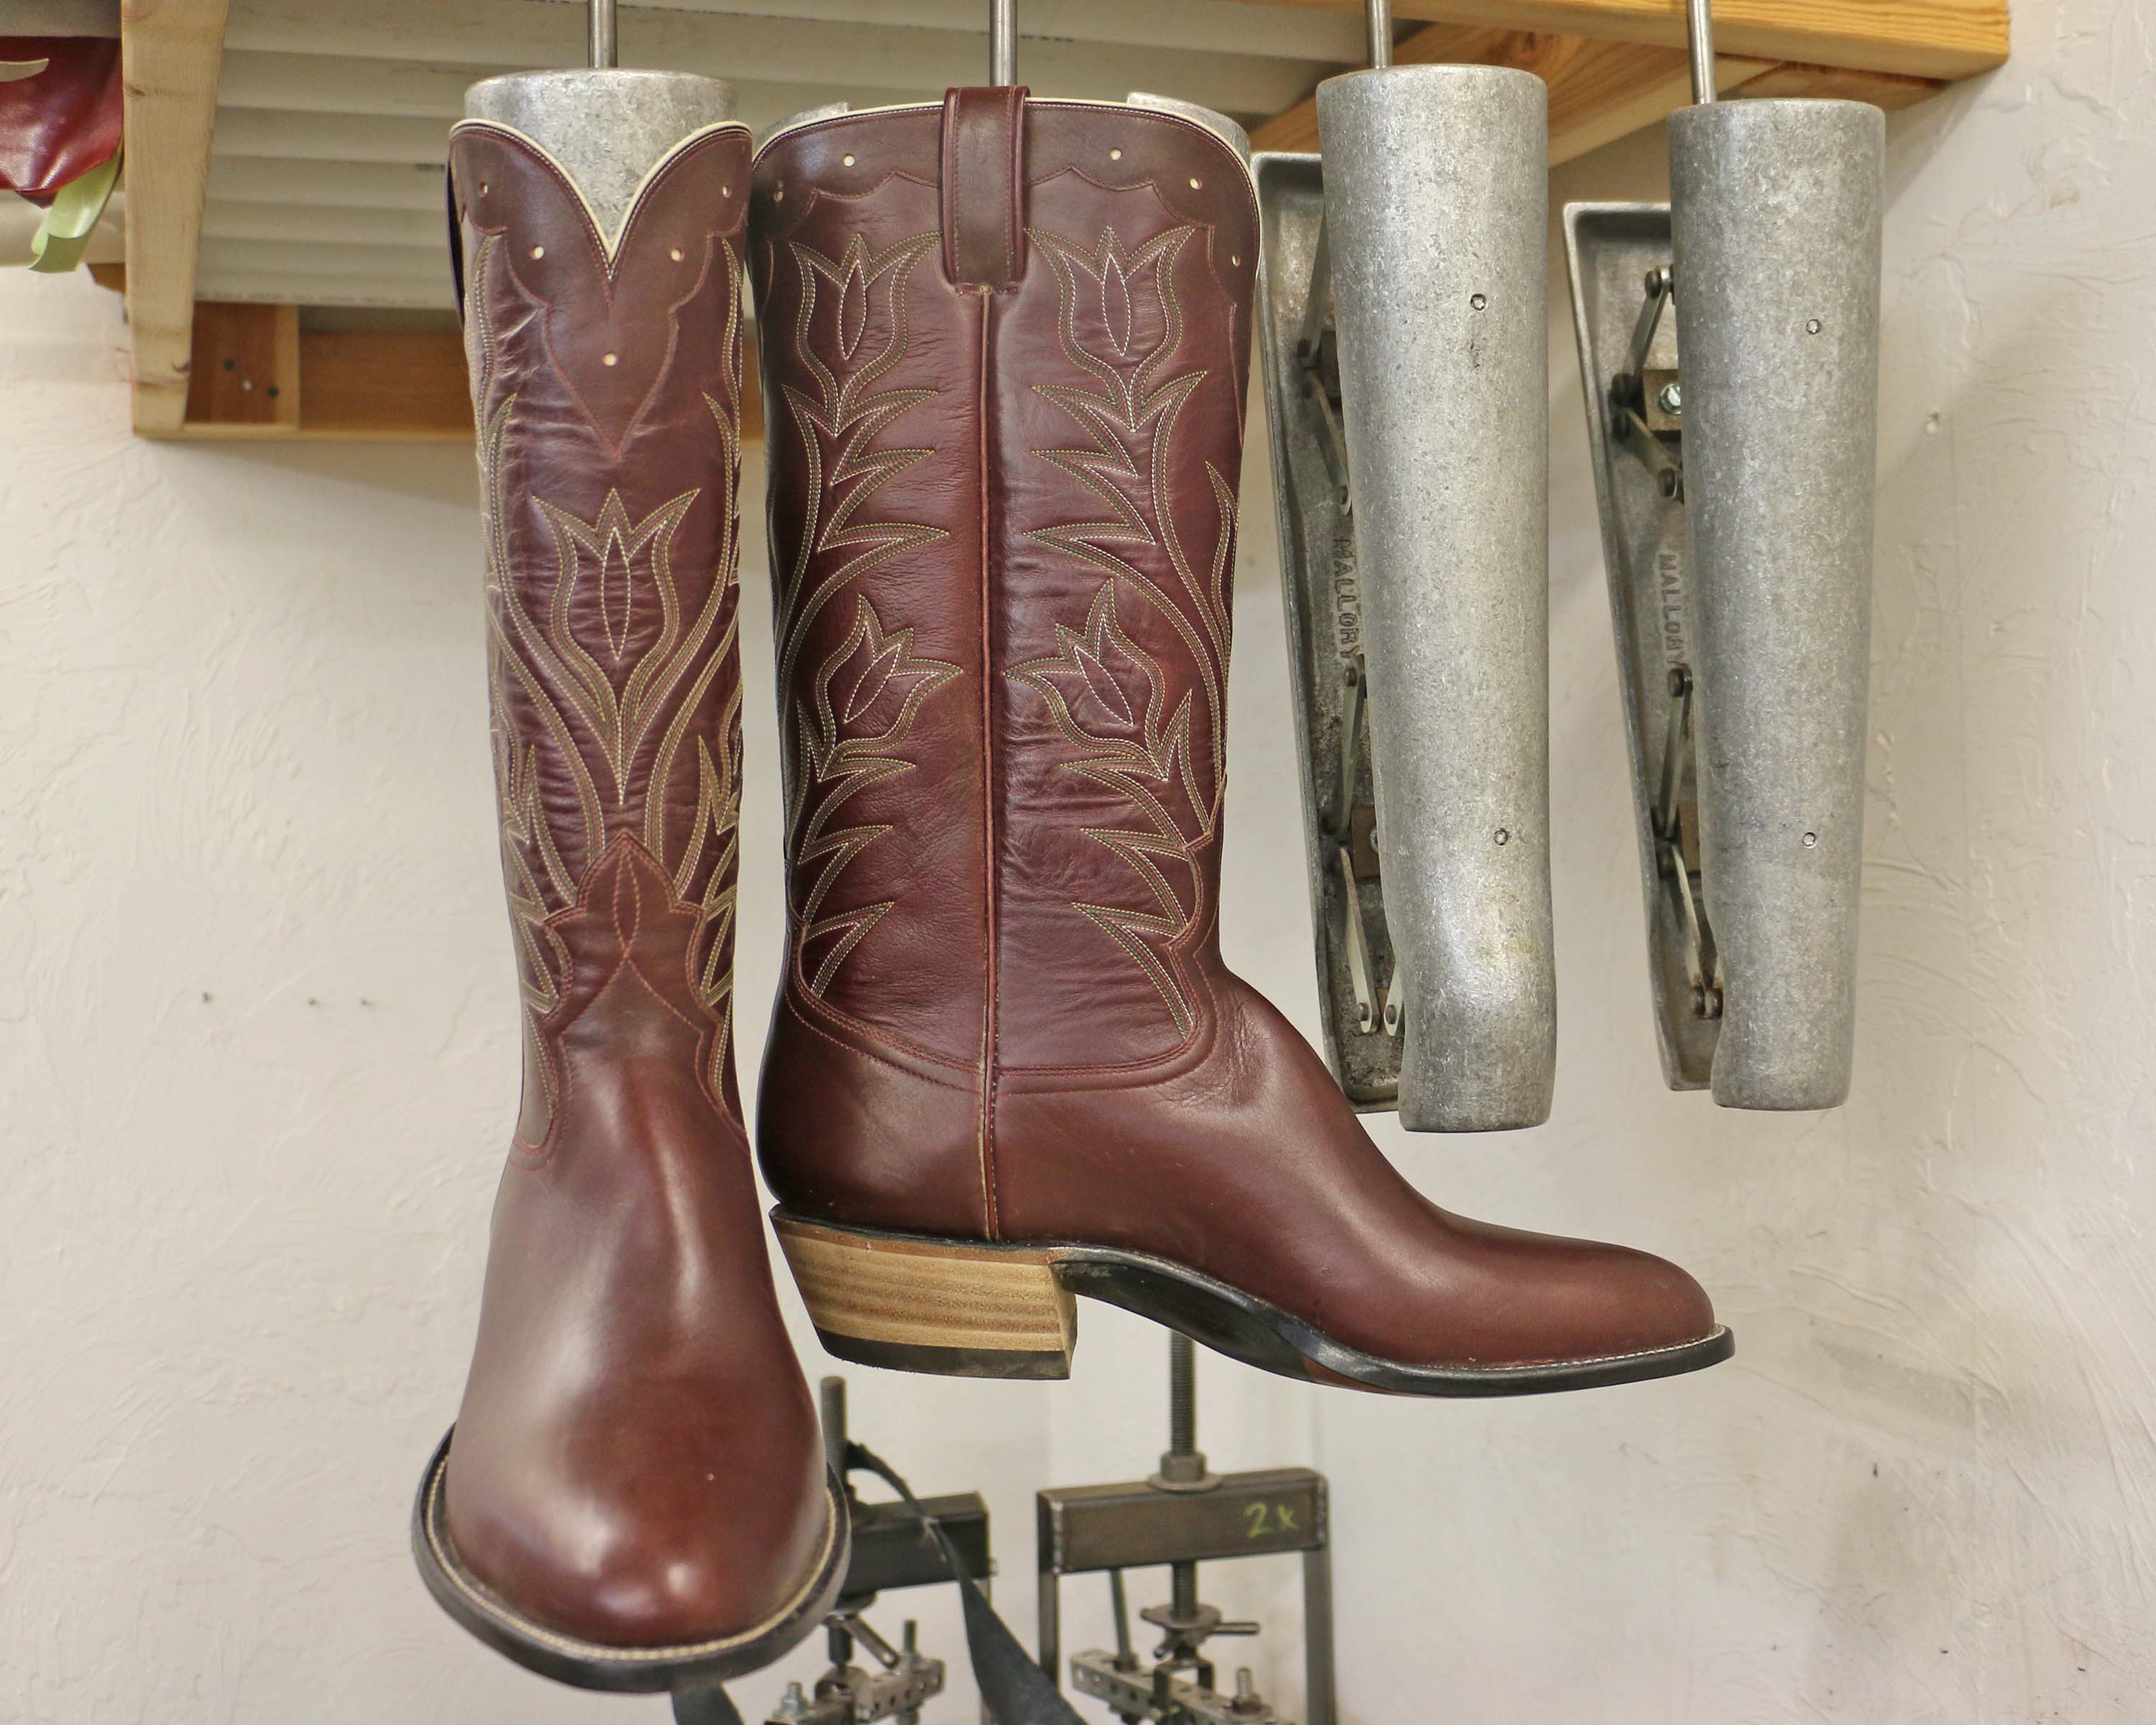
This is adorable.
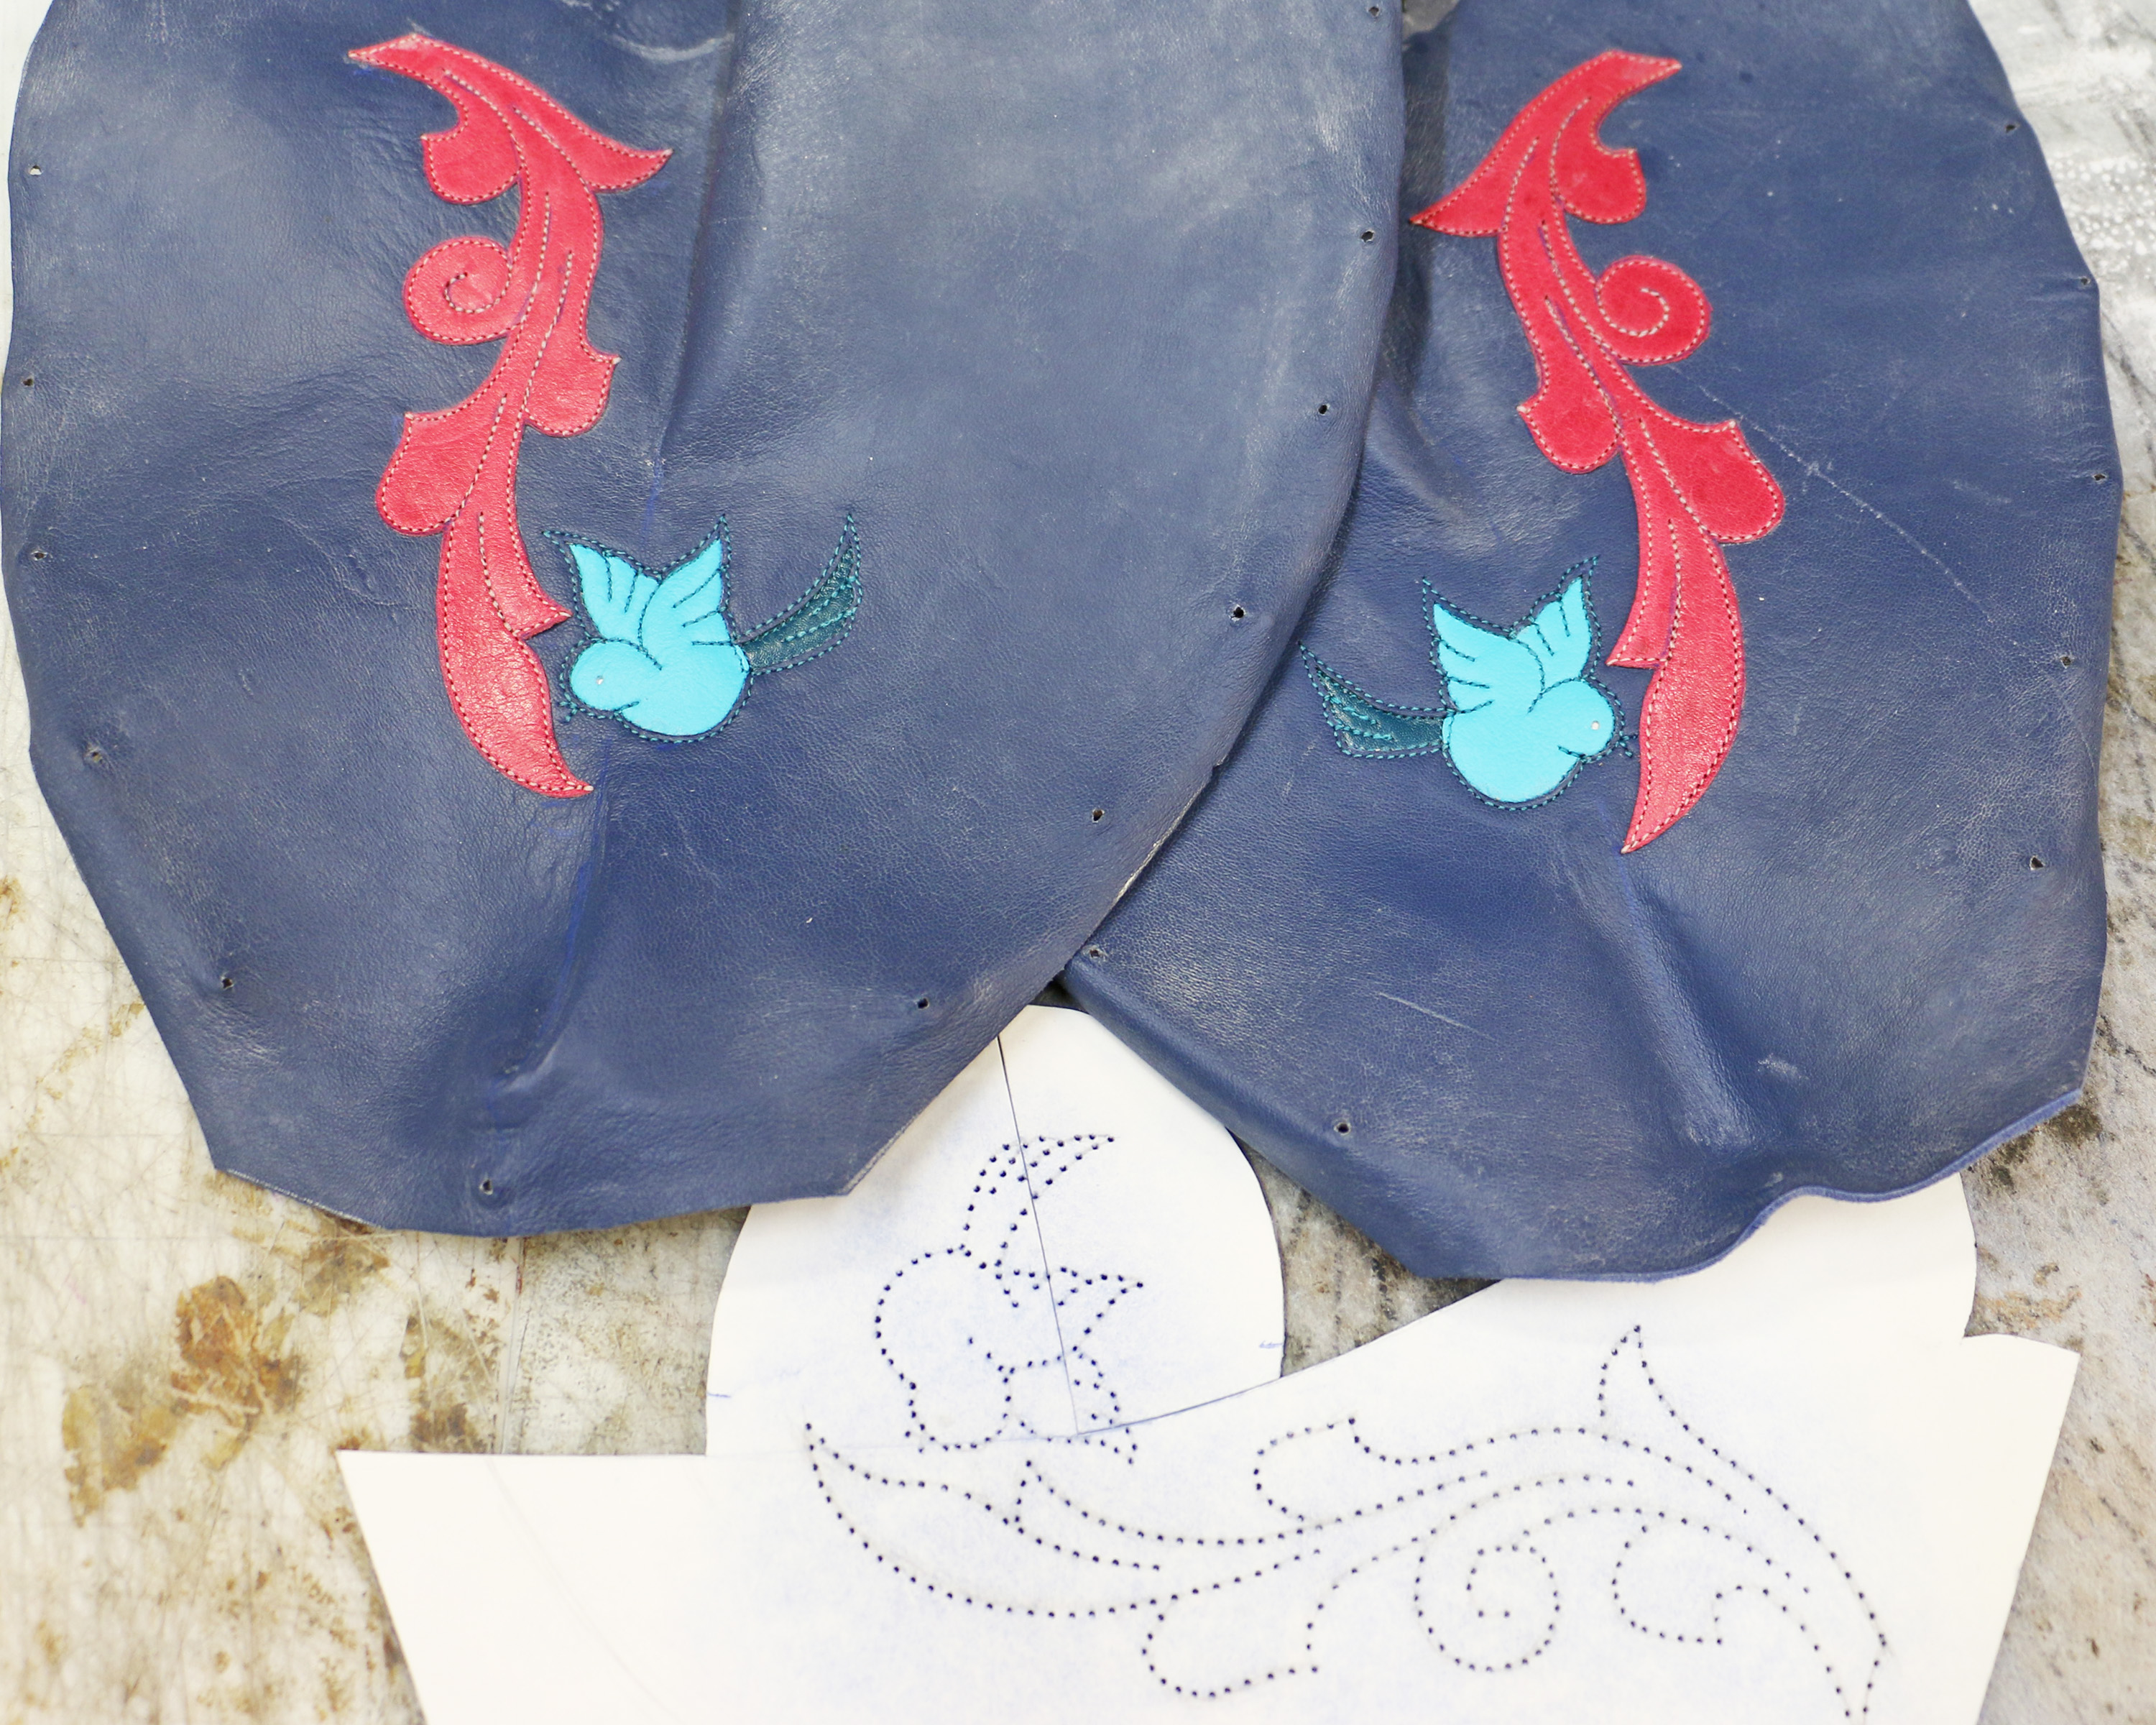
Charlie Louvin played in Edmond, Oklahoma in August of 2000, and I was on the front row. I remember I finished these boots for myself the day of the concert and proudly wore them to the show. I was so excited to see him in person and it was the only time I did. After the show he sat at a table and spoke to people and signed autographs. Dale had bought me the Louvin Brothers Bear Family boxed set the Christmas before and I took it with me and asked him to sign the liner notes; it’s now one of my most treasured possessions. I remember that he told me he’d noticed my boots while he was on stage and he complimented me on them, and I’m sure I floated home on a cloud of happiness.
For some reason I didn’t get a photo of these boots and after much hard wear I eventually gave them to a friend of mine who collected vintage western items. He died a couple of weeks ago and his widow generously allowed me to borrow the boots today so I could photograph them.
Edited to add: The boots never had a name! I will name them “I Don’t Believe You’ve Met My Baby.”

“Kansas City Star”
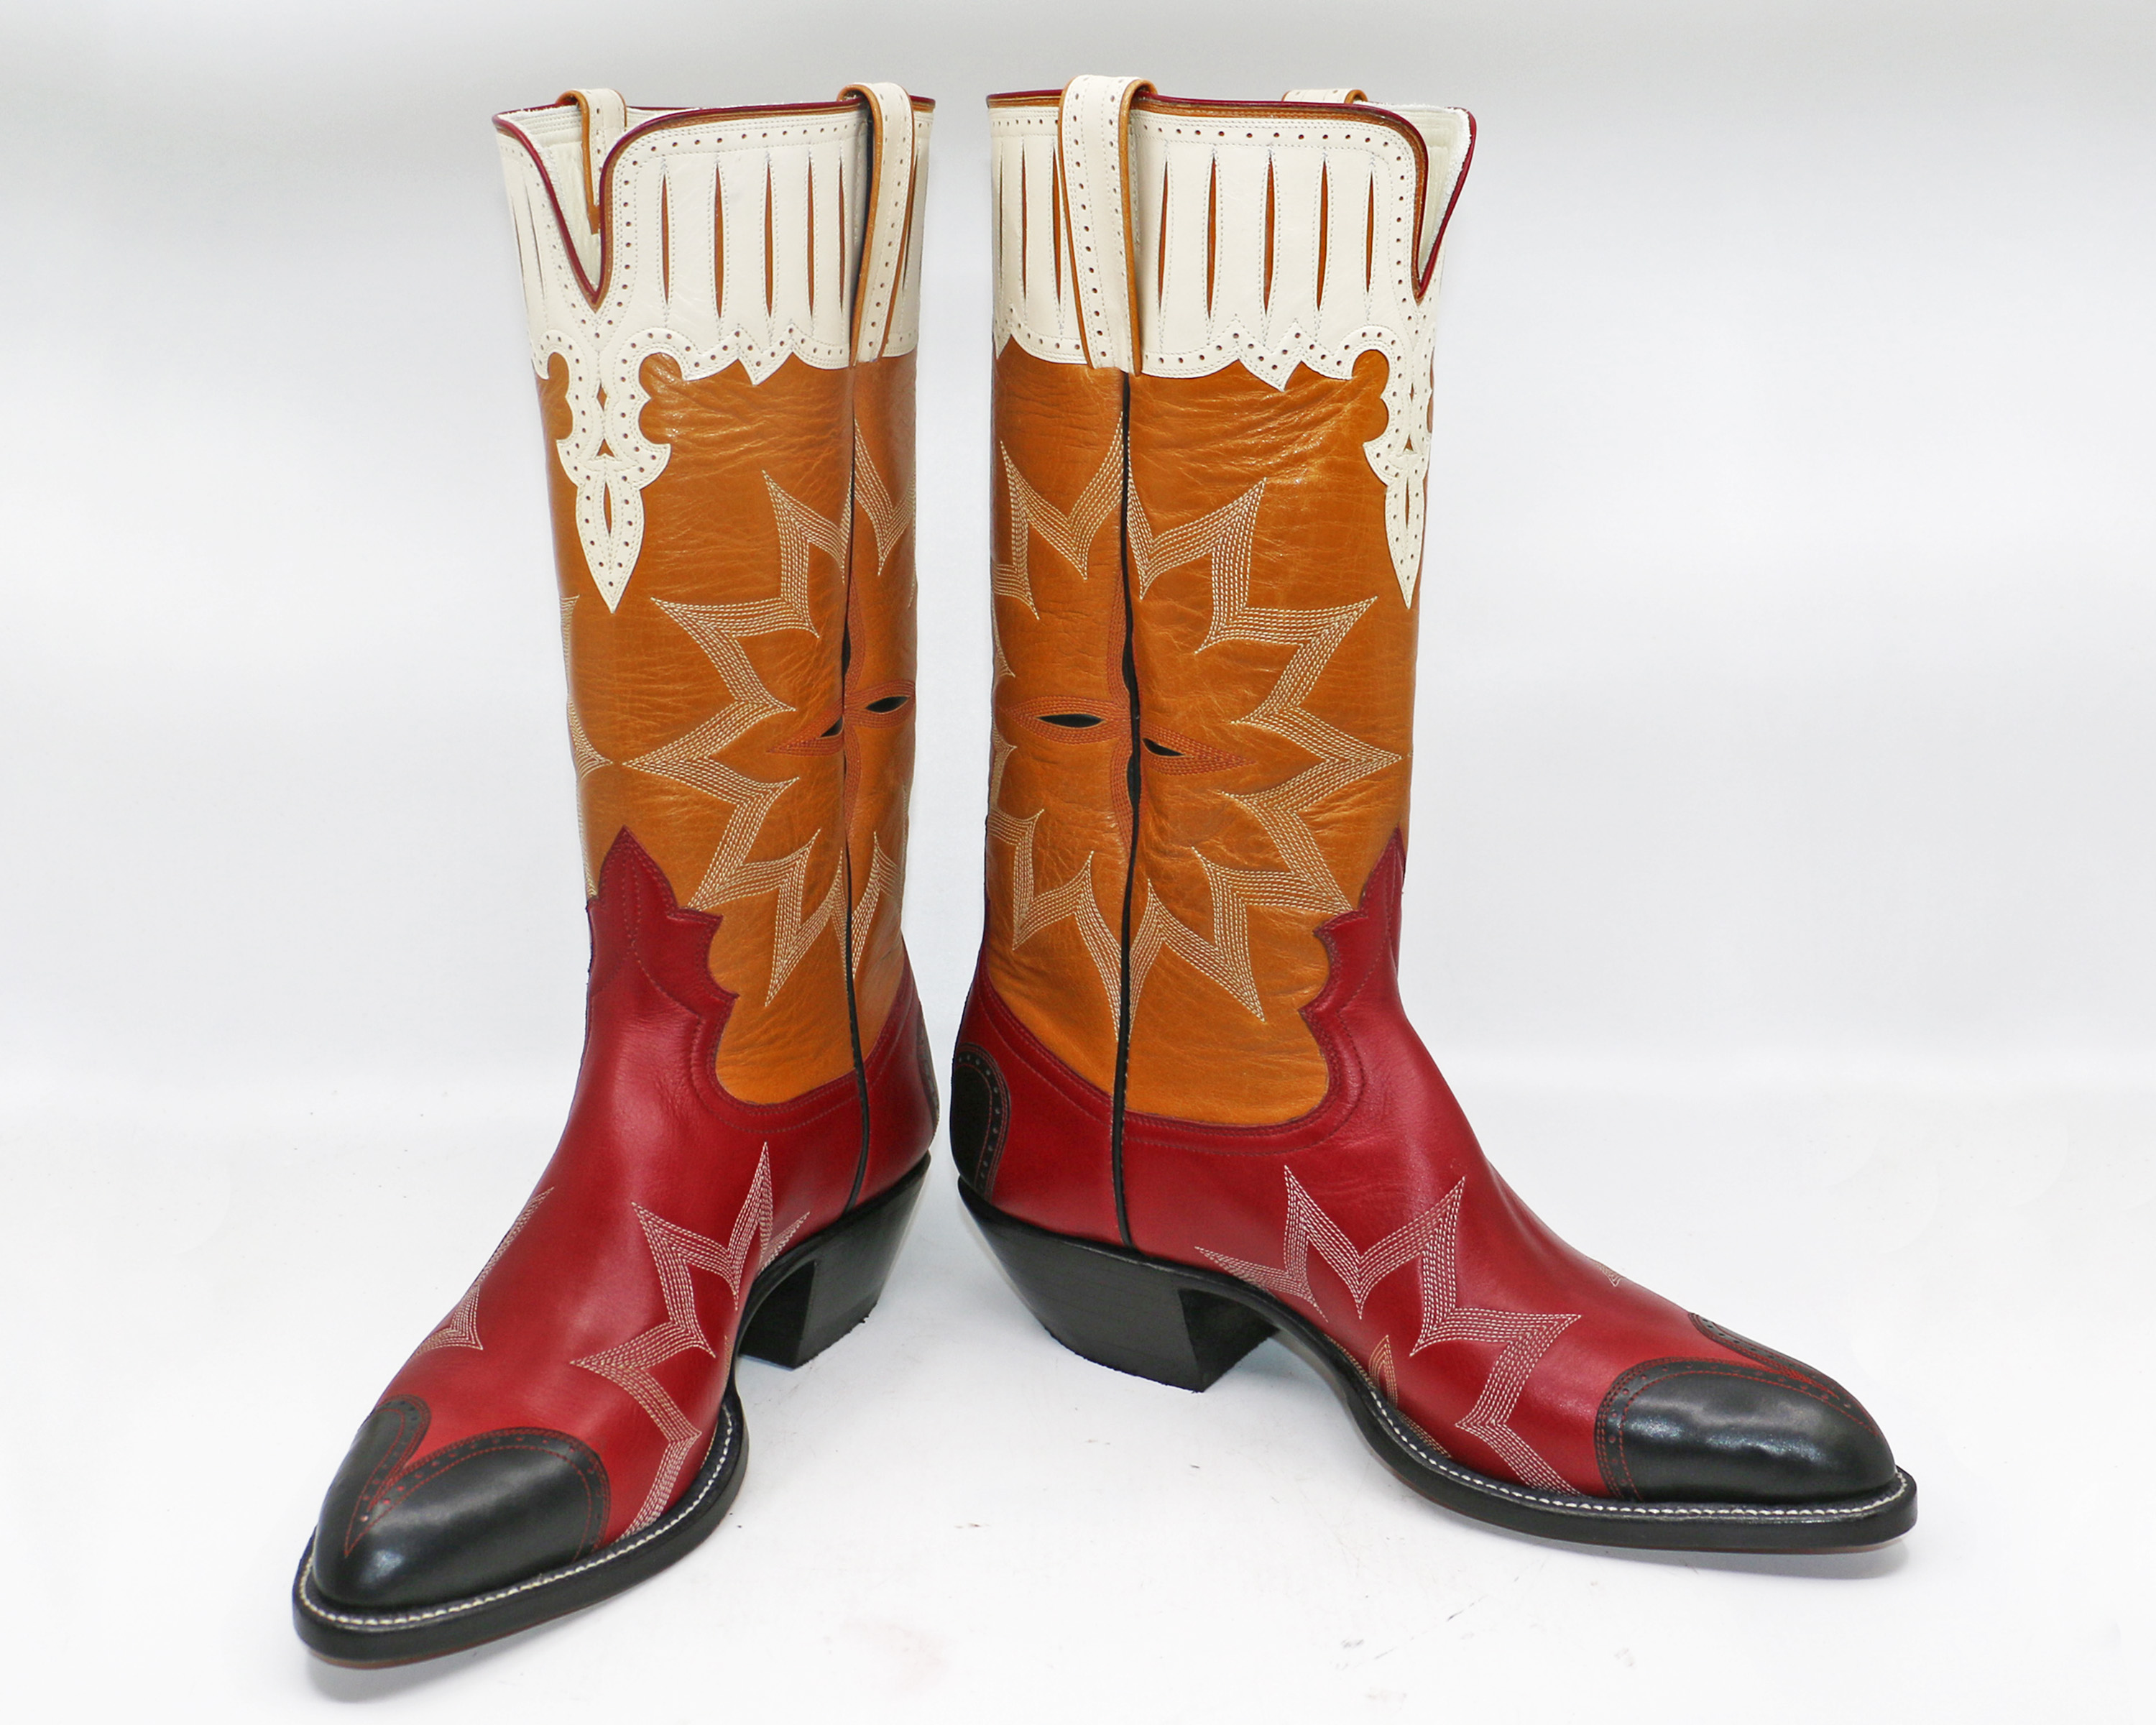
Here are the boot tops with the rest of the design elements stitched on, and the top band resting on the leather but not stitched yet.
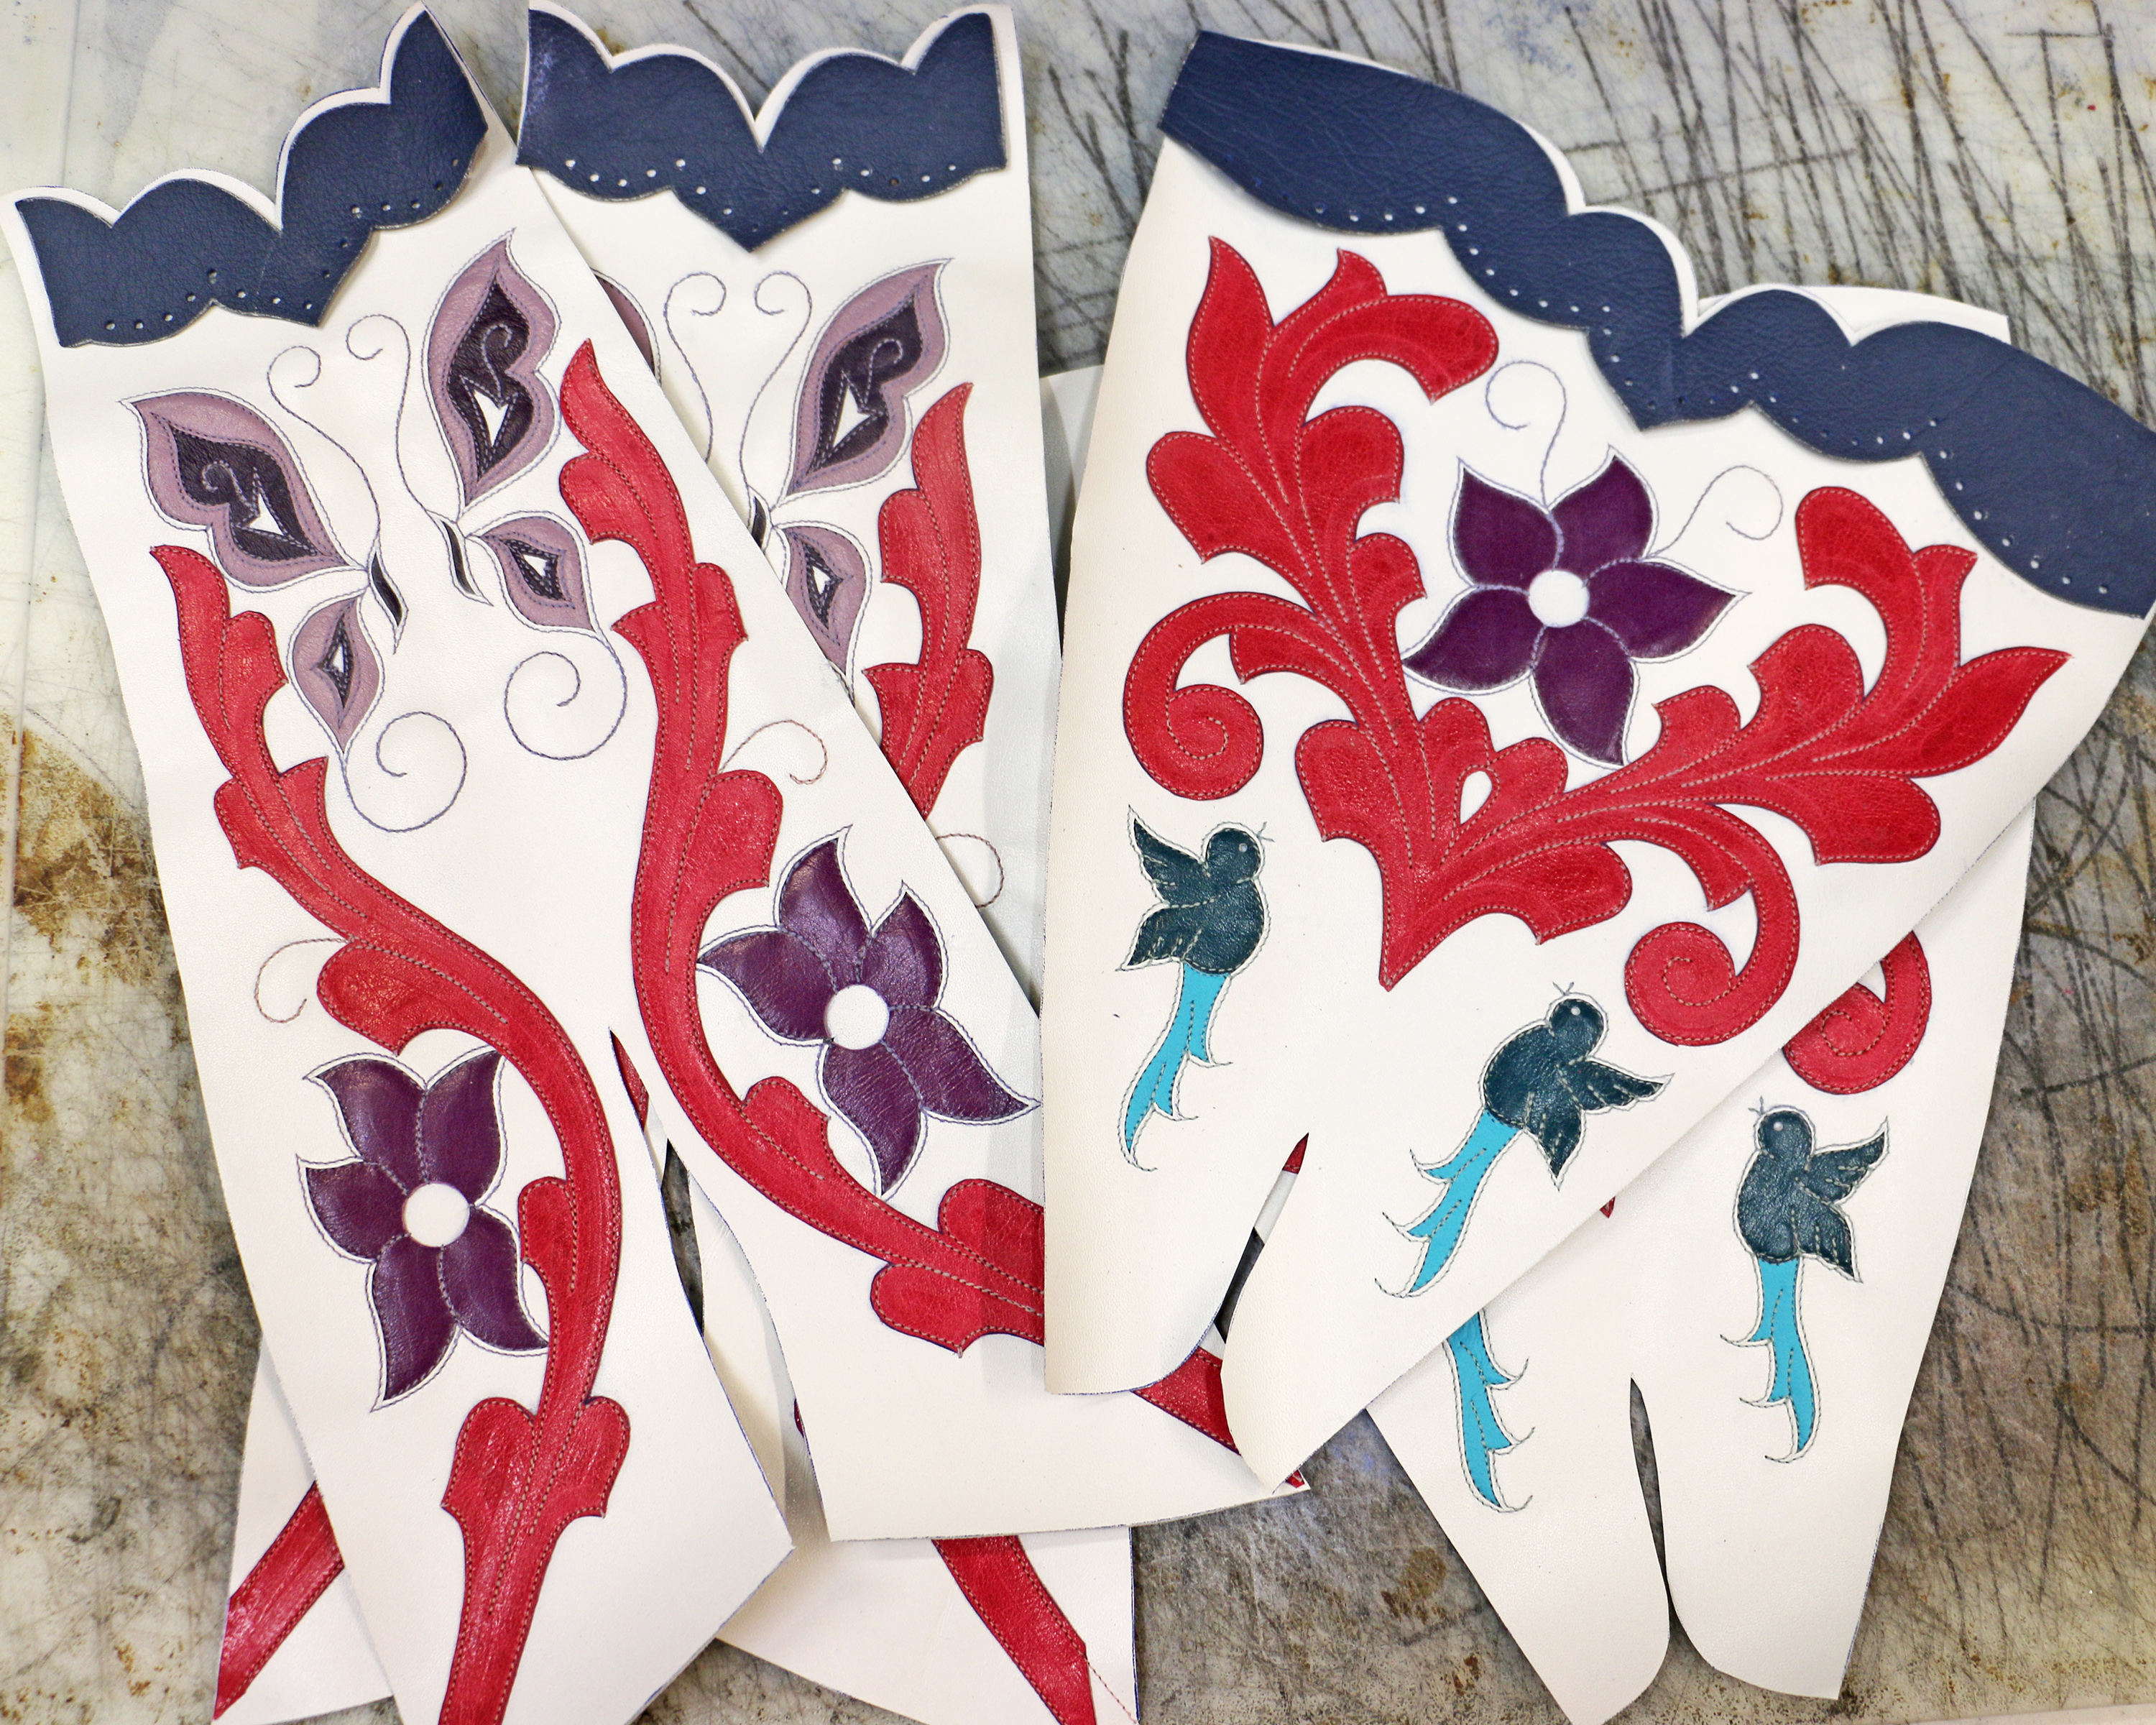
Stitching on white leather is not easy. I deliberately planned the design so I’d be stitching with lighter colors (lavender, pale green) instead of darker colors (purple, turquoise) because lighter colors are a tiny bit easier to stitch and make it look good on white. Now the hard part is done!

This piece reminds me of a story: I have a friend who used to teach shoe making at a college. One day he was showing his students my work and they didn’t believe that I don’t have a laser or any computerized machines, so he called me during class and put me on speakerphone. He explained their disbelief and asked me how I made my projects. I laughed and said, “No lasers and no computers! Only me and my fingers and some knives and an old sewing machine!” I heard OOOOOHS and AAAAAAHS and he said, “Thank you!” and hung up.
Introducing: “Rock of Ages” (not framed yet)
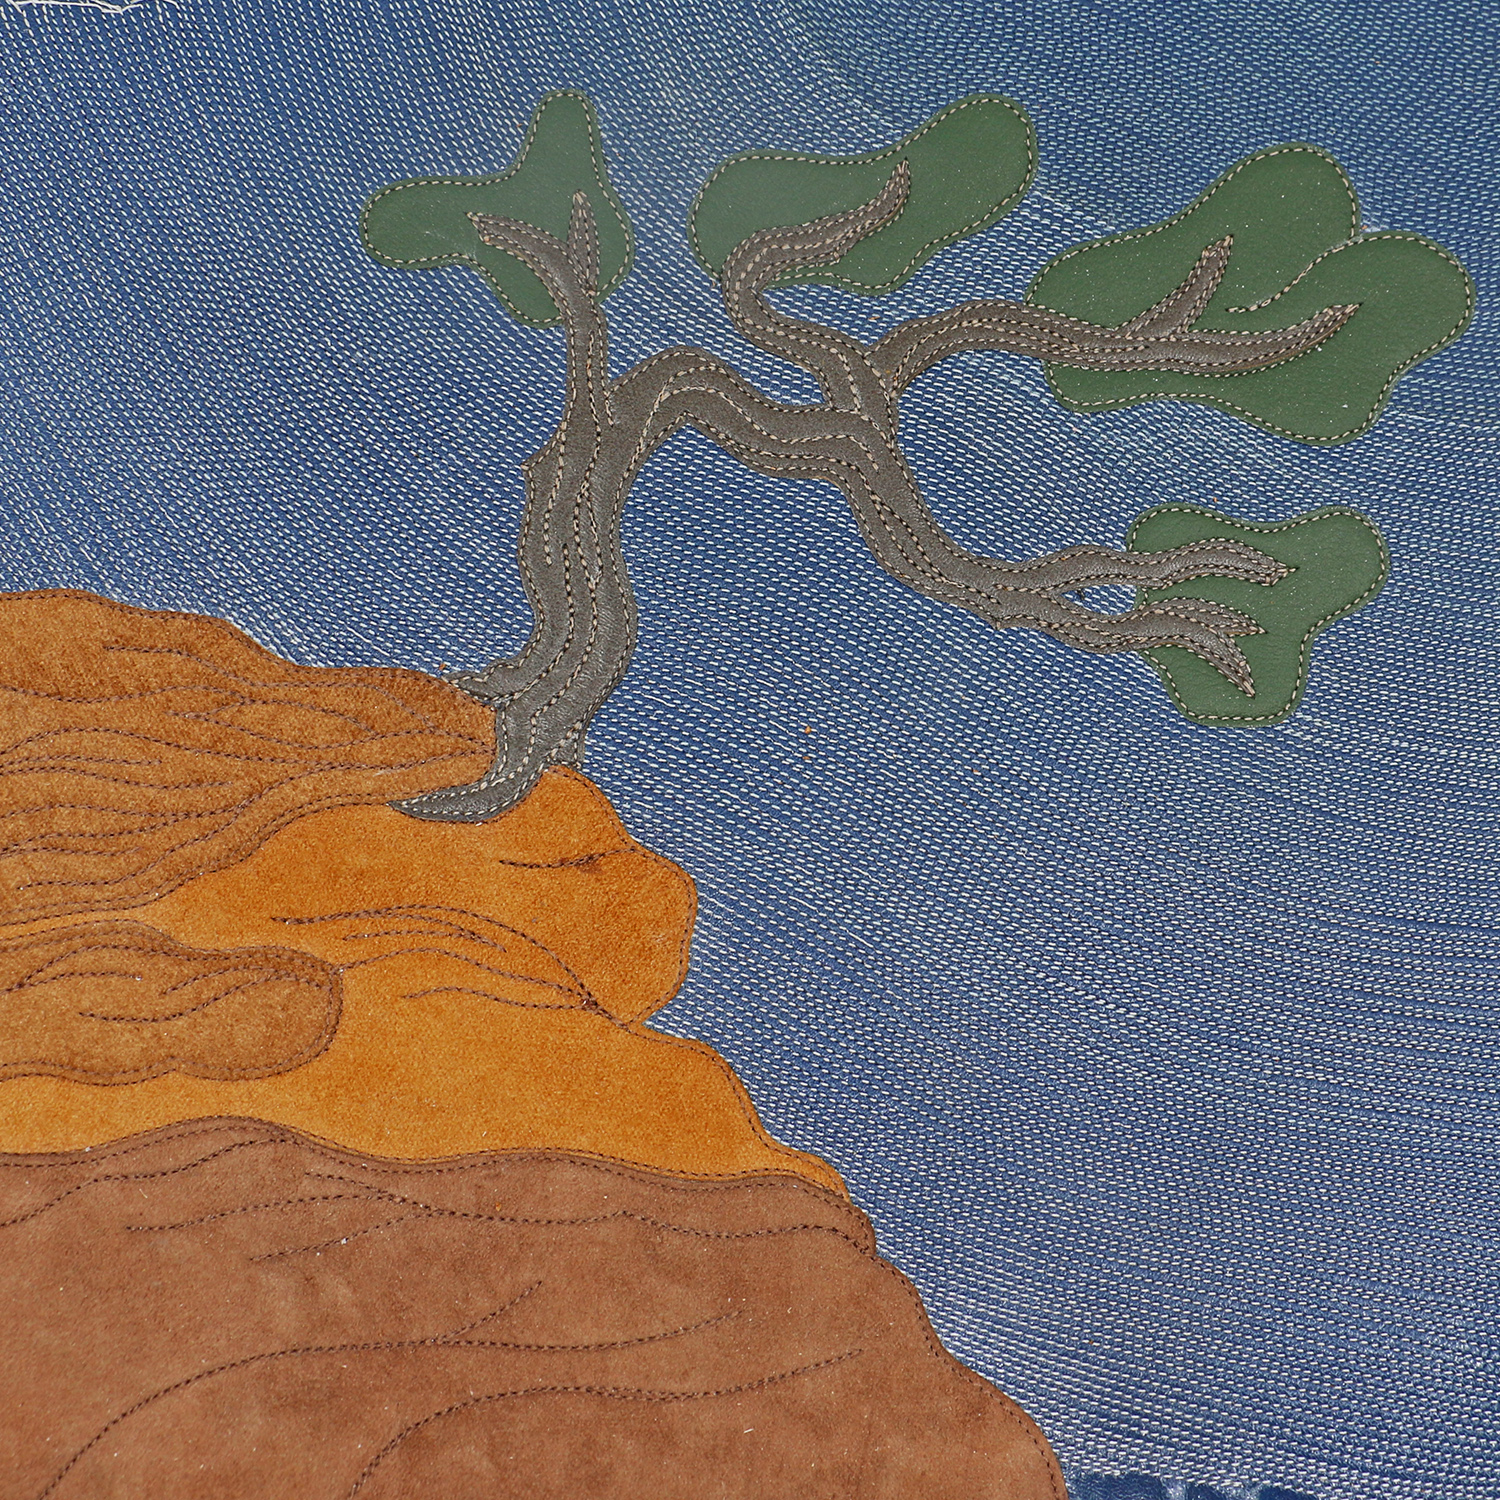
When I draw a design, I draw the stitch lines. In other words, if I’m drawing an element that will be inlaid, the pattern line isn’t where I’ll cut, it’s where I’ll stitch. If I drew the line where I planned to cut my stitching would be outside that line and I’d need to remember to allow for that. It’s no fun to create a beautiful pattern and then lose bits of it in the side seam because it got bigger than you anticipated.
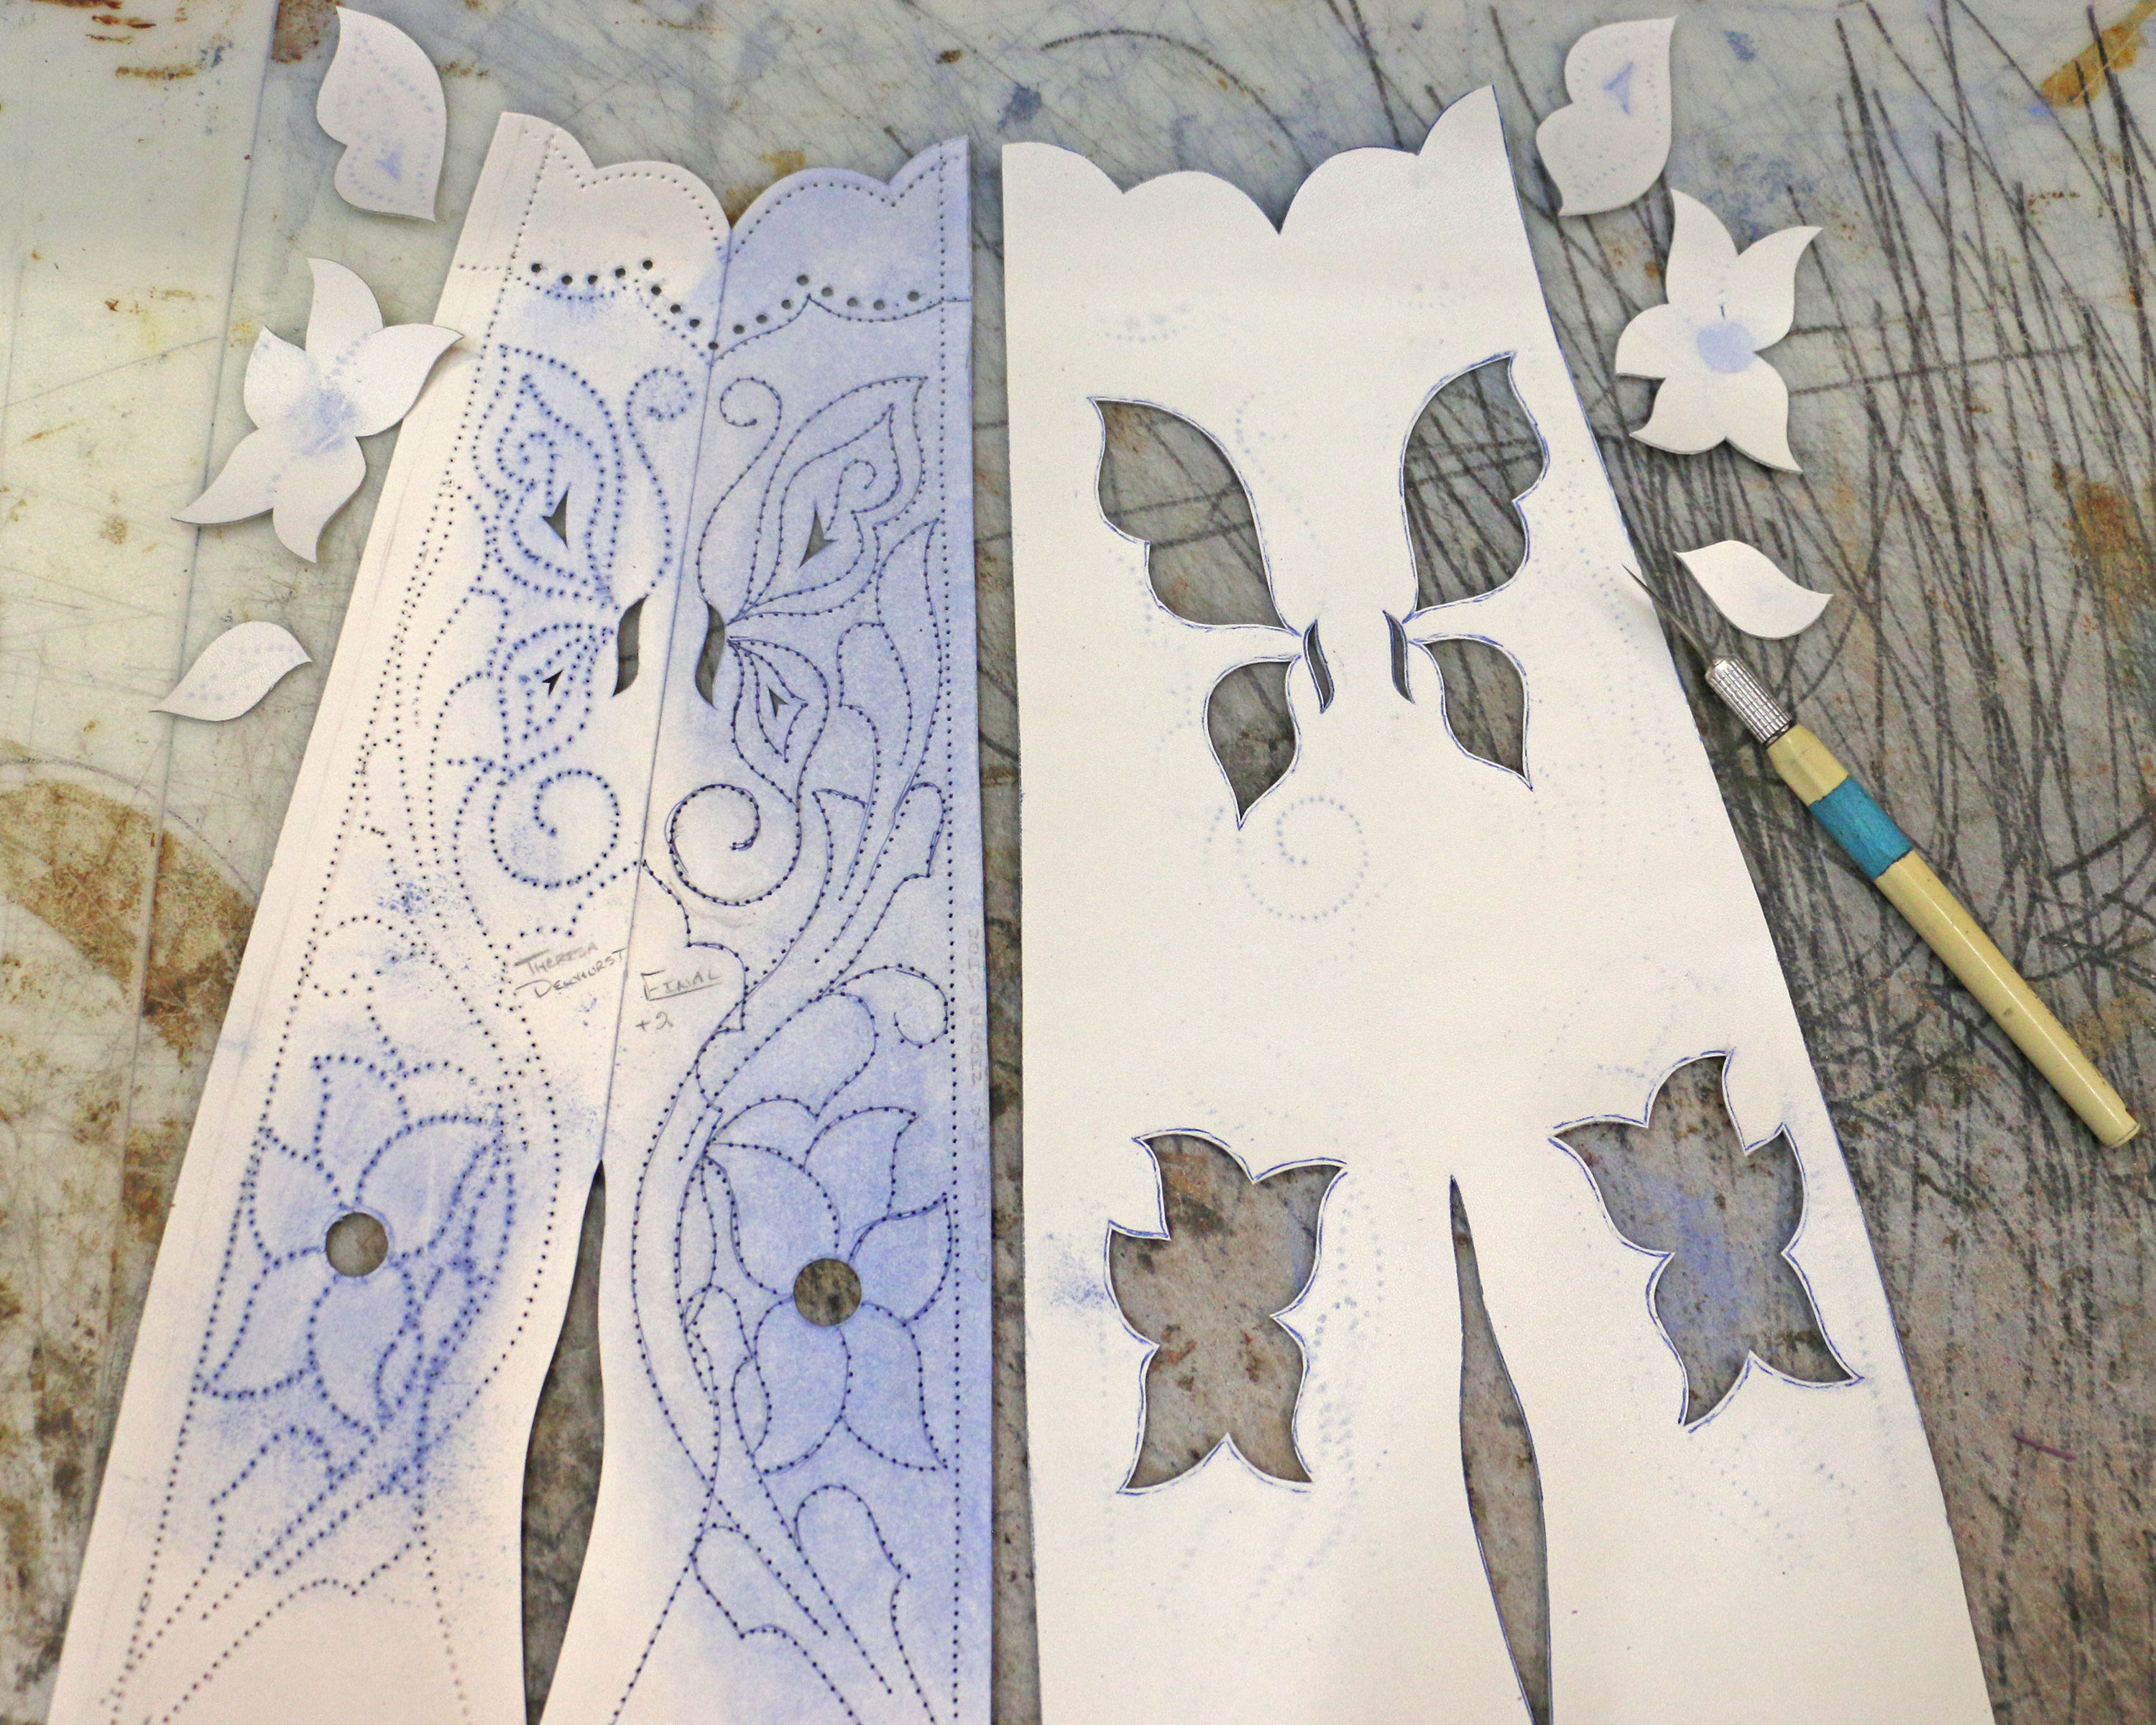
Design with inlay elements cut out
As you can see, I’ve cut slightly inside the lines which will allow me to stitch exactly on the lines.

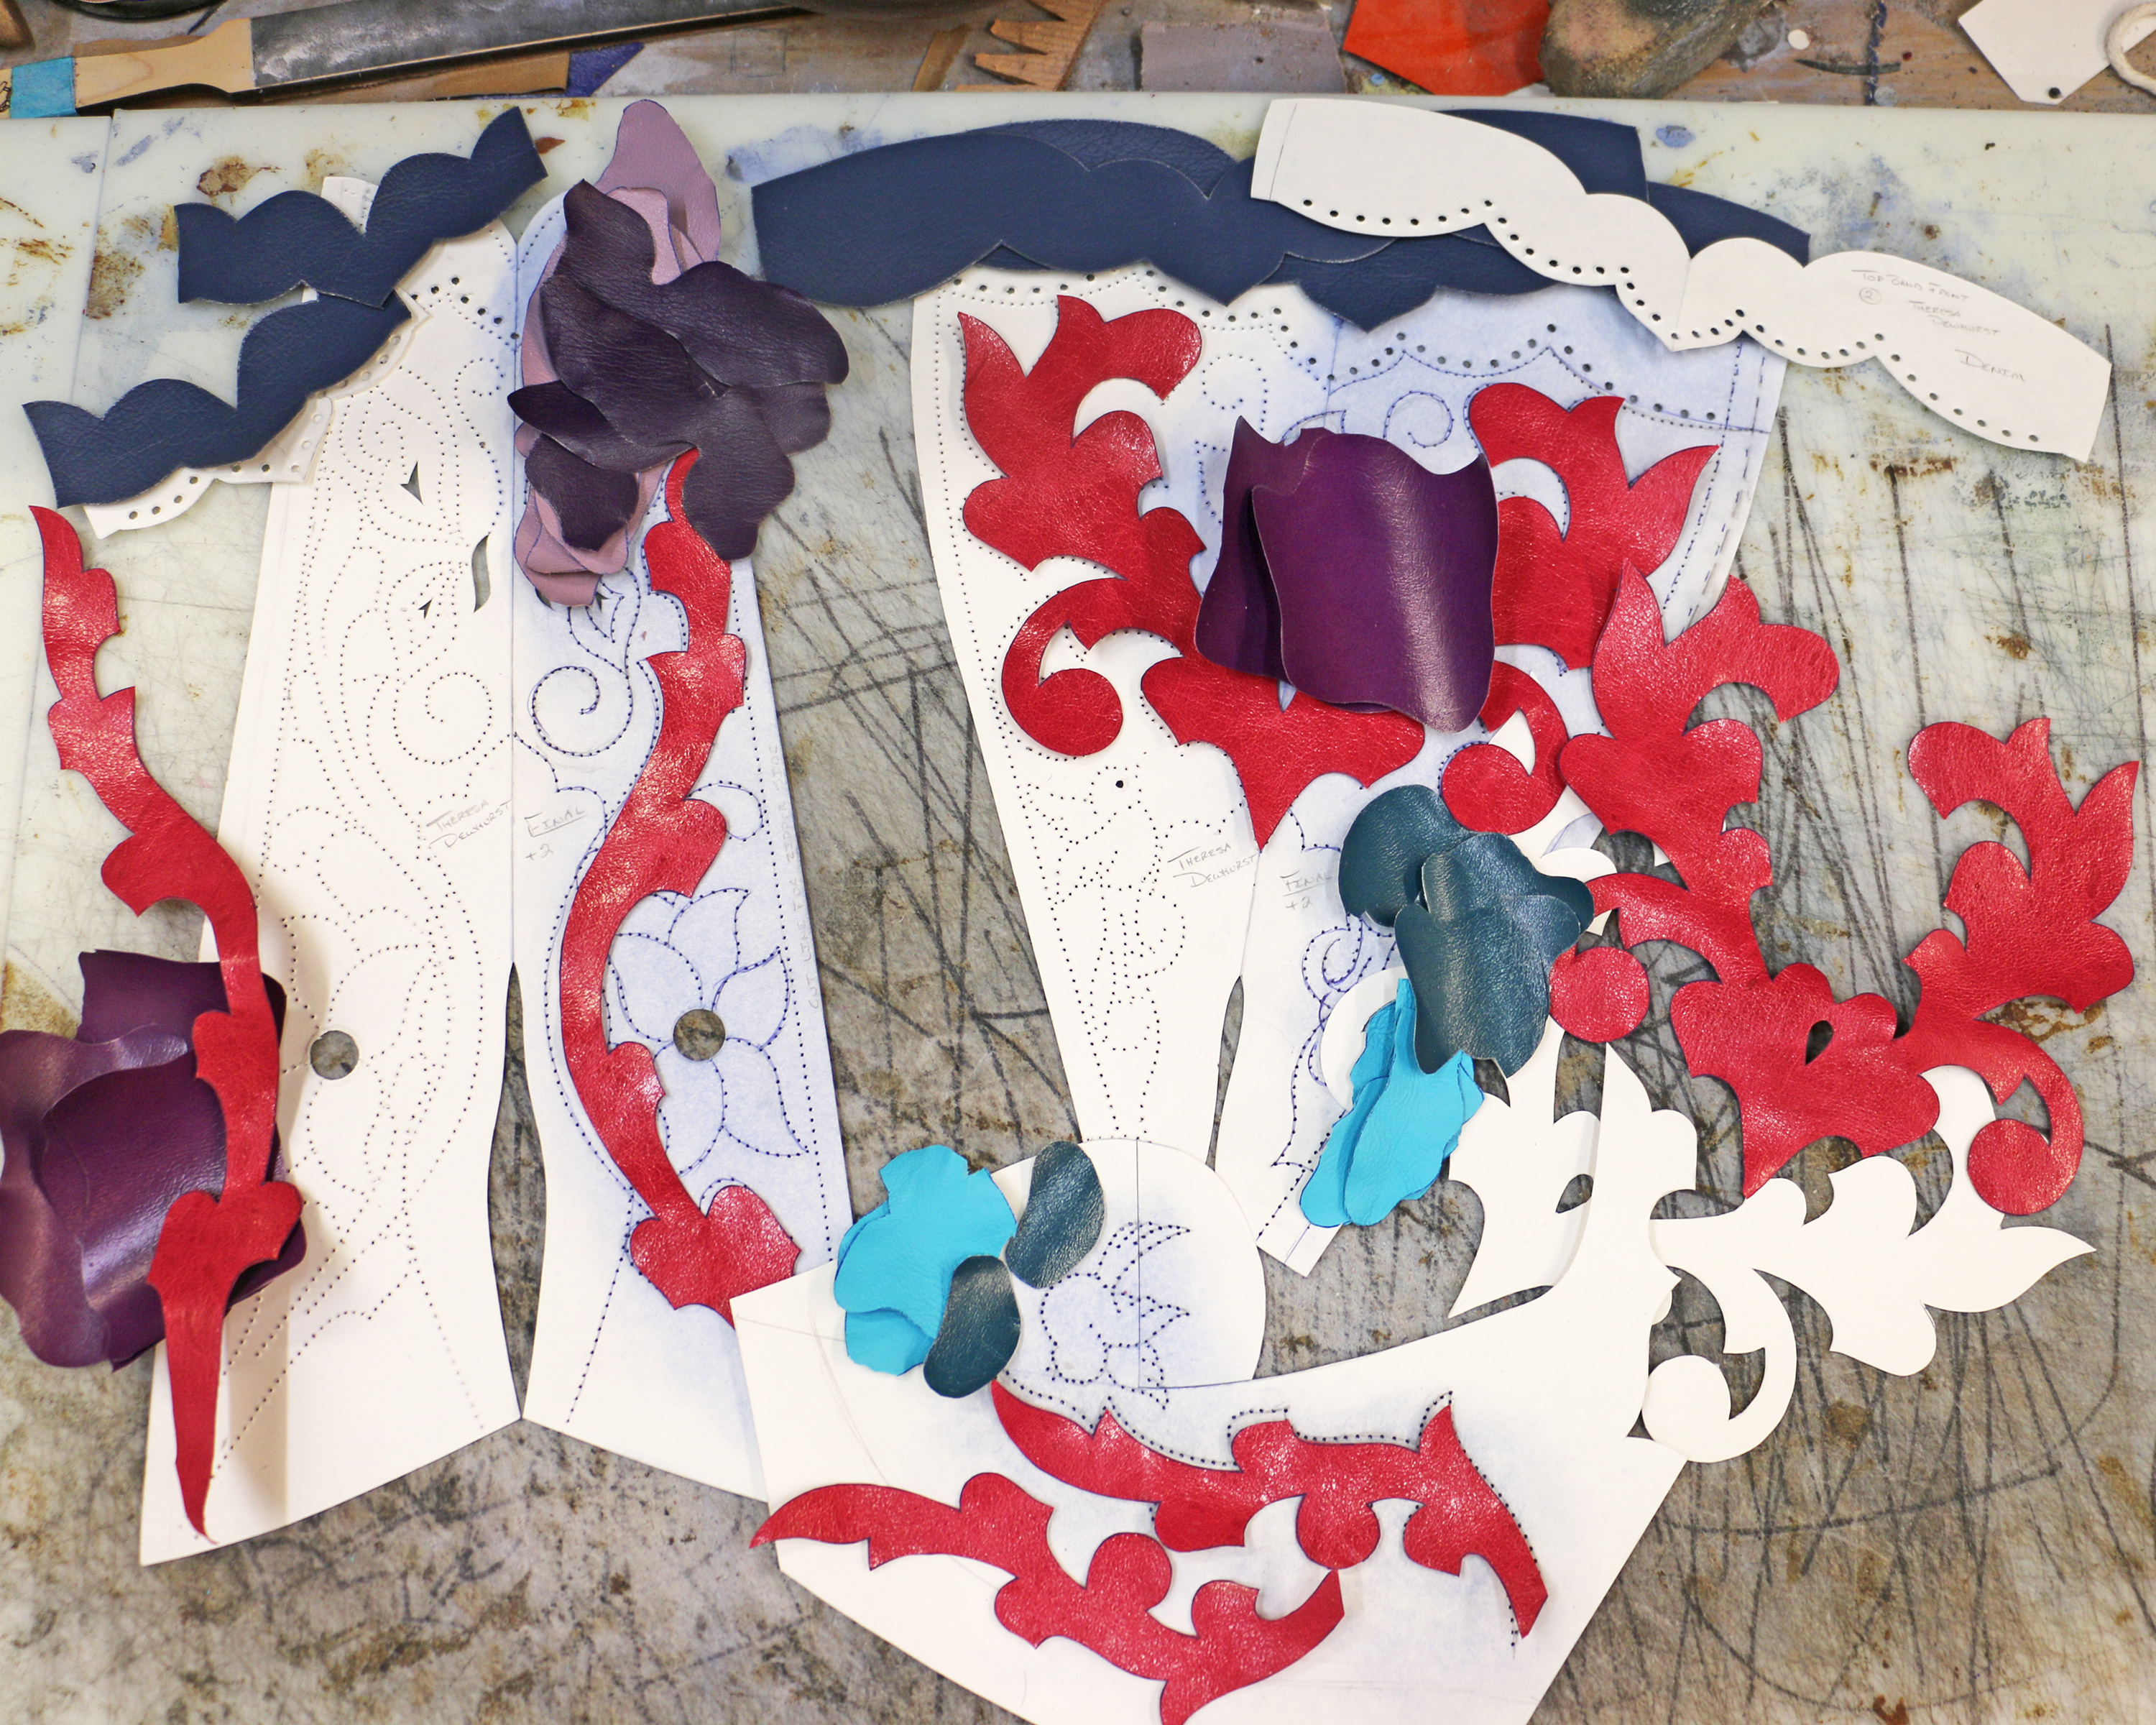
All the inlay/overlay pieces are cut and skived for this pair of boots. You’ll notice that the pink pieces are carefully cut to their final shape and the other bits of leather are amorphous blobs. That’s because the pink pieces are overlay and they will lay on top of the boot top leather, while the other elements are inlay and their final shape will be determined by the contours of the hole I cut into the boot top leather.
 | customboots on Challenge |
 | pleasantlyconnoisseu… on Challenge |
| customboots on Challenge |
| Eugen T. on Challenge |
 | Mike McCanna on Lessons |

