One boot is turned right-side-out and one hasn’t been turned yet.

One boot is turned right-side-out and one hasn’t been turned yet.
Y’all want to know a really good feeling? It’s when you decide to get soles laid and stitched before you go home, so you lay the soles and you stitch them and everything goes great and you go home.
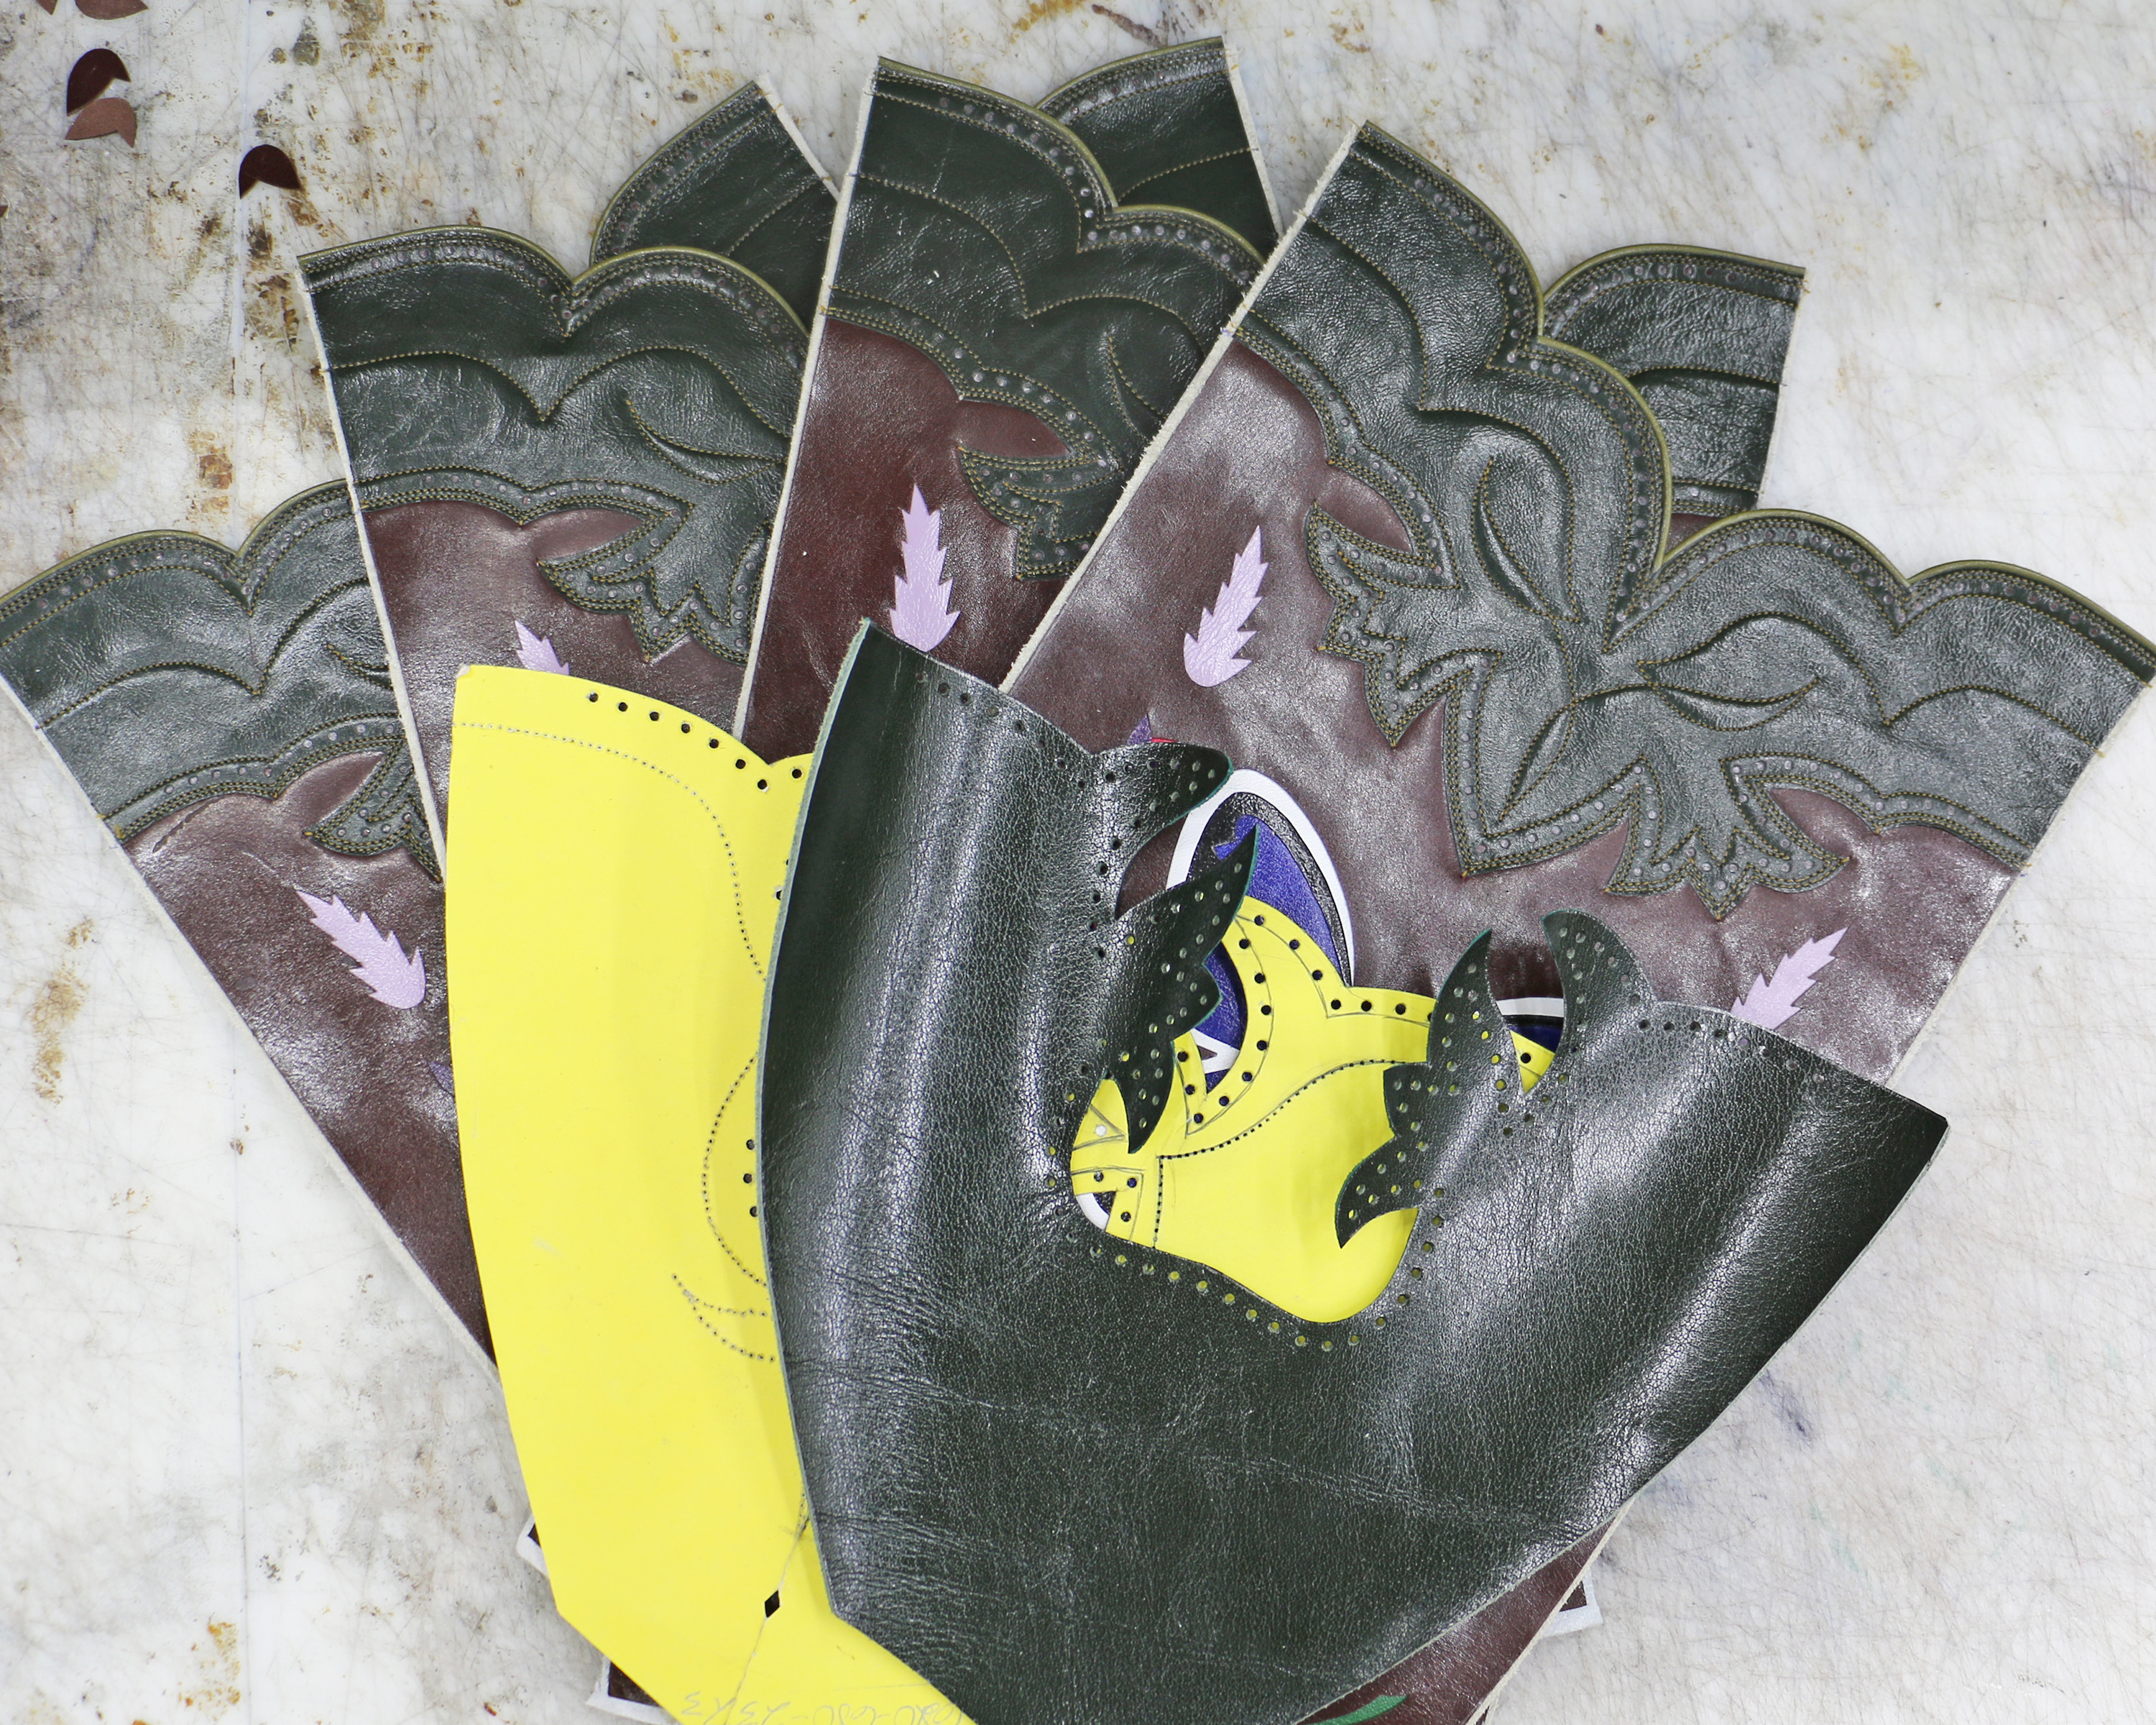
Don’t judge a book by its cover; don’t judge leather inlay/overlay before it’s stitched.
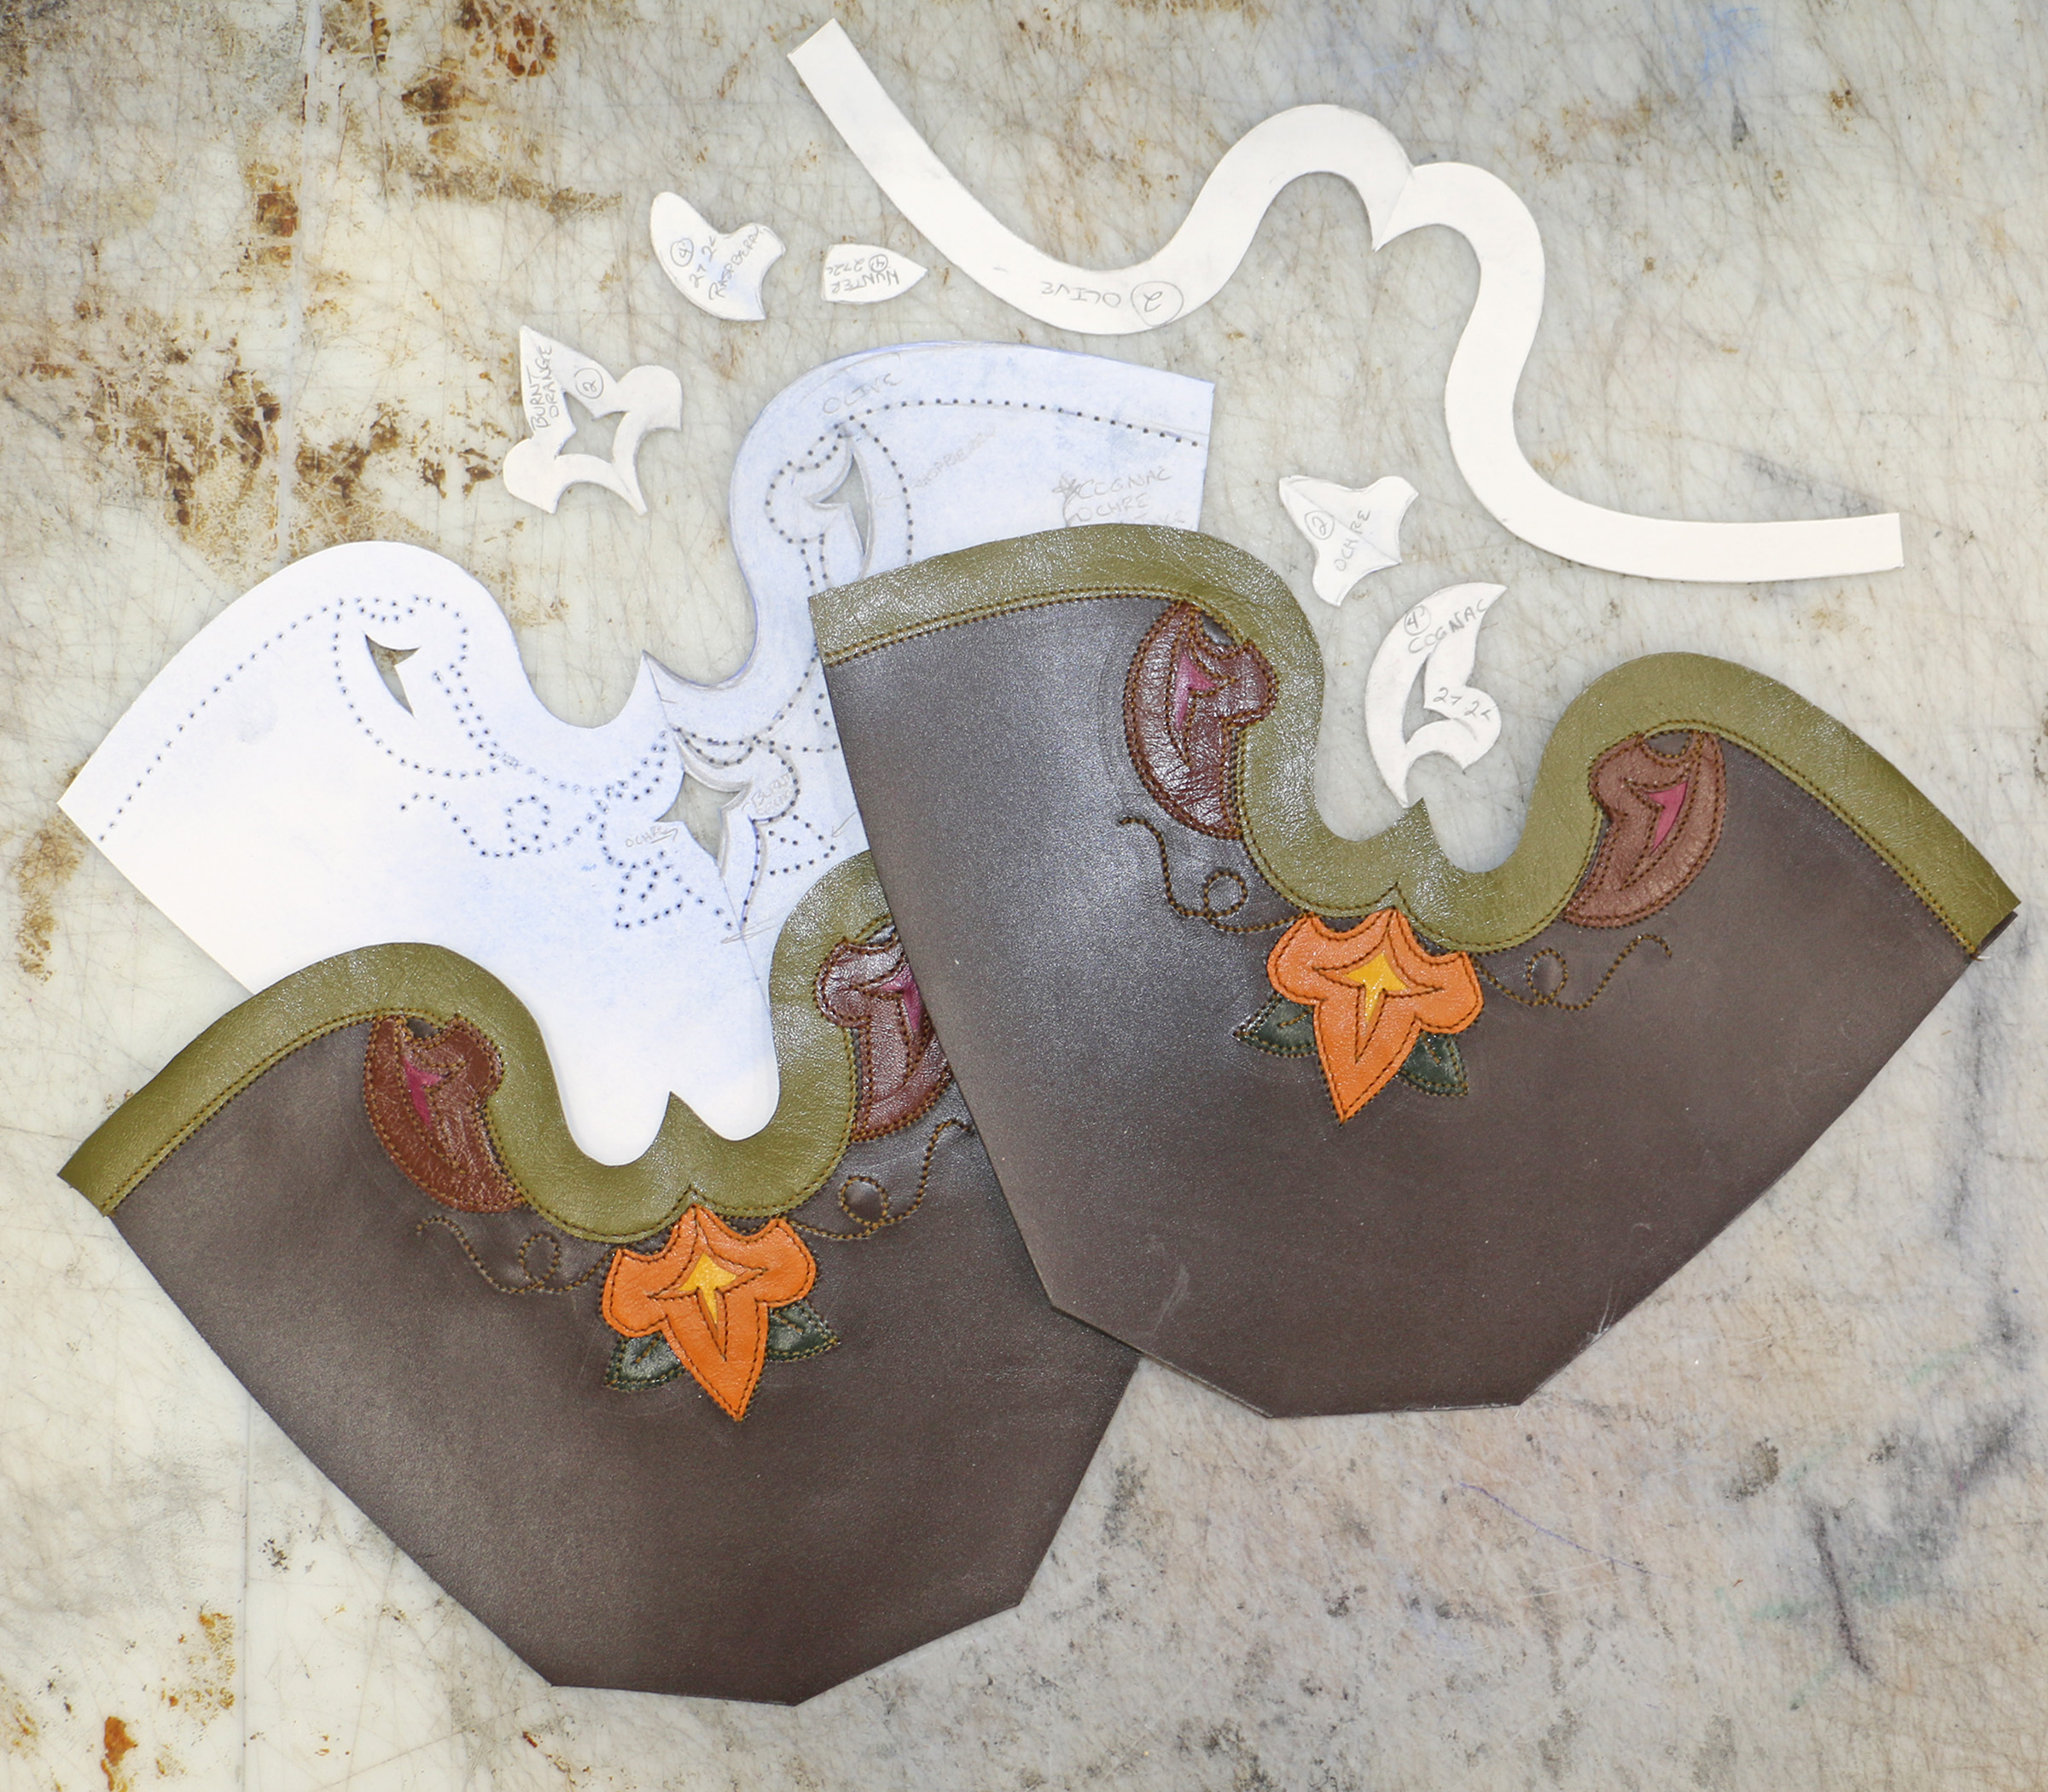
I decided to do the wingtip first so I could see the shapes and colors. The wingtip flowers are small and require utmost precision. Even cutting slightly outside the line on one flower and slightly inside the line on its mirror image would result in two flowers that are obviously different sizes. The piece for the inside of the flower must also be cut accurately; it needs to be big enough to cover the decorative shape cut into the flower but small enough to not hang out the edges.
Also, glueing on a flower that’s simultaneously under the olive band and over the olive band is a little fiddley.
I wasn’t really feeling like a person who wanted to work today* so I decided to inseam because it’s my favorite thing. I put on the Osborne Brothers and they sang me through the afternoon.
*I felt like an independently wealthy person of leisure but my bank account said LOL, no.
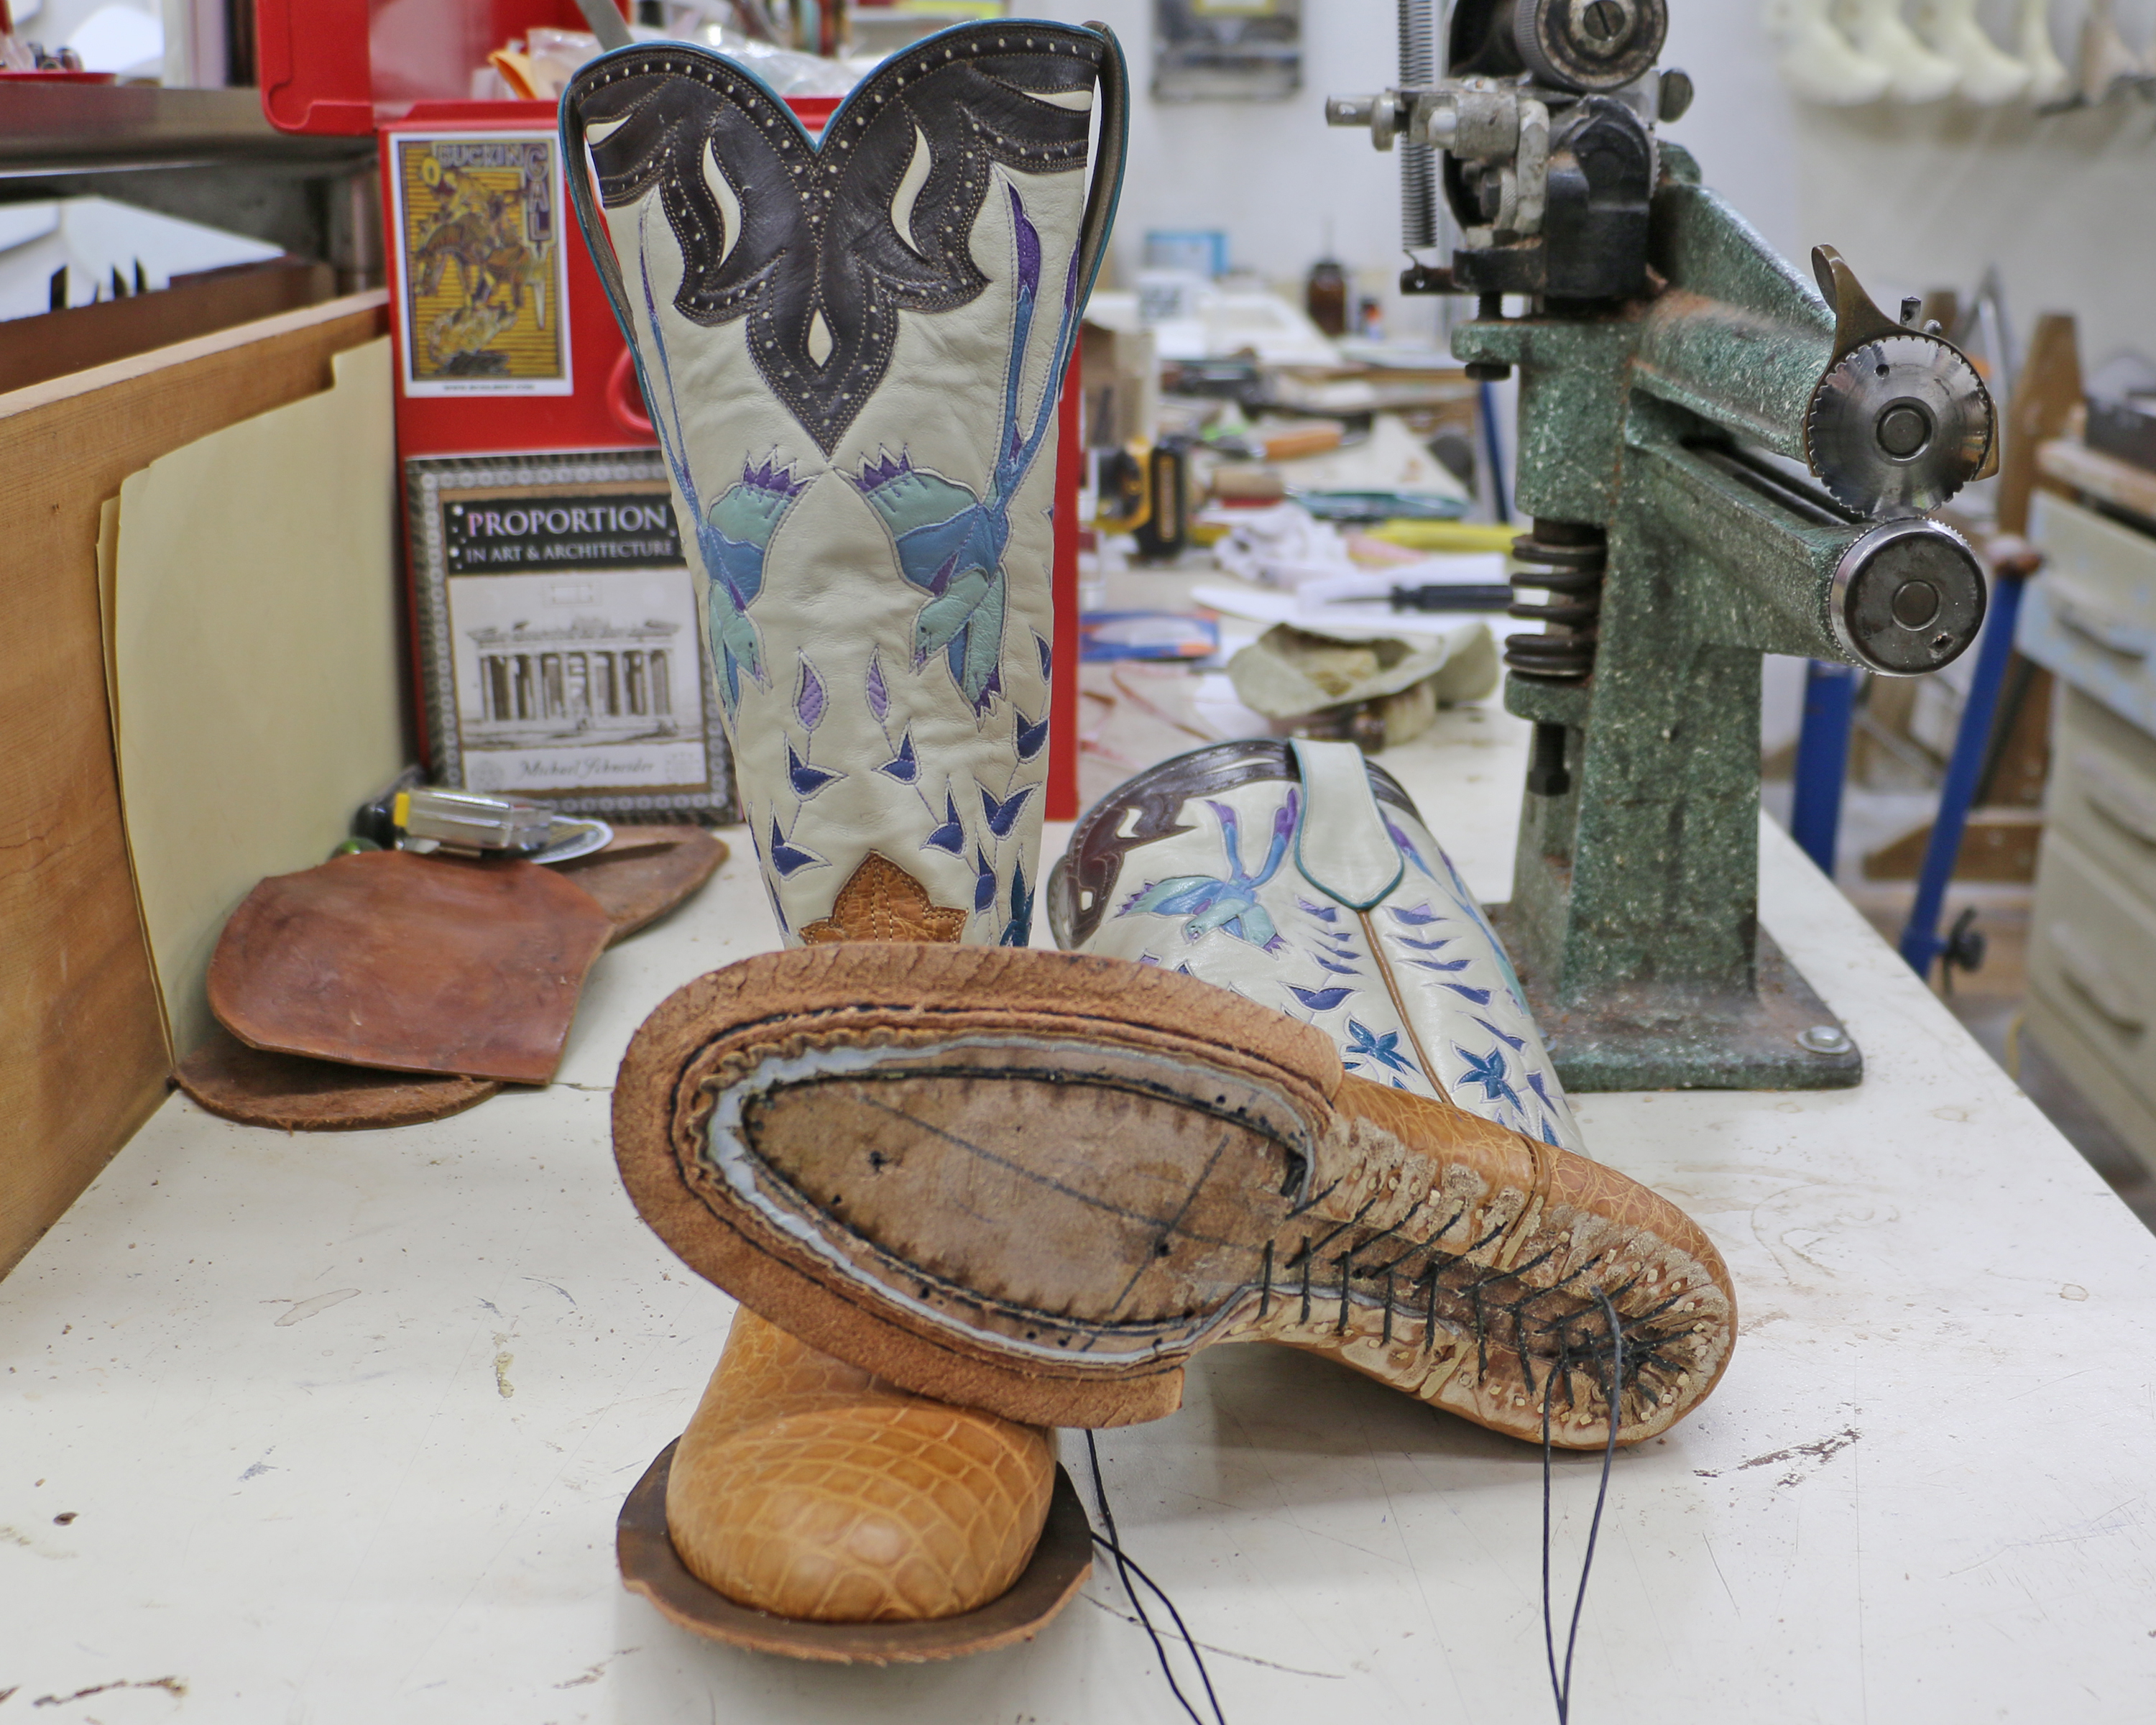
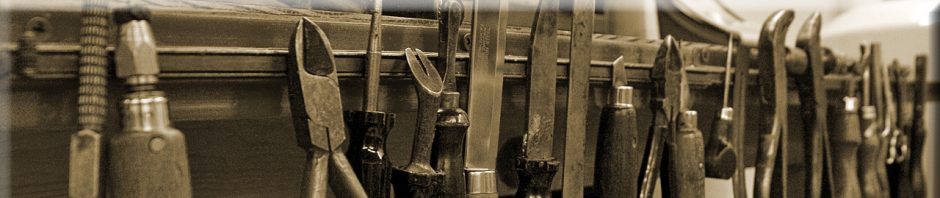
The Counter (also called Heel Stiffener in Europe) is the firm piece of leather or synthetic that supports the heel area of a shoe or boot. Cowboy boot counters are made from the same heavy, 1/4″ thick leather as soles. Leather shoe counters in bespoke shoes are about 1/3 the thickness and they’re typically dampened and then split (made thinner, if the leather’s too heavy) and skived (thinned along the edges at an angle). Cowboy boot counters are skived along all the edges but they’re left full thickness in the center. It can be done with a knife but most boot makers use a sander to do the shaping.
Making counters is one of my least favorite jobs in boot making. My hands are always cramping by the time I get a pair sanded, especially if they’re large and I’m doing more than one pair. It’s important to get it right; you want that thickness in the center but you must carefully calculate where and how much to sand away. Leave it too thick and you’ll never get the boots on the last in the heel area, take away too much and the boots won’t properly support the heel.
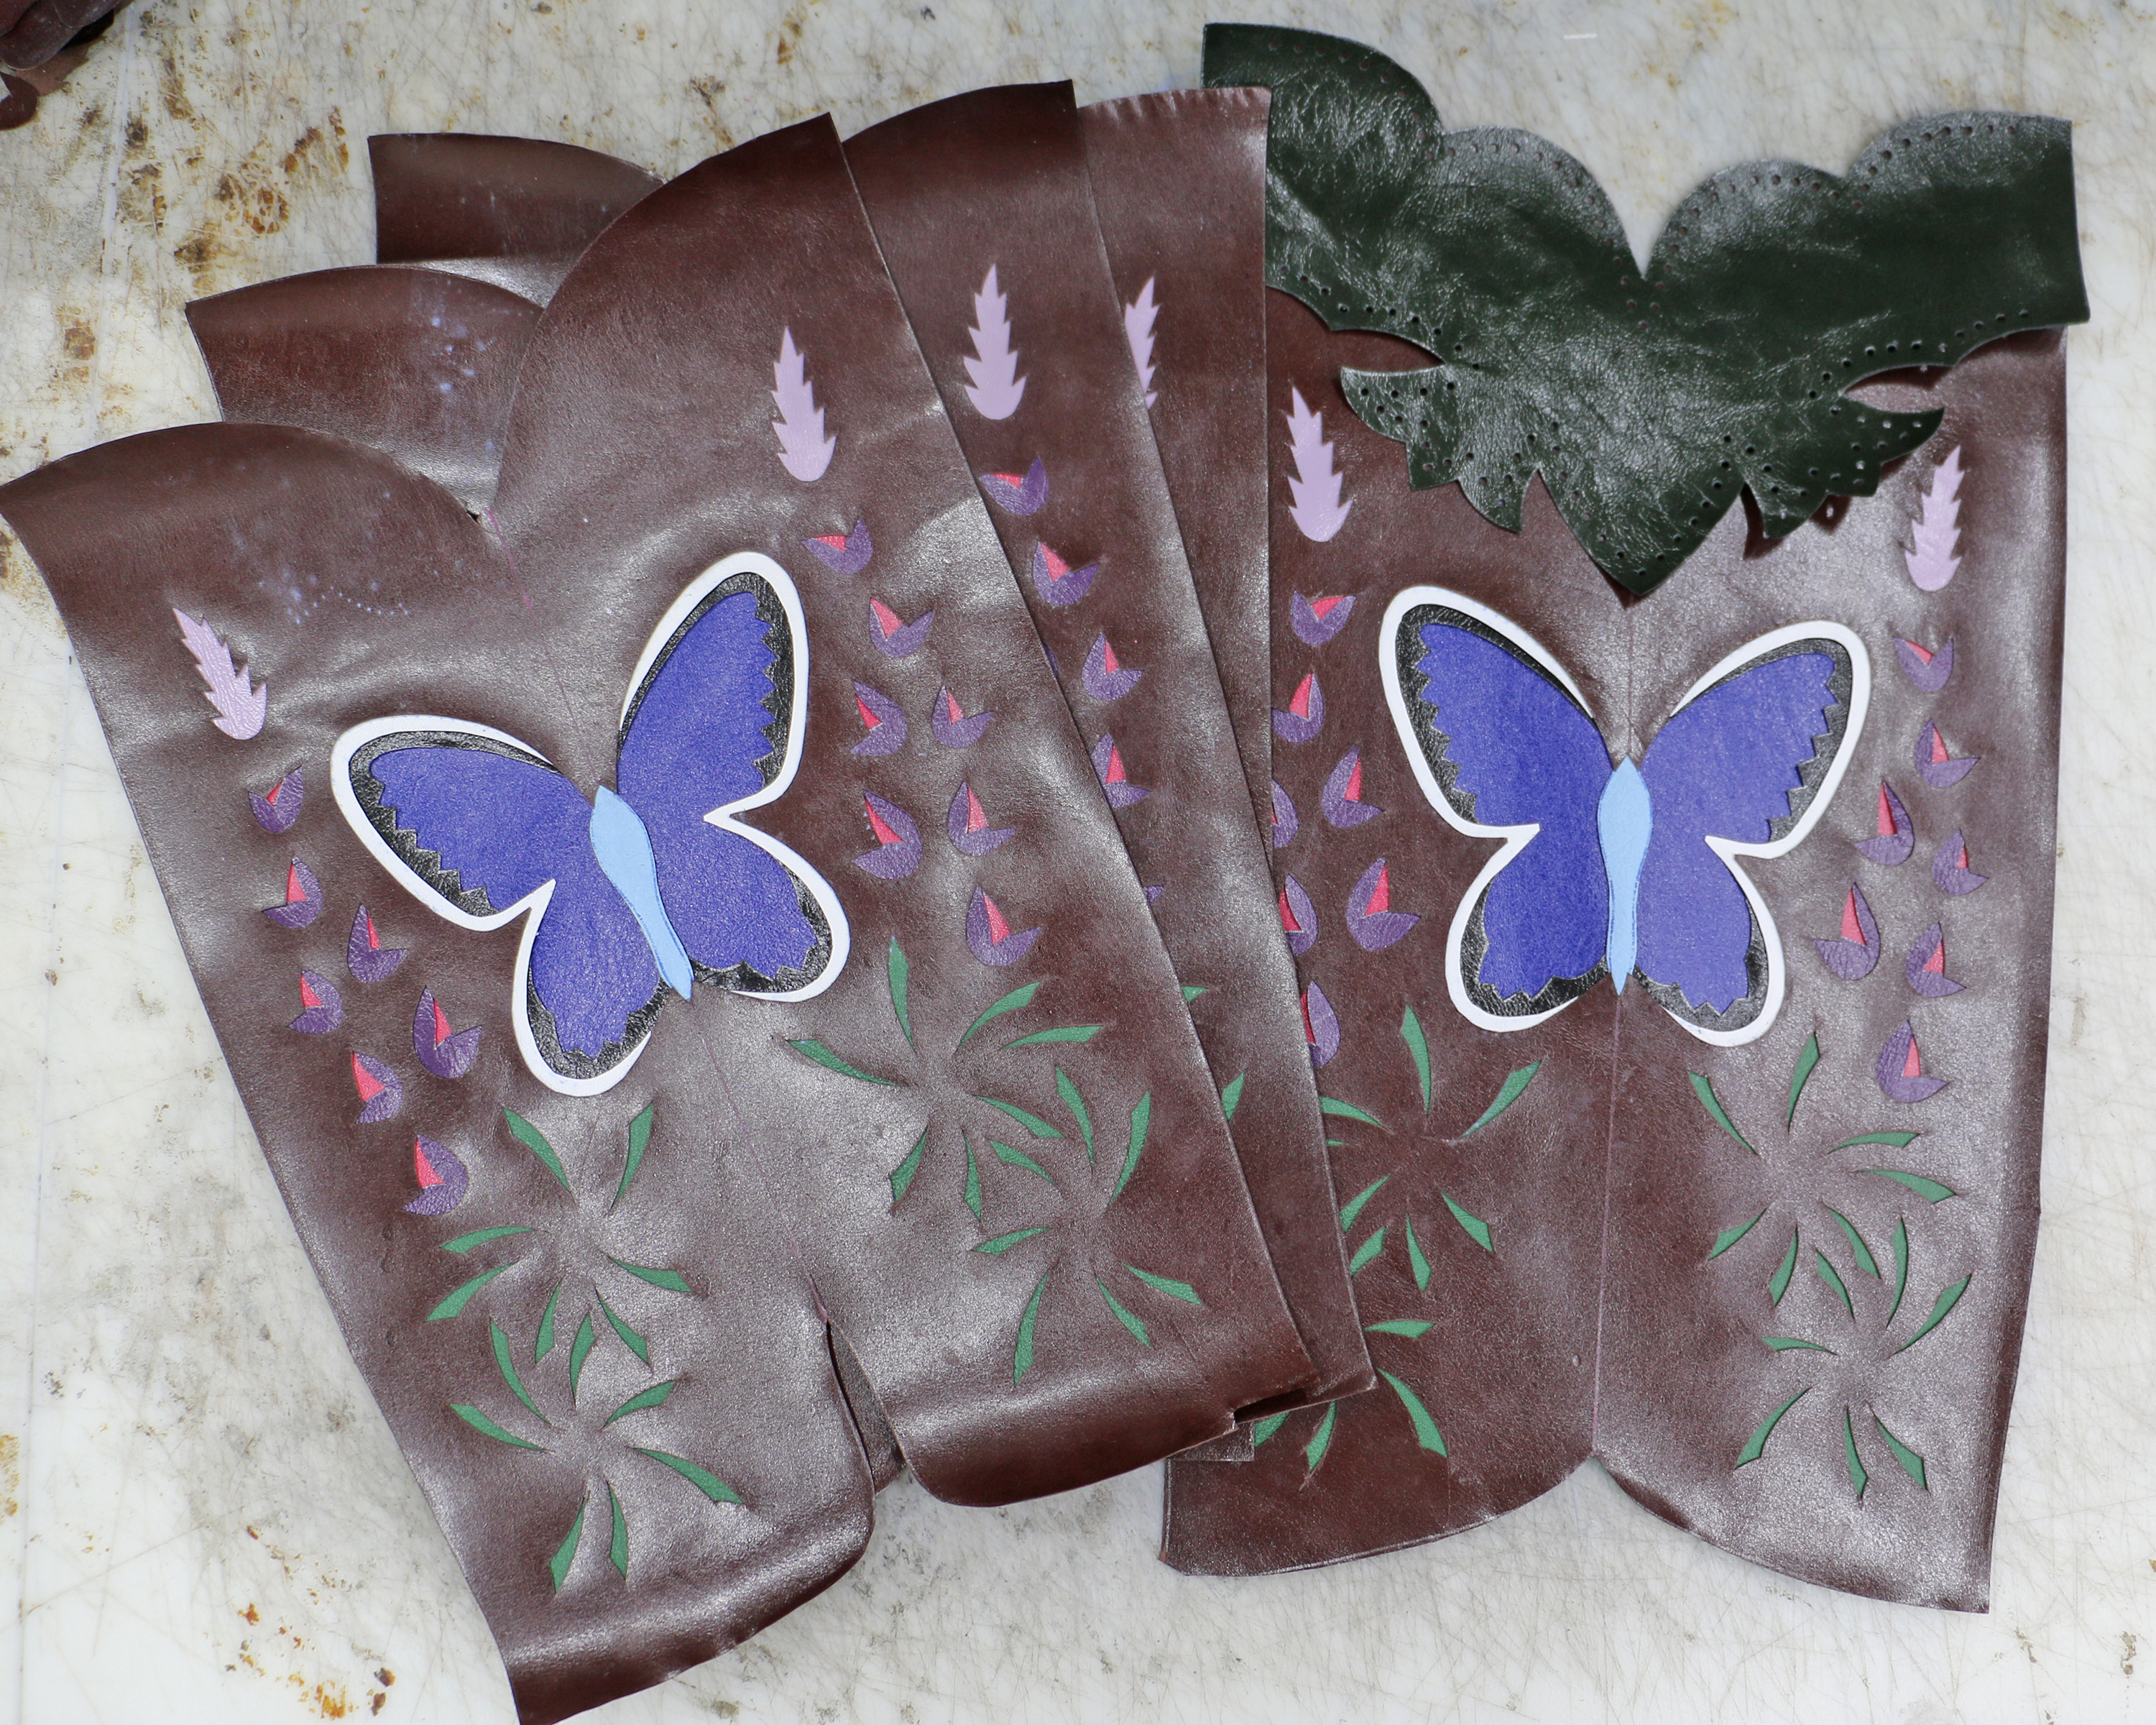
Karner Blue Butterfly and Wild Lupine boot tops are stitched!

I copied this wingtip design from a vintage boot (maker unknown) and it’s always been one of my favorite wingtip shapes. It was fun to reimagine it as a top band also for this pair of boots.
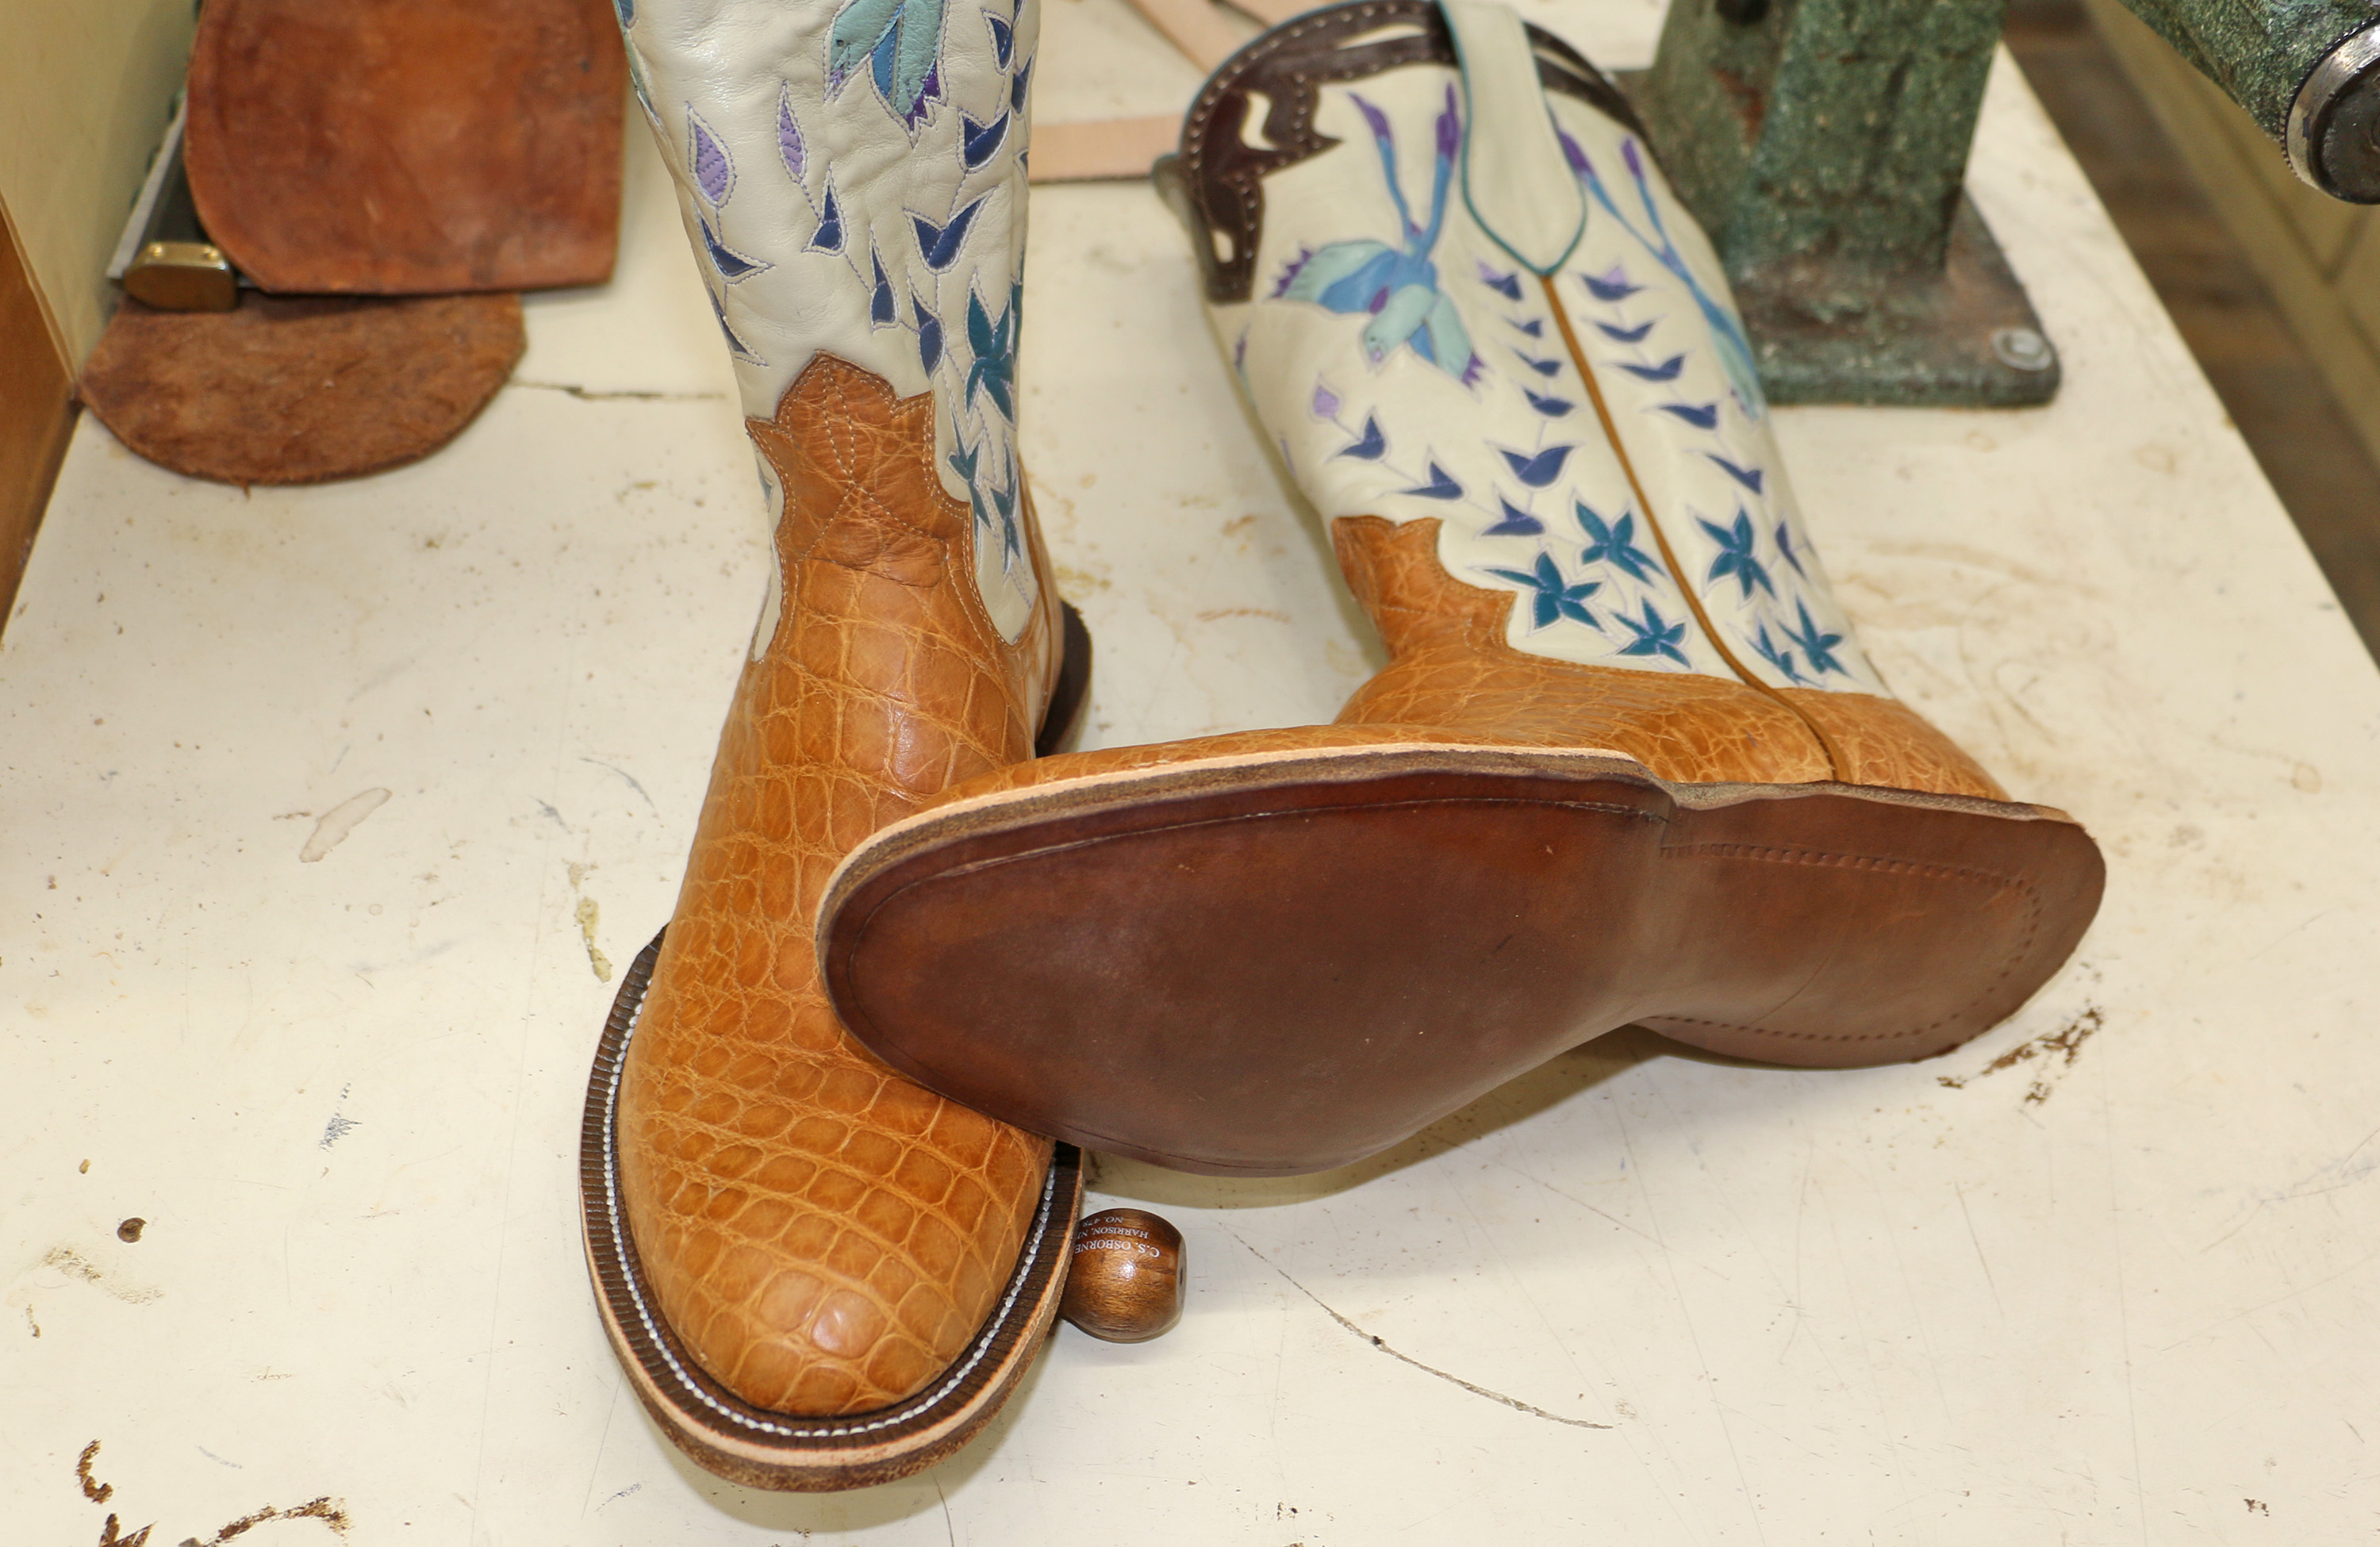
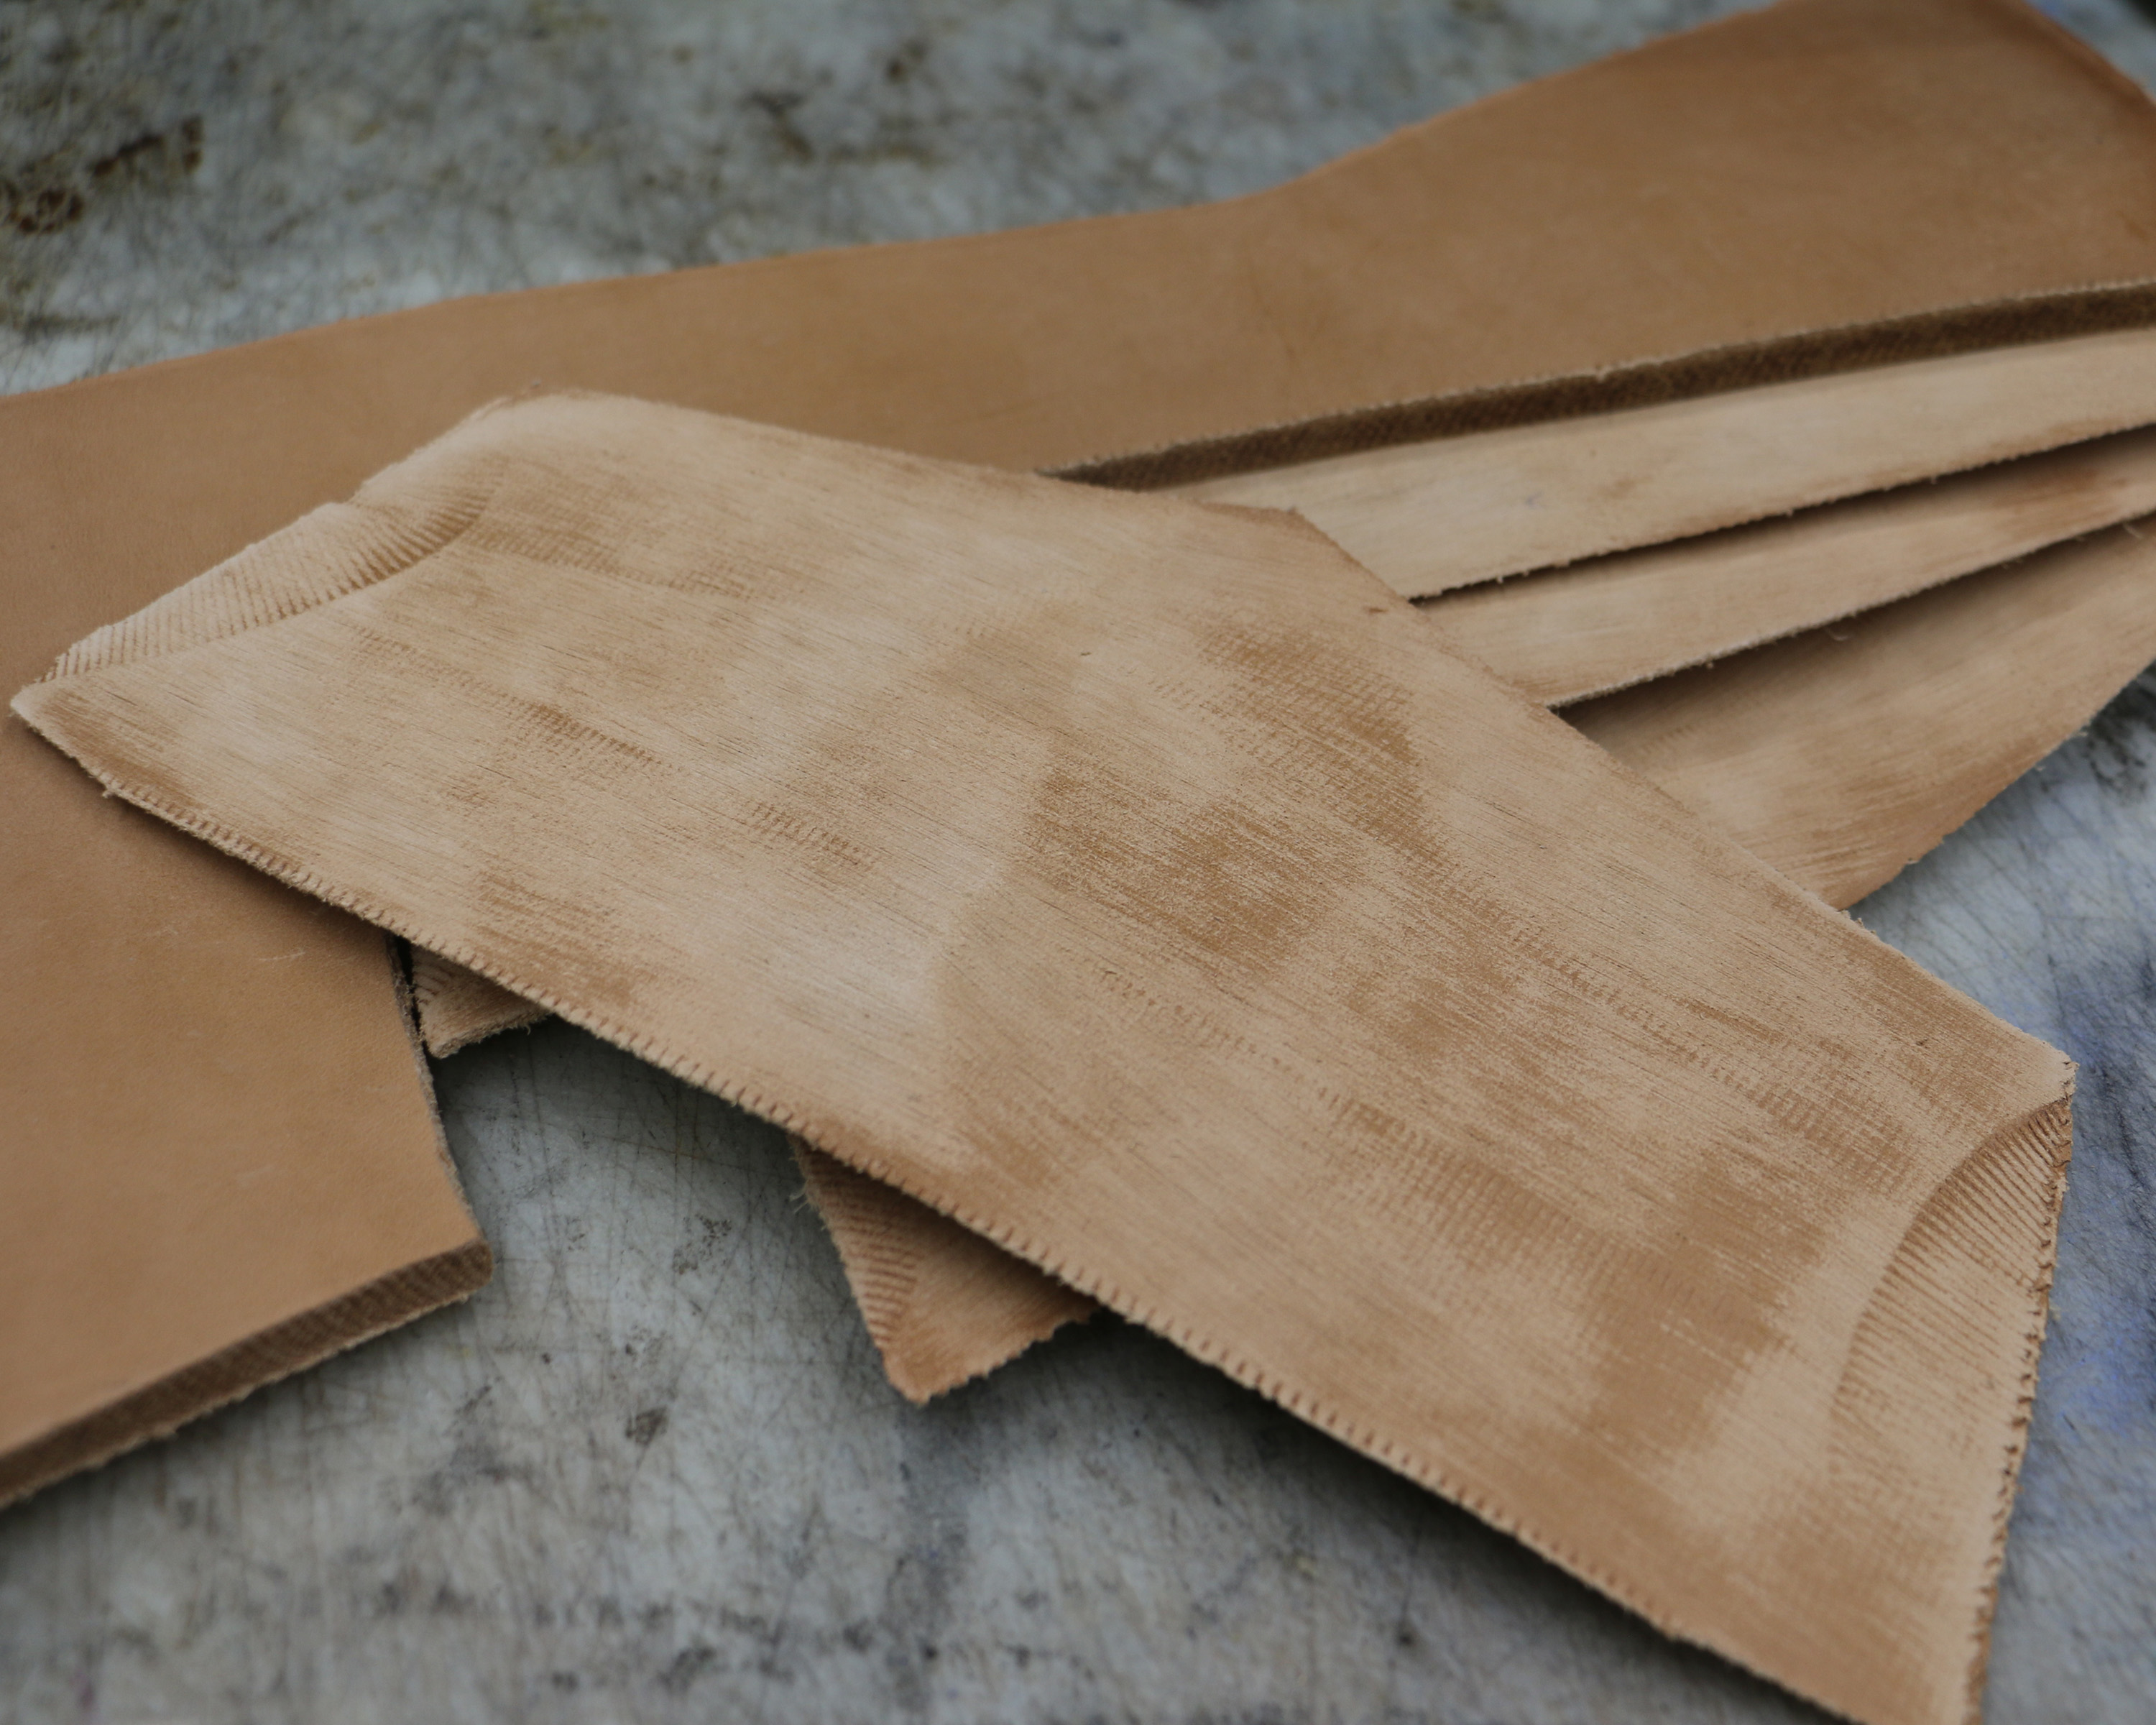
Several years ago a potential customer brought in a pair of boots made for him by a Texas boot maker named Don Atkinson. The boots were beautiful; I particularly noticed how smoothly they joined at the sole and I realized I needed to do a better job in that respect. Since that day I’ve been much more careful in preparing the boots for the sole, making sure there are no bumps or wrinkles and the leather is carefully sanded so the sole will adhere, and I often think of him when I’m doing that process.
As far as I can remember I never met Don Atkinson, but a few days later I sent him a note telling him how much I had admired his work and how it inspired me to do better. I didn’t hear back from him but several months later his widow called. She said he’d died not long after my note arrived but she was calling to let me know that my words had meant a lot to him.
There are a few steps to be done before I lay the soles on these boots, but the foundation for the sole is smooth and clean, as Don would have wanted.

No more lessons, only… aren’t these beautiful?
| customboots on Inspiration | |
| gleaming00e65375c7 on Inspiration | |
| Olivia Henson on All through sewing | |
| customboots on So many rows | |
| Elaine Krankl on So many rows |
