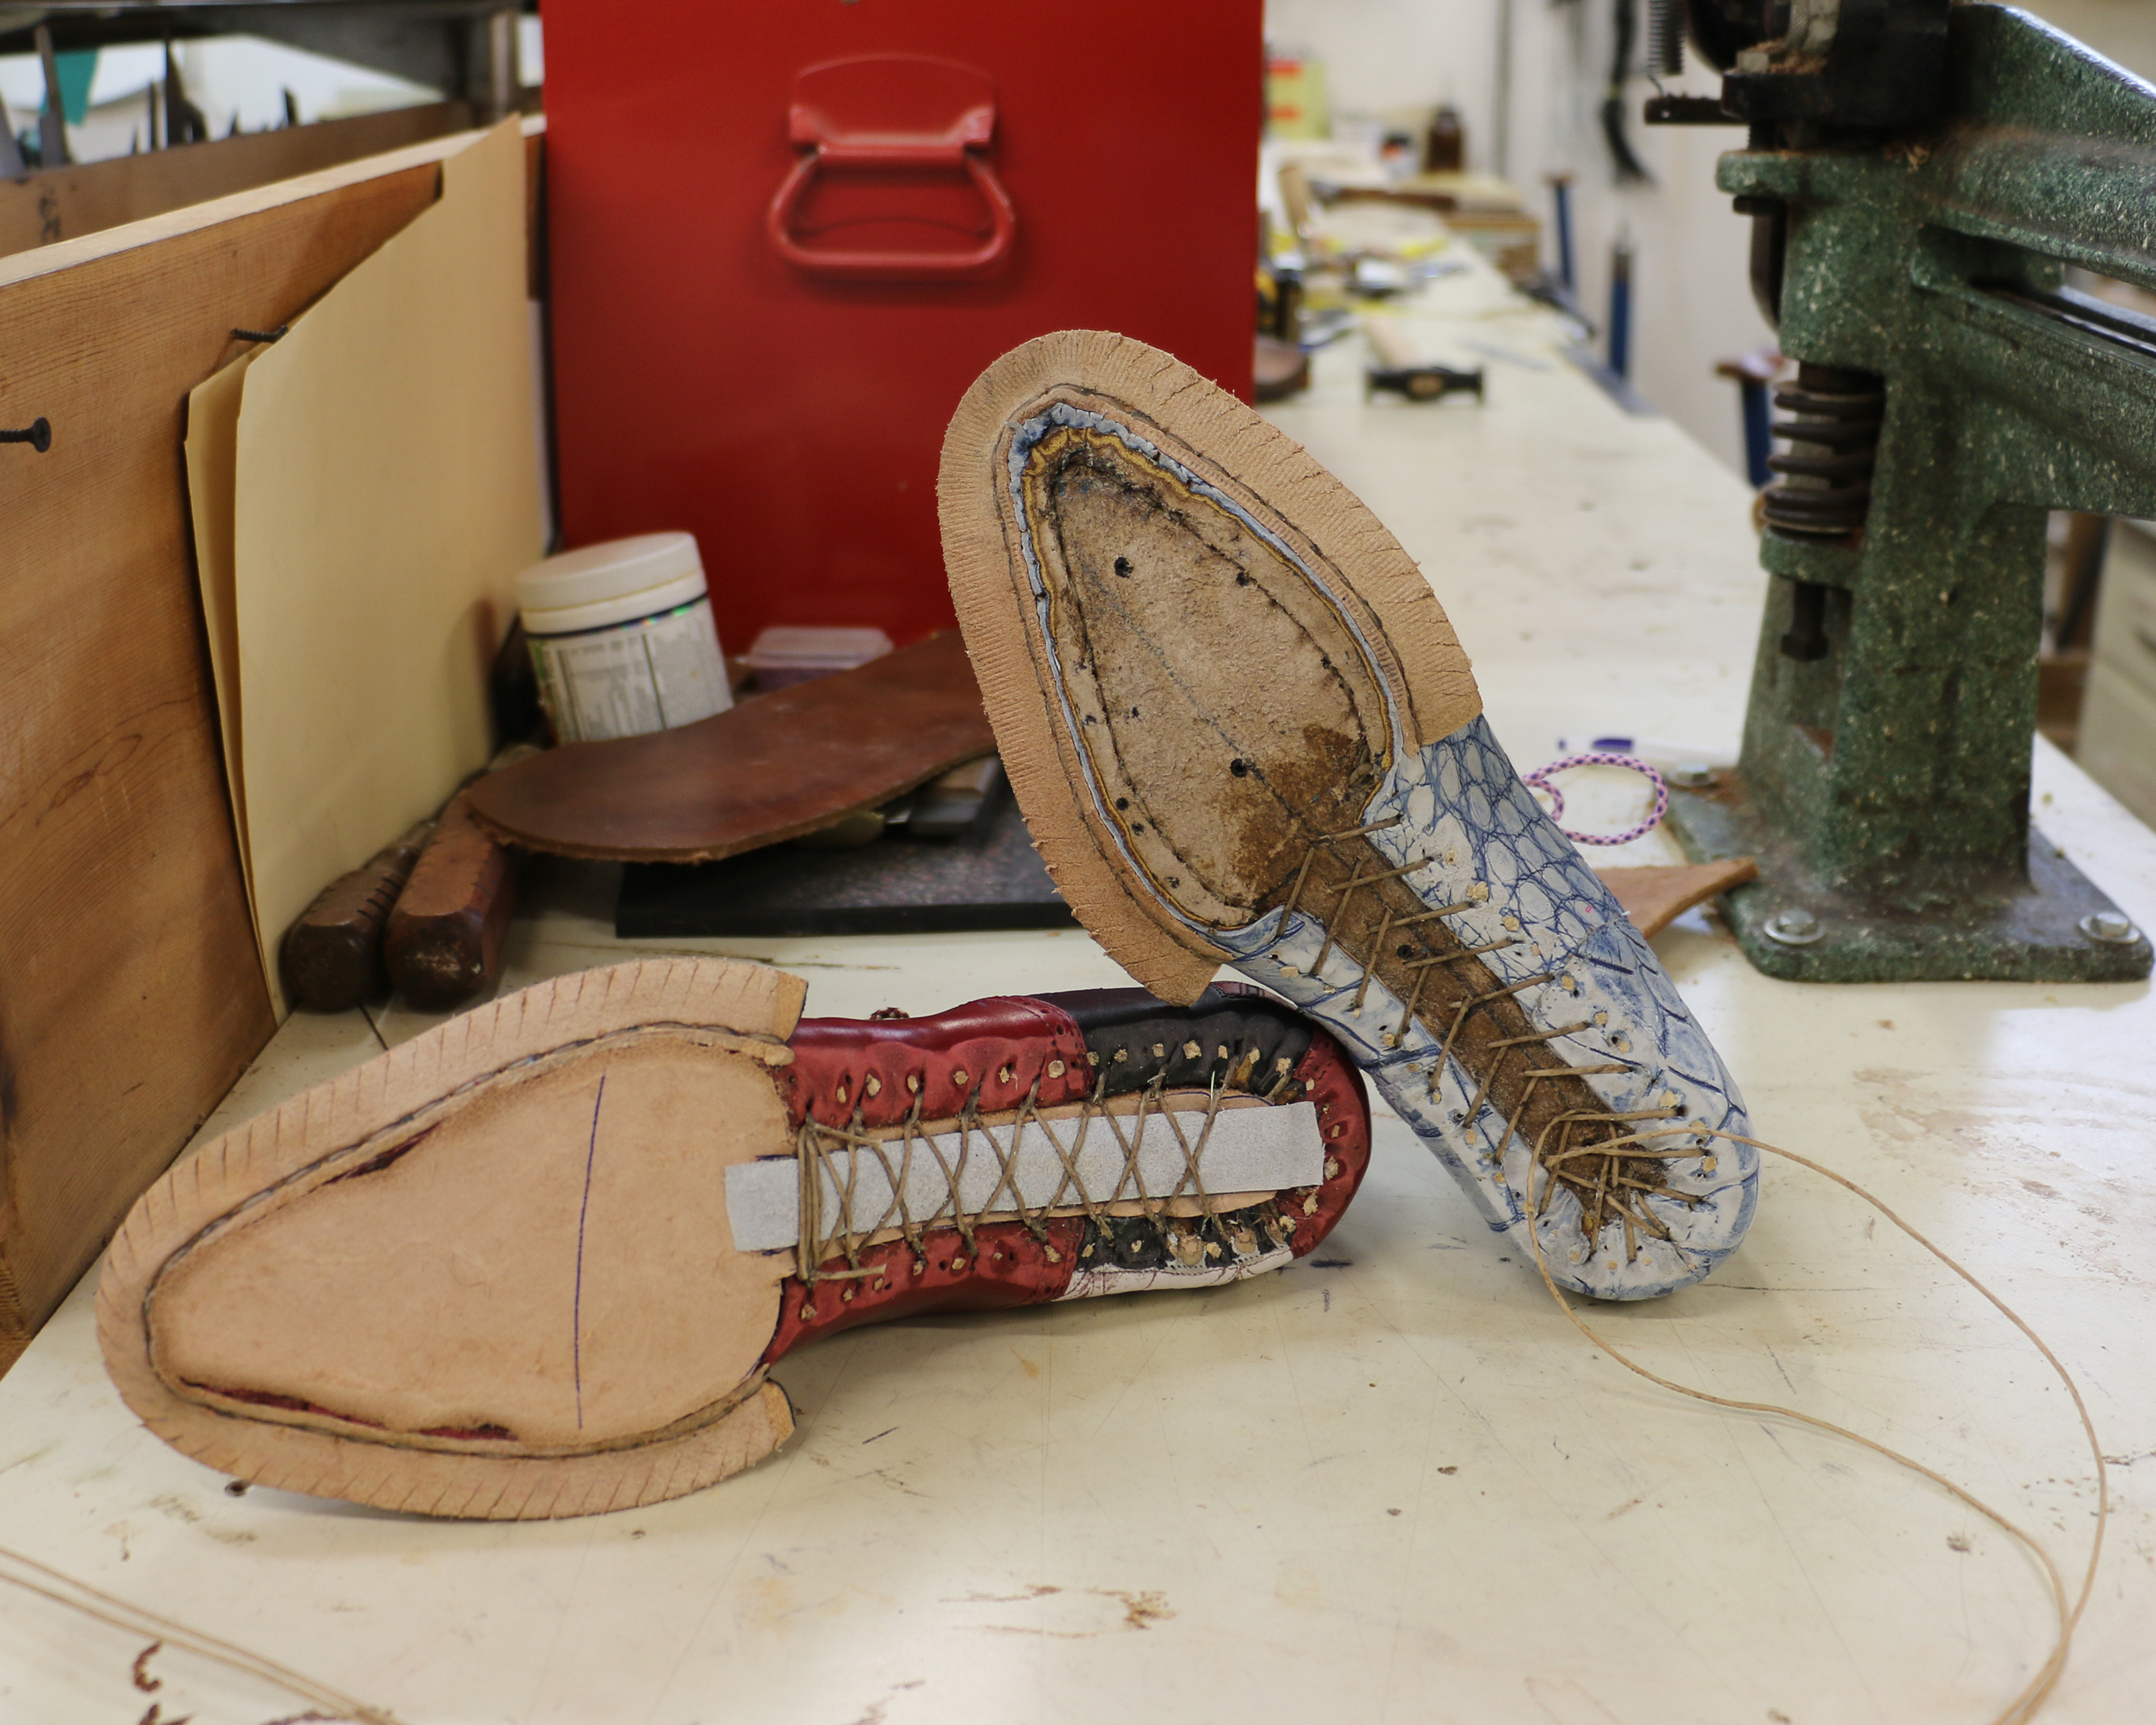
I inseamed the “Satan Is Real” shoes yesterday. Inseaming is hand sewing the shoe or boot to the insole while incorporating the welt, which is the narrow strip of leather where the stitches holding the sole are placed.

I inseamed the “Satan Is Real” shoes yesterday. Inseaming is hand sewing the shoe or boot to the insole while incorporating the welt, which is the narrow strip of leather where the stitches holding the sole are placed.

Long ago, I developed the opinion that time spent patterning is never time wasted. If you spend the time thinking about your pattern and making sure it’s correct, then sewing all the pieces together is easy. When you don’t spend time on the pattern, you’ll use that time (and more) later trying to adjust everything to make it fit.
These boots are really demonstrating the truth of that to me. I spent days and days thinking about this pattern and how the pieces would go together, and because it was far outside my comfort level that time was difficult for me. But I have to admit that once I started this boot it has amazed me with how easily it’s come together.
The toes are done now so from here to the finish it’s just normal shoe making!

Why was Lisa crying this afternoon? Someone sent me a care package of vintage boot catalogs and materials, and this original Jay Griffith boot catalog was in it. I’ve seen catalogs from companies where Jay worked but never a Jay Griffith catalog.
Vintage catalog is on the left, unused and framed Jay Griffith boot company matchbook cover is in the center, framed Jay Griffith boot company newspaper ad is on the left. Both of the framed items were a gift from Clint Hickman and they made me cry too when he gave them to me.

I put these “Satan Is Real” shoes on the last this afternoon, and also used a mystery tool for the first time.
I visited a shoe tool factory in England several years ago and spotted these pliers. The man giving us the tour that day didn’t know what they were and no one in our group knew what they were either. I of course purchased them immediately, because 1.) They’re a mystery and 2.) I didn’t have that tool. (Anyone who’s saying, “But if you didn’t know what it was then why did you need it?” can sit down now.)
I thought about the tool, how it was shaped and how it would function, and decided that it was for lasting in the shank area of a shoe with the handy benefit of having a hammer also. Lasting pliers have a hammer attached; shank pullers do not.
All this time the pliers have been sitting in my drawer unused, although they’ve occasionally been pulled out to be admired and exclaimed over. Today I thought of them and decided to see if my theory was correct. It was! They are shank pullers with a hammer.
The cool thing about them is that they appear to specifically be *shoe* shank pullers. Cowboy boot shank pullers bite down harder the stronger you pull, and these do not. Cowboy boot vamps often require very strong pulls, and shoes do not. (As a cowboy boot maker, I’ve had to learn to lighten up when lasting a shoe.) These don’t grip harder when you pull more vigorously so they don’t encourage you to pull too hard, which is the correct encouragement for lasting shoes.


These boots are on the last and I’m pleased to announce that:
1.) They’re sitting on the last as if they were patterned for it (LOL, they were, but I worry).
2.) The zipper is *everything* I wanted it to be. This view shows the medial/zipper side of one boot and you have to look closely to spot that it’s a zipper flap rather than a sewn-down strap.

My 2024 cowboy boot calendar is available now!
https://sorrellnotionsandfindings.com/product/cowboy-boot-calendar/

Many long hours of stitching later, the starry night sky boot tops are completed and she has announced she will never again do a design with multiple small circles.
The best way to learn these lessons is through experience!

These boots are all together and ready to put on the last, and I’m nervous. They look like they’re going to go on the last well, but I was admittedly patterning far above my skill level.
To answer the many questions I’ve had about why I patterned them as I did: I wanted to put a zipper in the boots, but I don’t like running the zipper straight up and down where a normal side seam would be, as it forces the counter to be too short. I angled the zipper across the side of the boot so I’d have a longer counter. The zipper is covered by a flap that matches the strap covering the opposite seam; at first glance they don’t appear to have a zipper.
I’m pretty happy with how I was able to achieve nice curves in the ankle area, in a boot with straight side seams, by springing the patterns under the vamp tongue and the counter cover.

My apprentice Morgan has been working hard. She’s only been here a week and we’re already well into two pairs of boots!