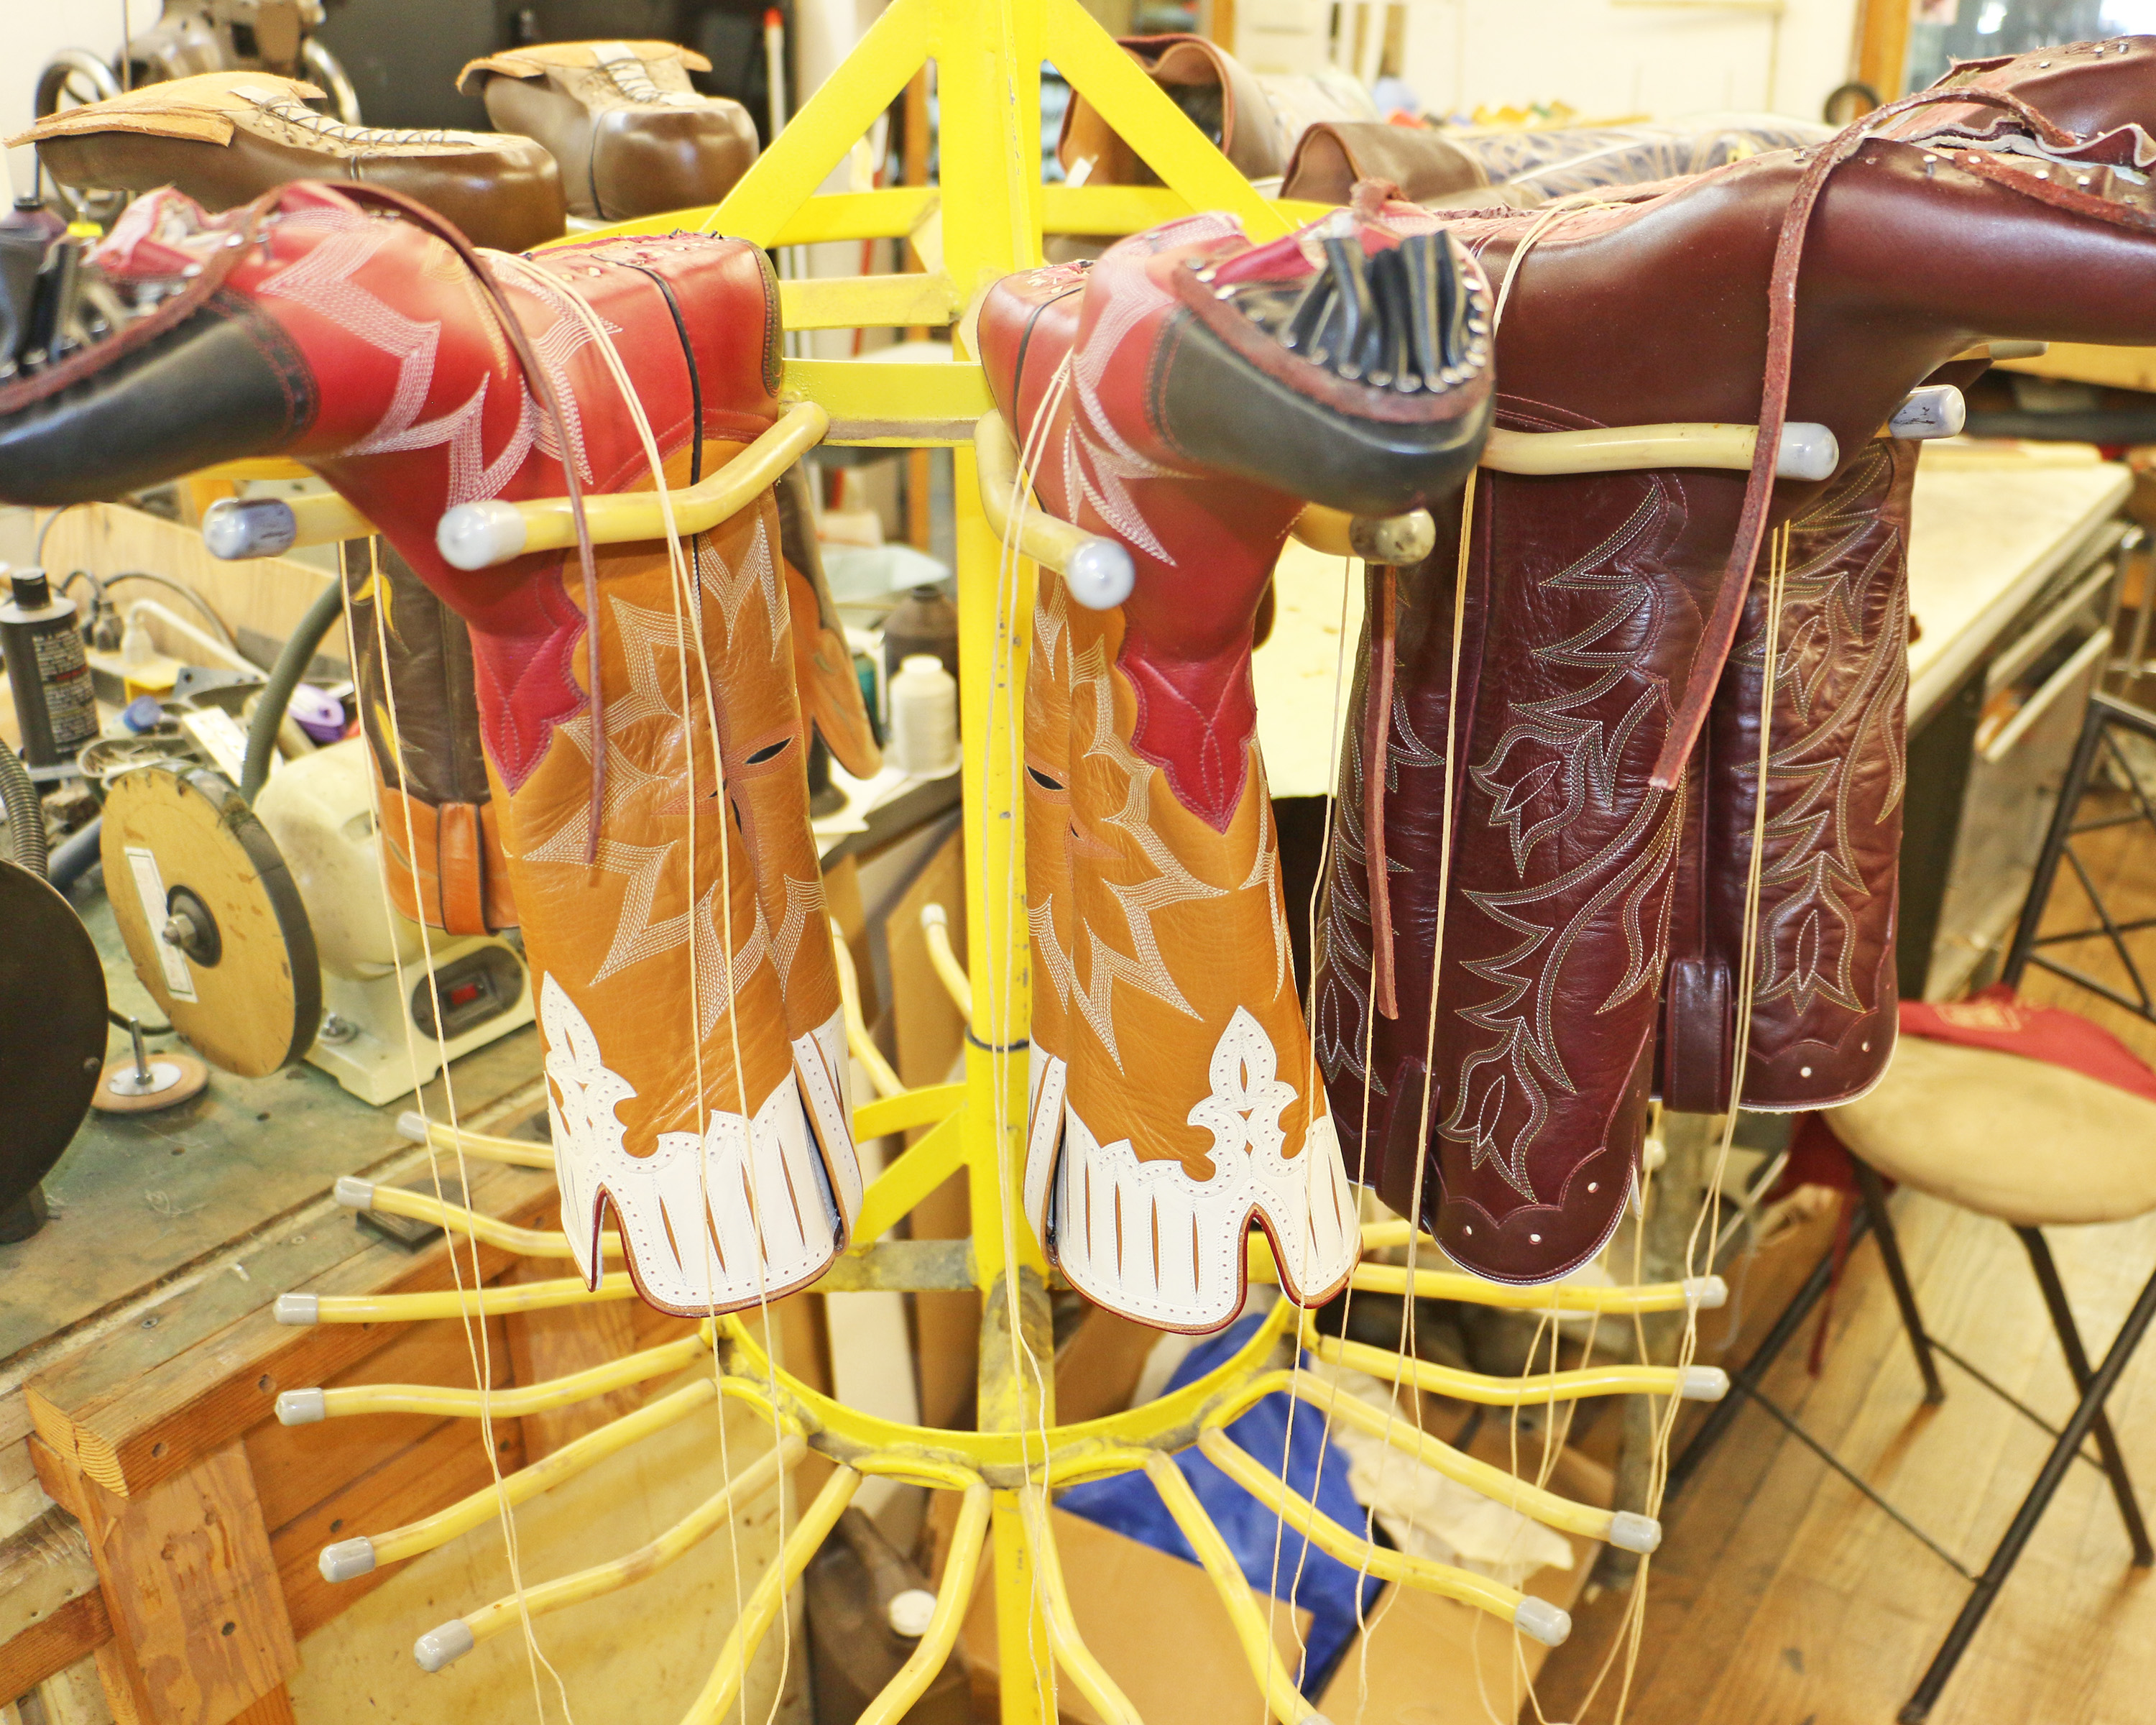
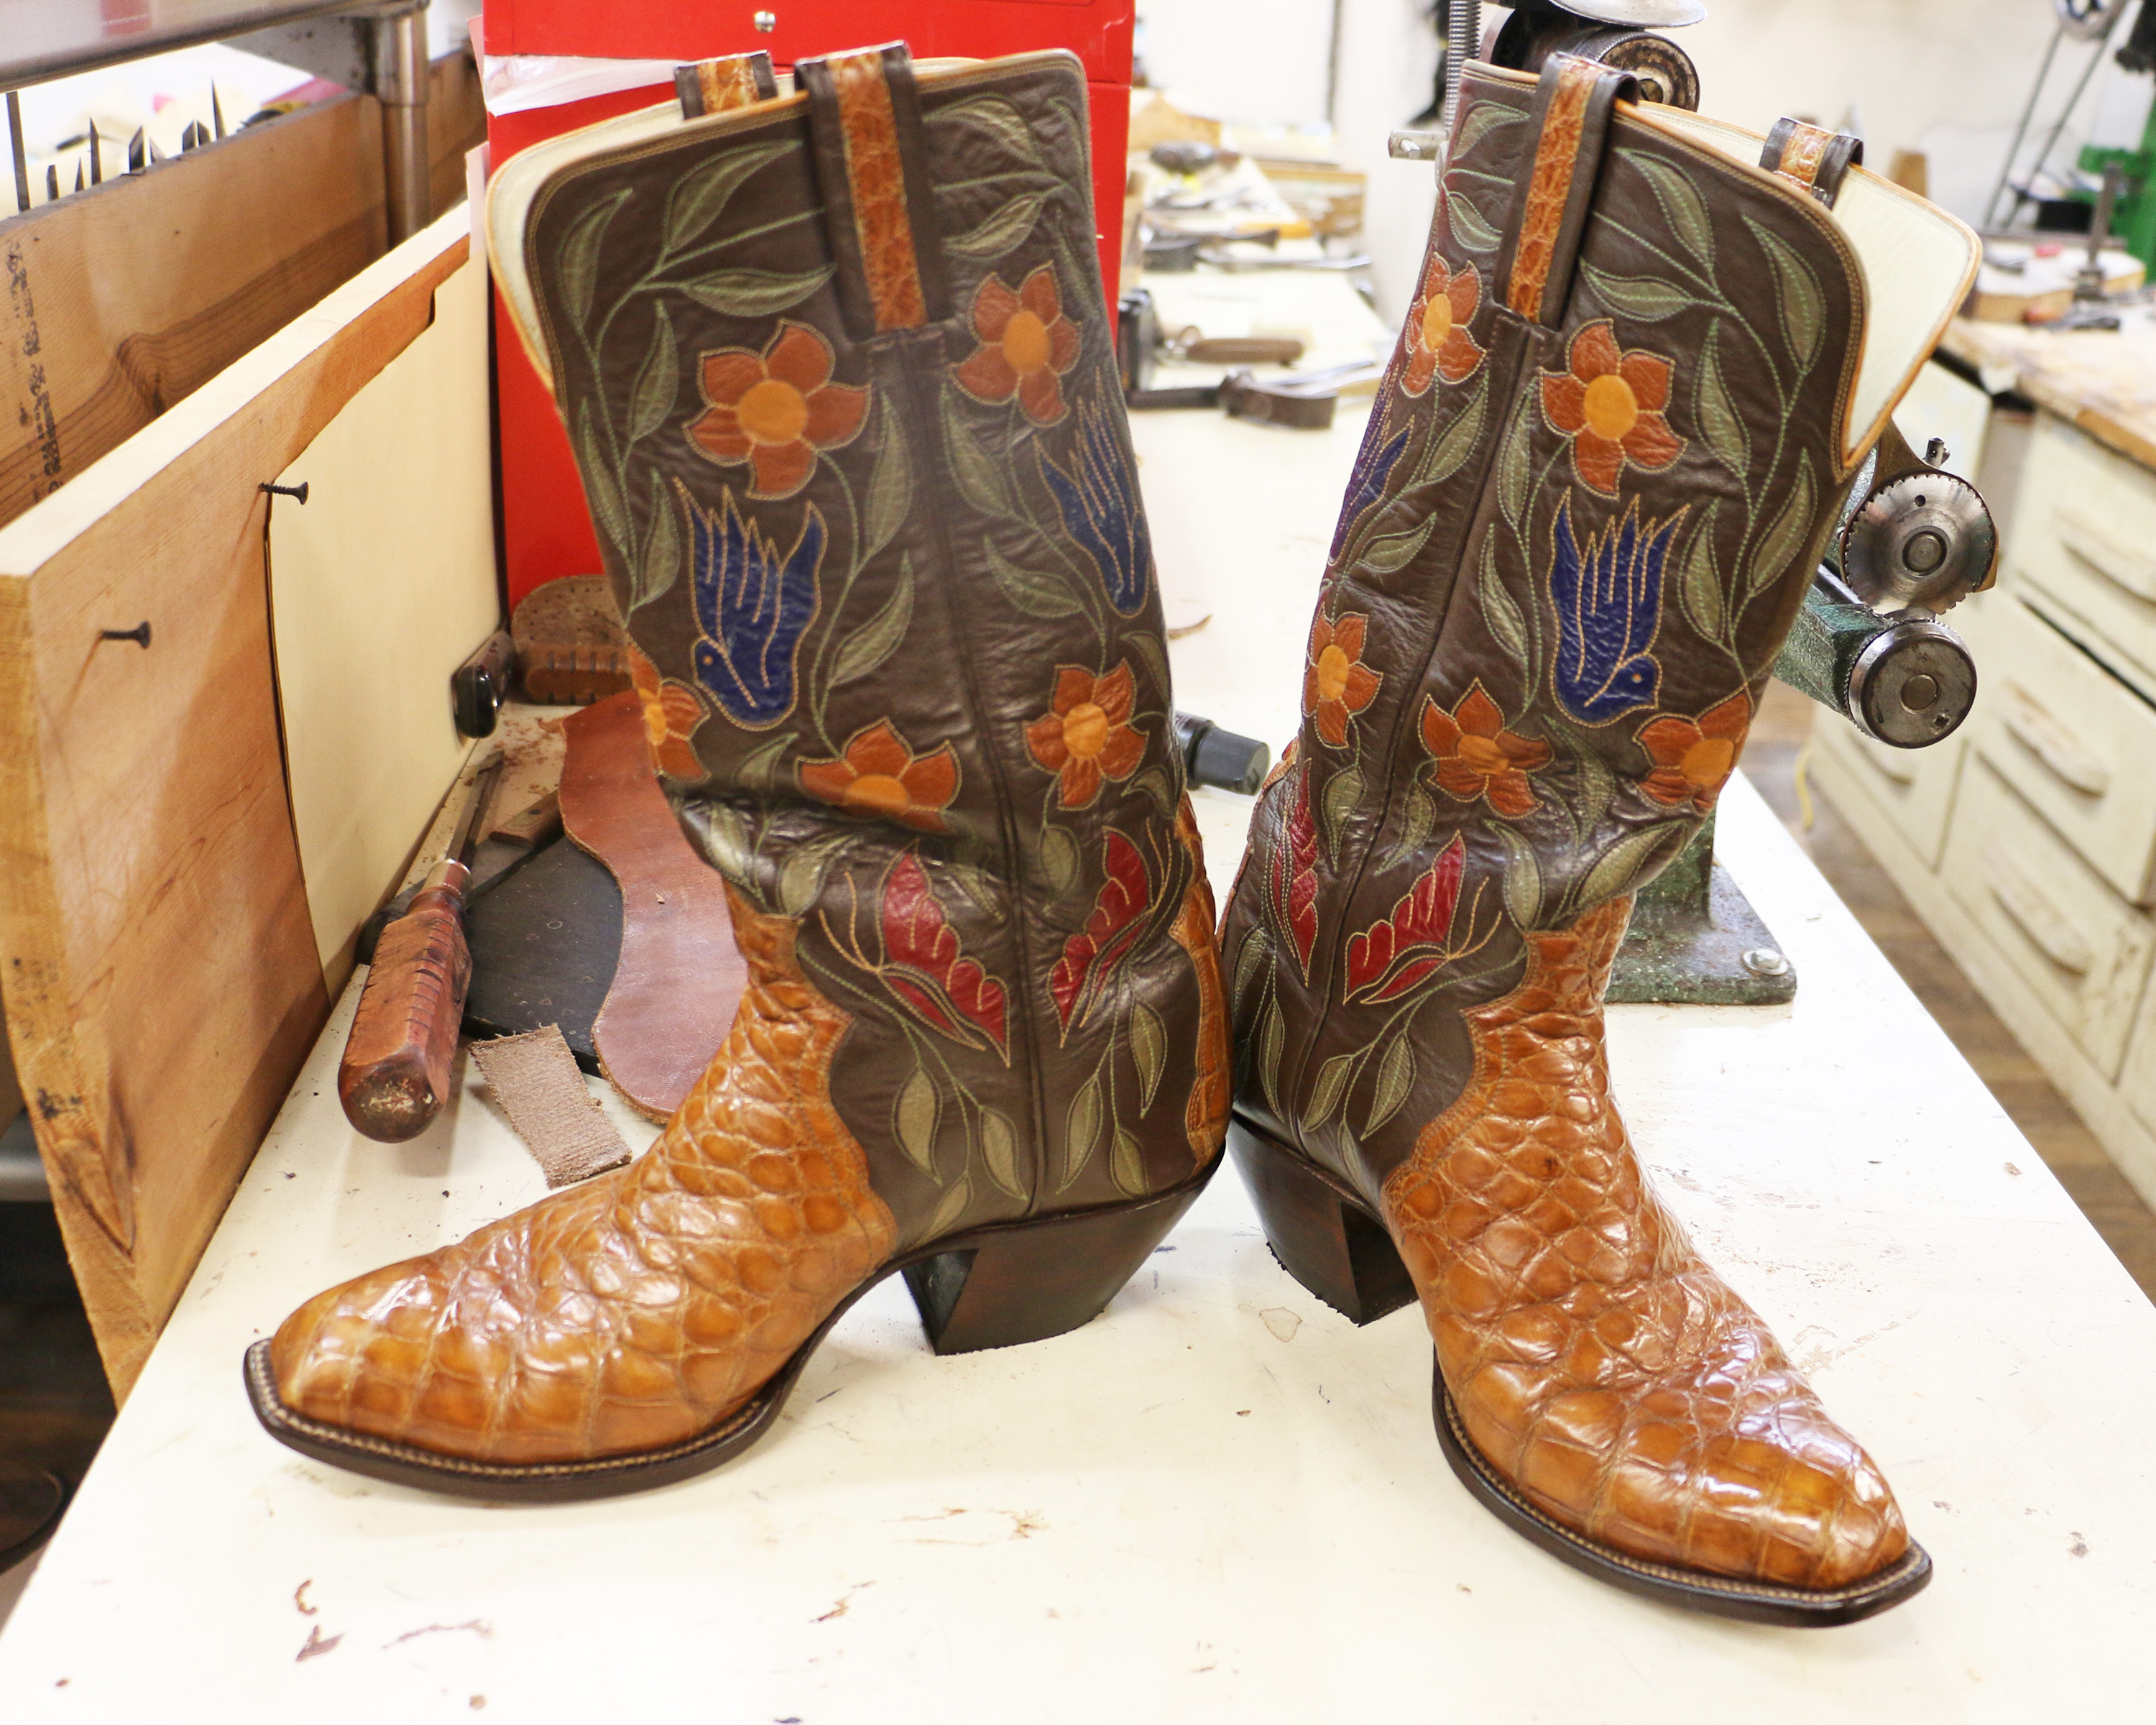
Remember how I said that I enjoy inseaming (sewing on the welt) and that I look forward to doing it? This boot tested me. I pulled a bristle off, broke my awl, and discovered I’d gotten one stitch too high after I was already two stitches past it. But I fixed it all, successfully completed the job, and I still like inseaming.
See the pieces of heavy thread laying over each boot? The thread used to sew on the welt is tapered at each end so it can be attached to a bristle, and it’s waxed with a sticky wax first so the bristle will stay on and also so the stitches will lock tightly. Once the tapers are attached to the bristles, the thread is ready to use and it’s called a “waxed end.” I don’t like making waxed ends because it makes my fingers sticky. But I do enjoy inseaming (sewing on the welt) so I feel happy when the waxed ends are done!
Dale and I are flying to Chicago this weekend for the Shoe Service Institute of America (SSIA) show, and he decided the pair of boots he wanted to wear were the ones in desperate need of a shine and new rubber heel caps.
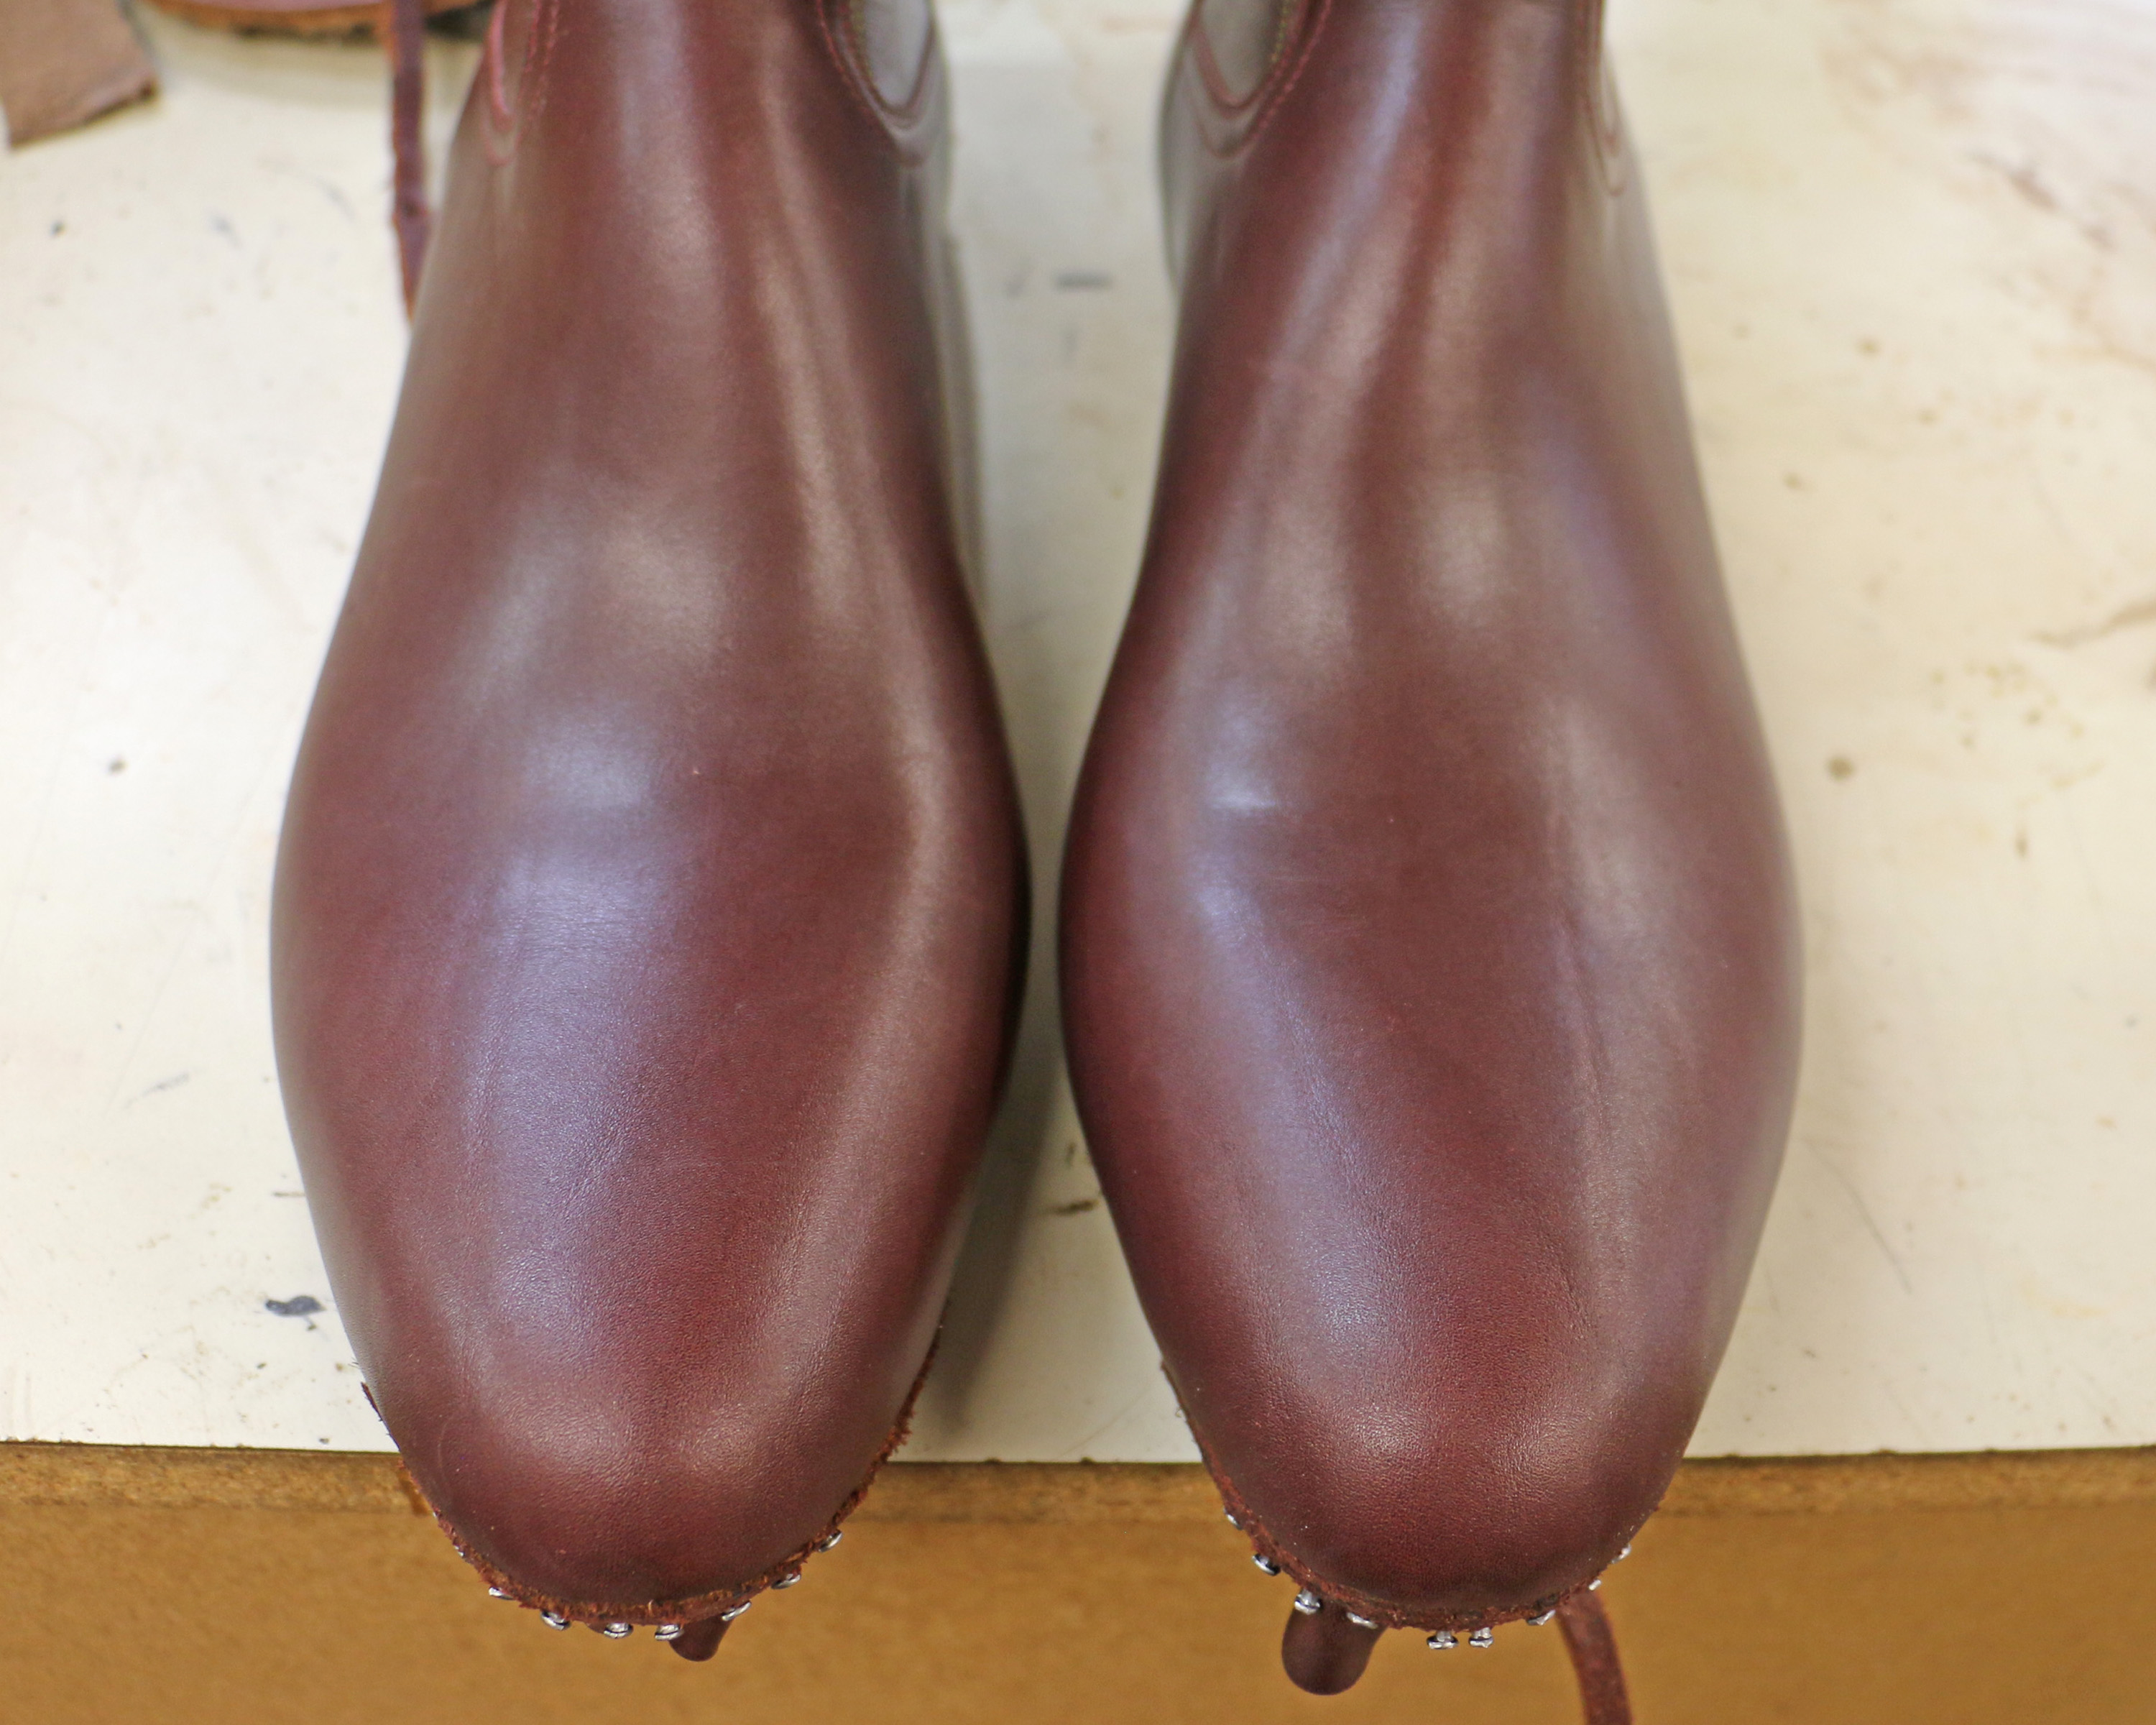
Completed toes with the toe box now hidden inside.
I wanted to get the heels on these today but ran out of time. The first two layers are the ones that will give you problems, if any of them do, so the hard part is done and I should be able to finish them next week when I return.
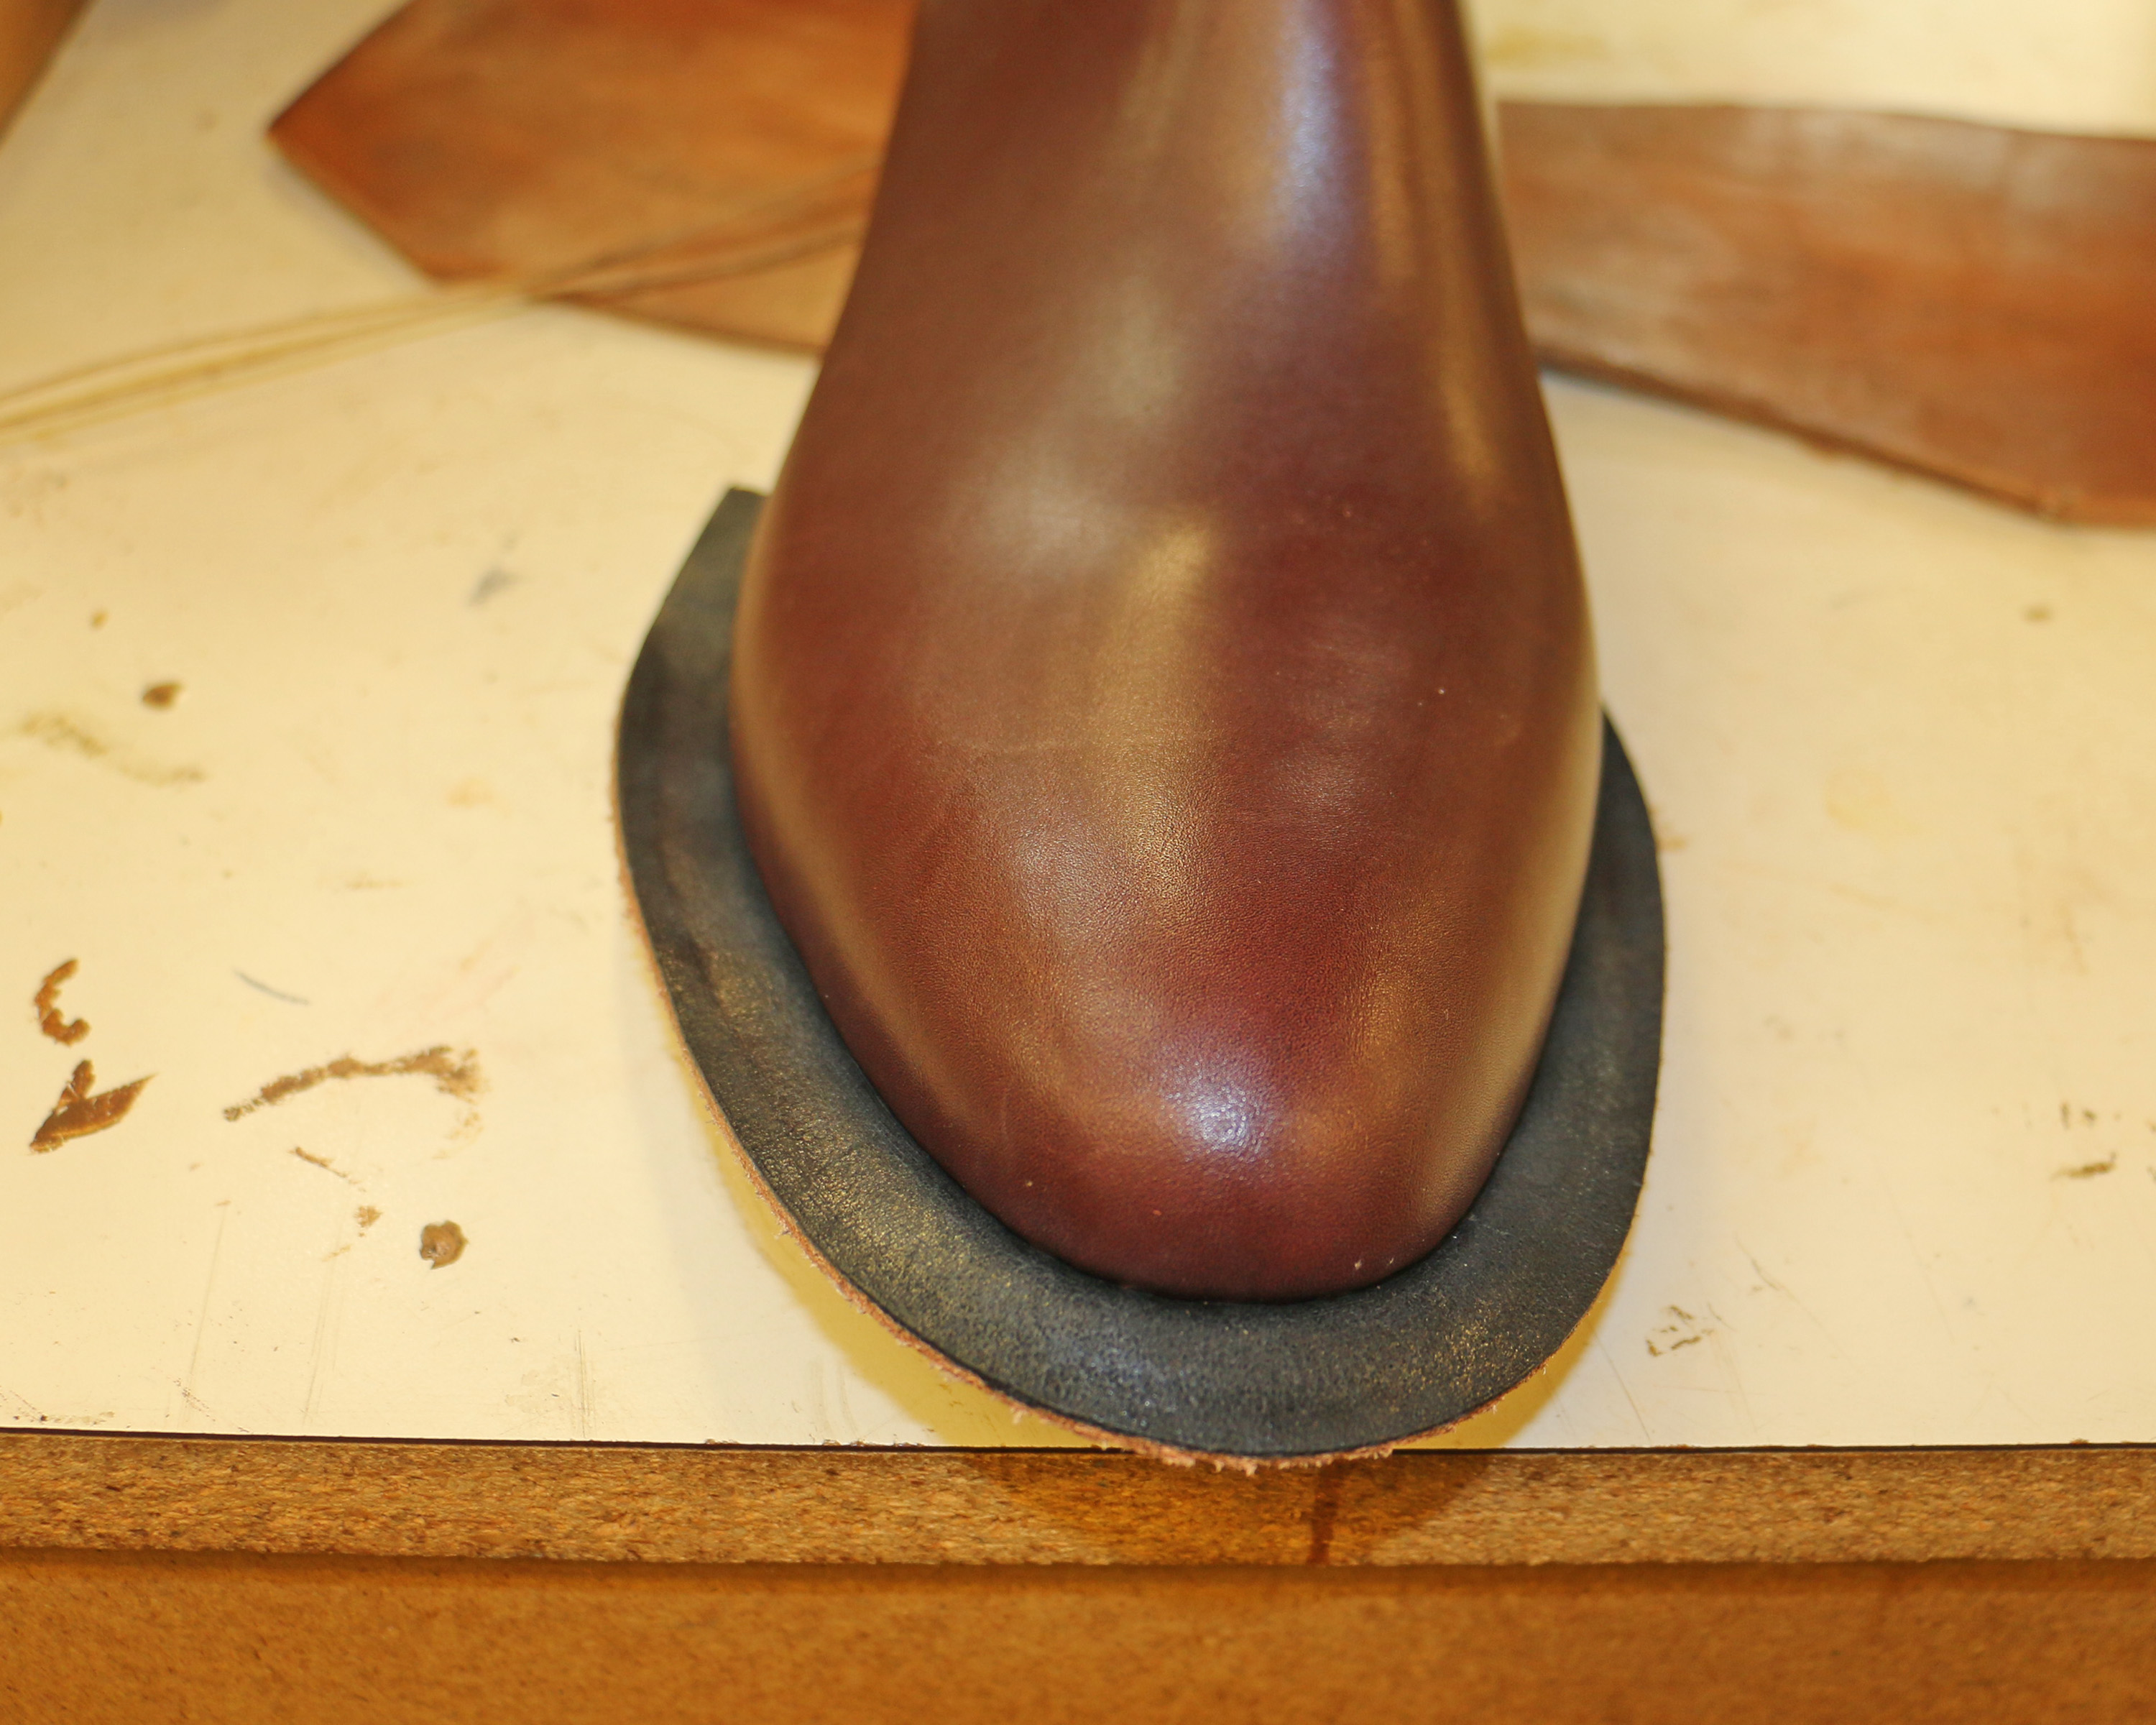
The “toe box” (or “toe puff” in Europe) is a stiffener that holds and reinforces the toe shape. It’s inserted between the lining leather and the upper leather.
Toe boxes can be made of:
Leather, which is molded while wet and then sanded to shape
Celastic, which is fiber/synthetic material that’s activated by solvent, which makes it pliable and moldable while activated but dries hard
Thermal, which is plastic that’s activated by heat, which makes it pliable until it cools
There are very strong opinions in the shoe and boot making community about the virtues, benefits, and traditions of each of these materials. My opinion is that if it holds the toe shape and the back edge blends seamlessly into the lining so you don’t have a ridge showing on the finished boot/shoe, you’ve done a good thing.
I personally use Celastic. I’ve seen boot makers activate their celastic in margarine tubs of solvent and then reach down with their bare fingers into the solvent to grab a snotty disgusting piece of celastic, but I don’t do it that way. I lay my celastic toe boxes on a cookie cooking rack, drizzle a blend of contact cement thinner/acetone over them, and don’t pick them up until they’re dry to the touch but still pliable. I do the rough shaping on my finisher and the final shaping by hand. You need a light touch with the sanding with celastic because you don’t want to sand it all away. A more accurate way to describe it would be “gently shaping.”
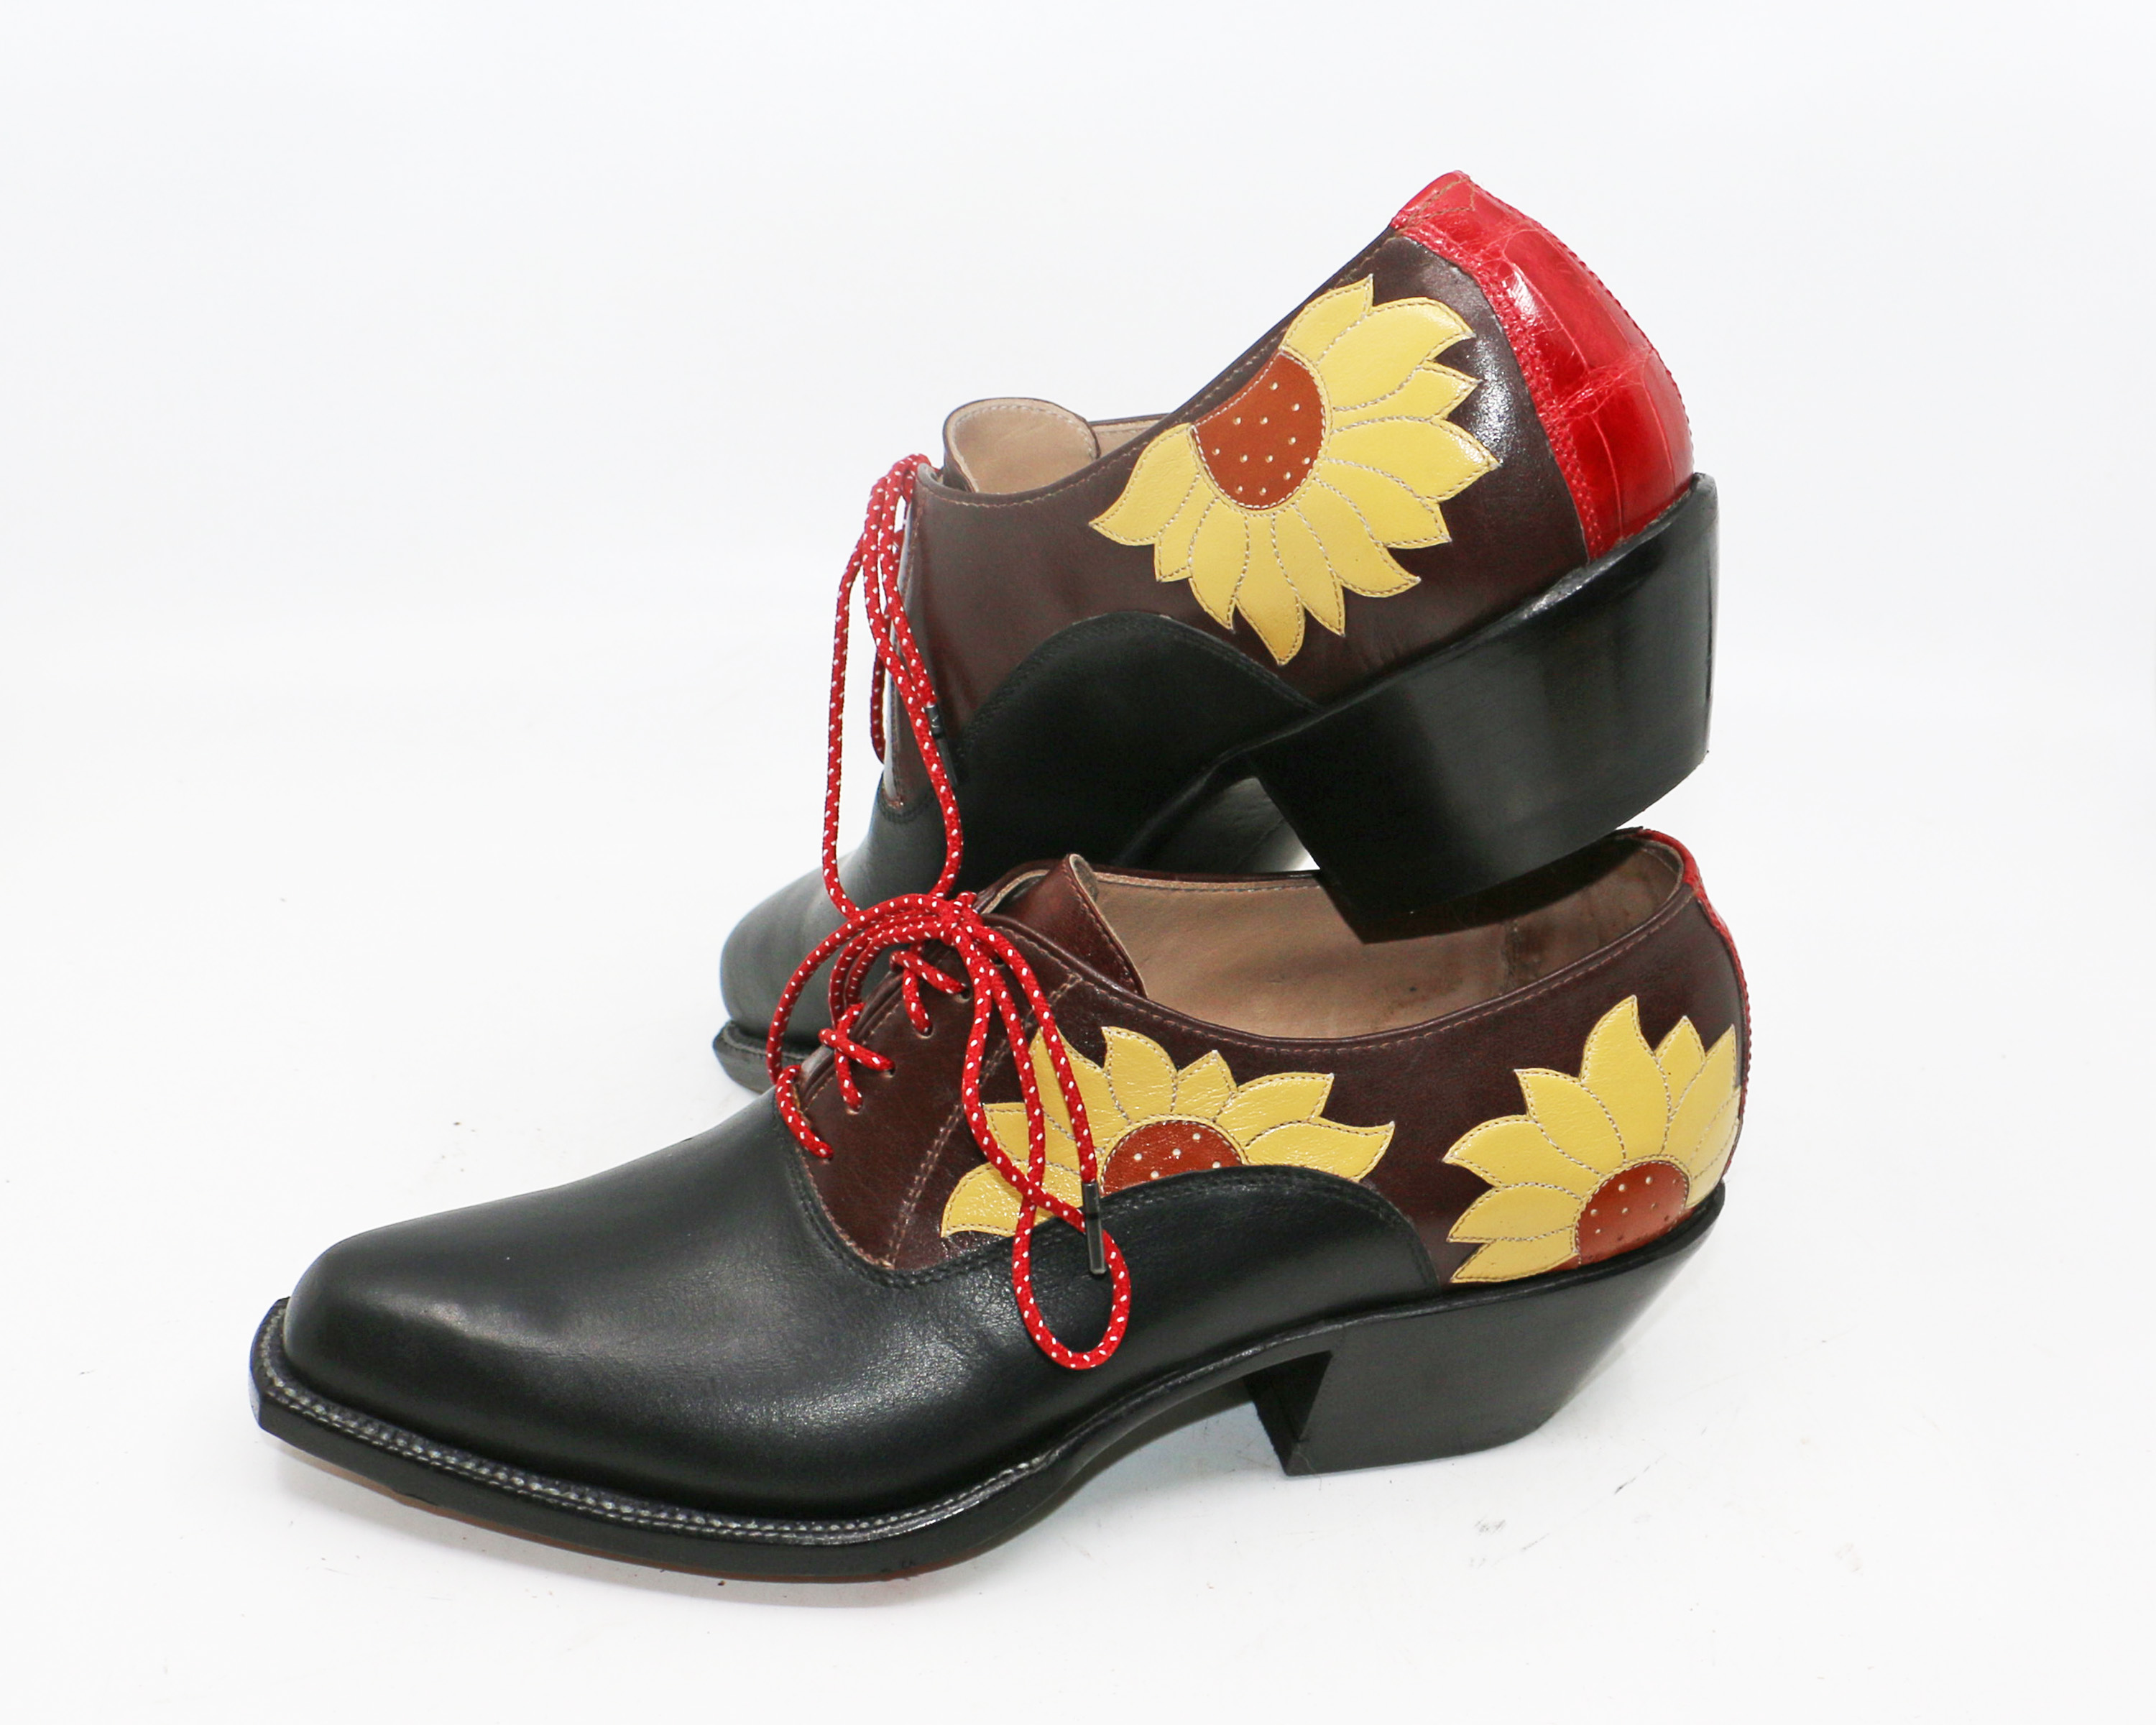
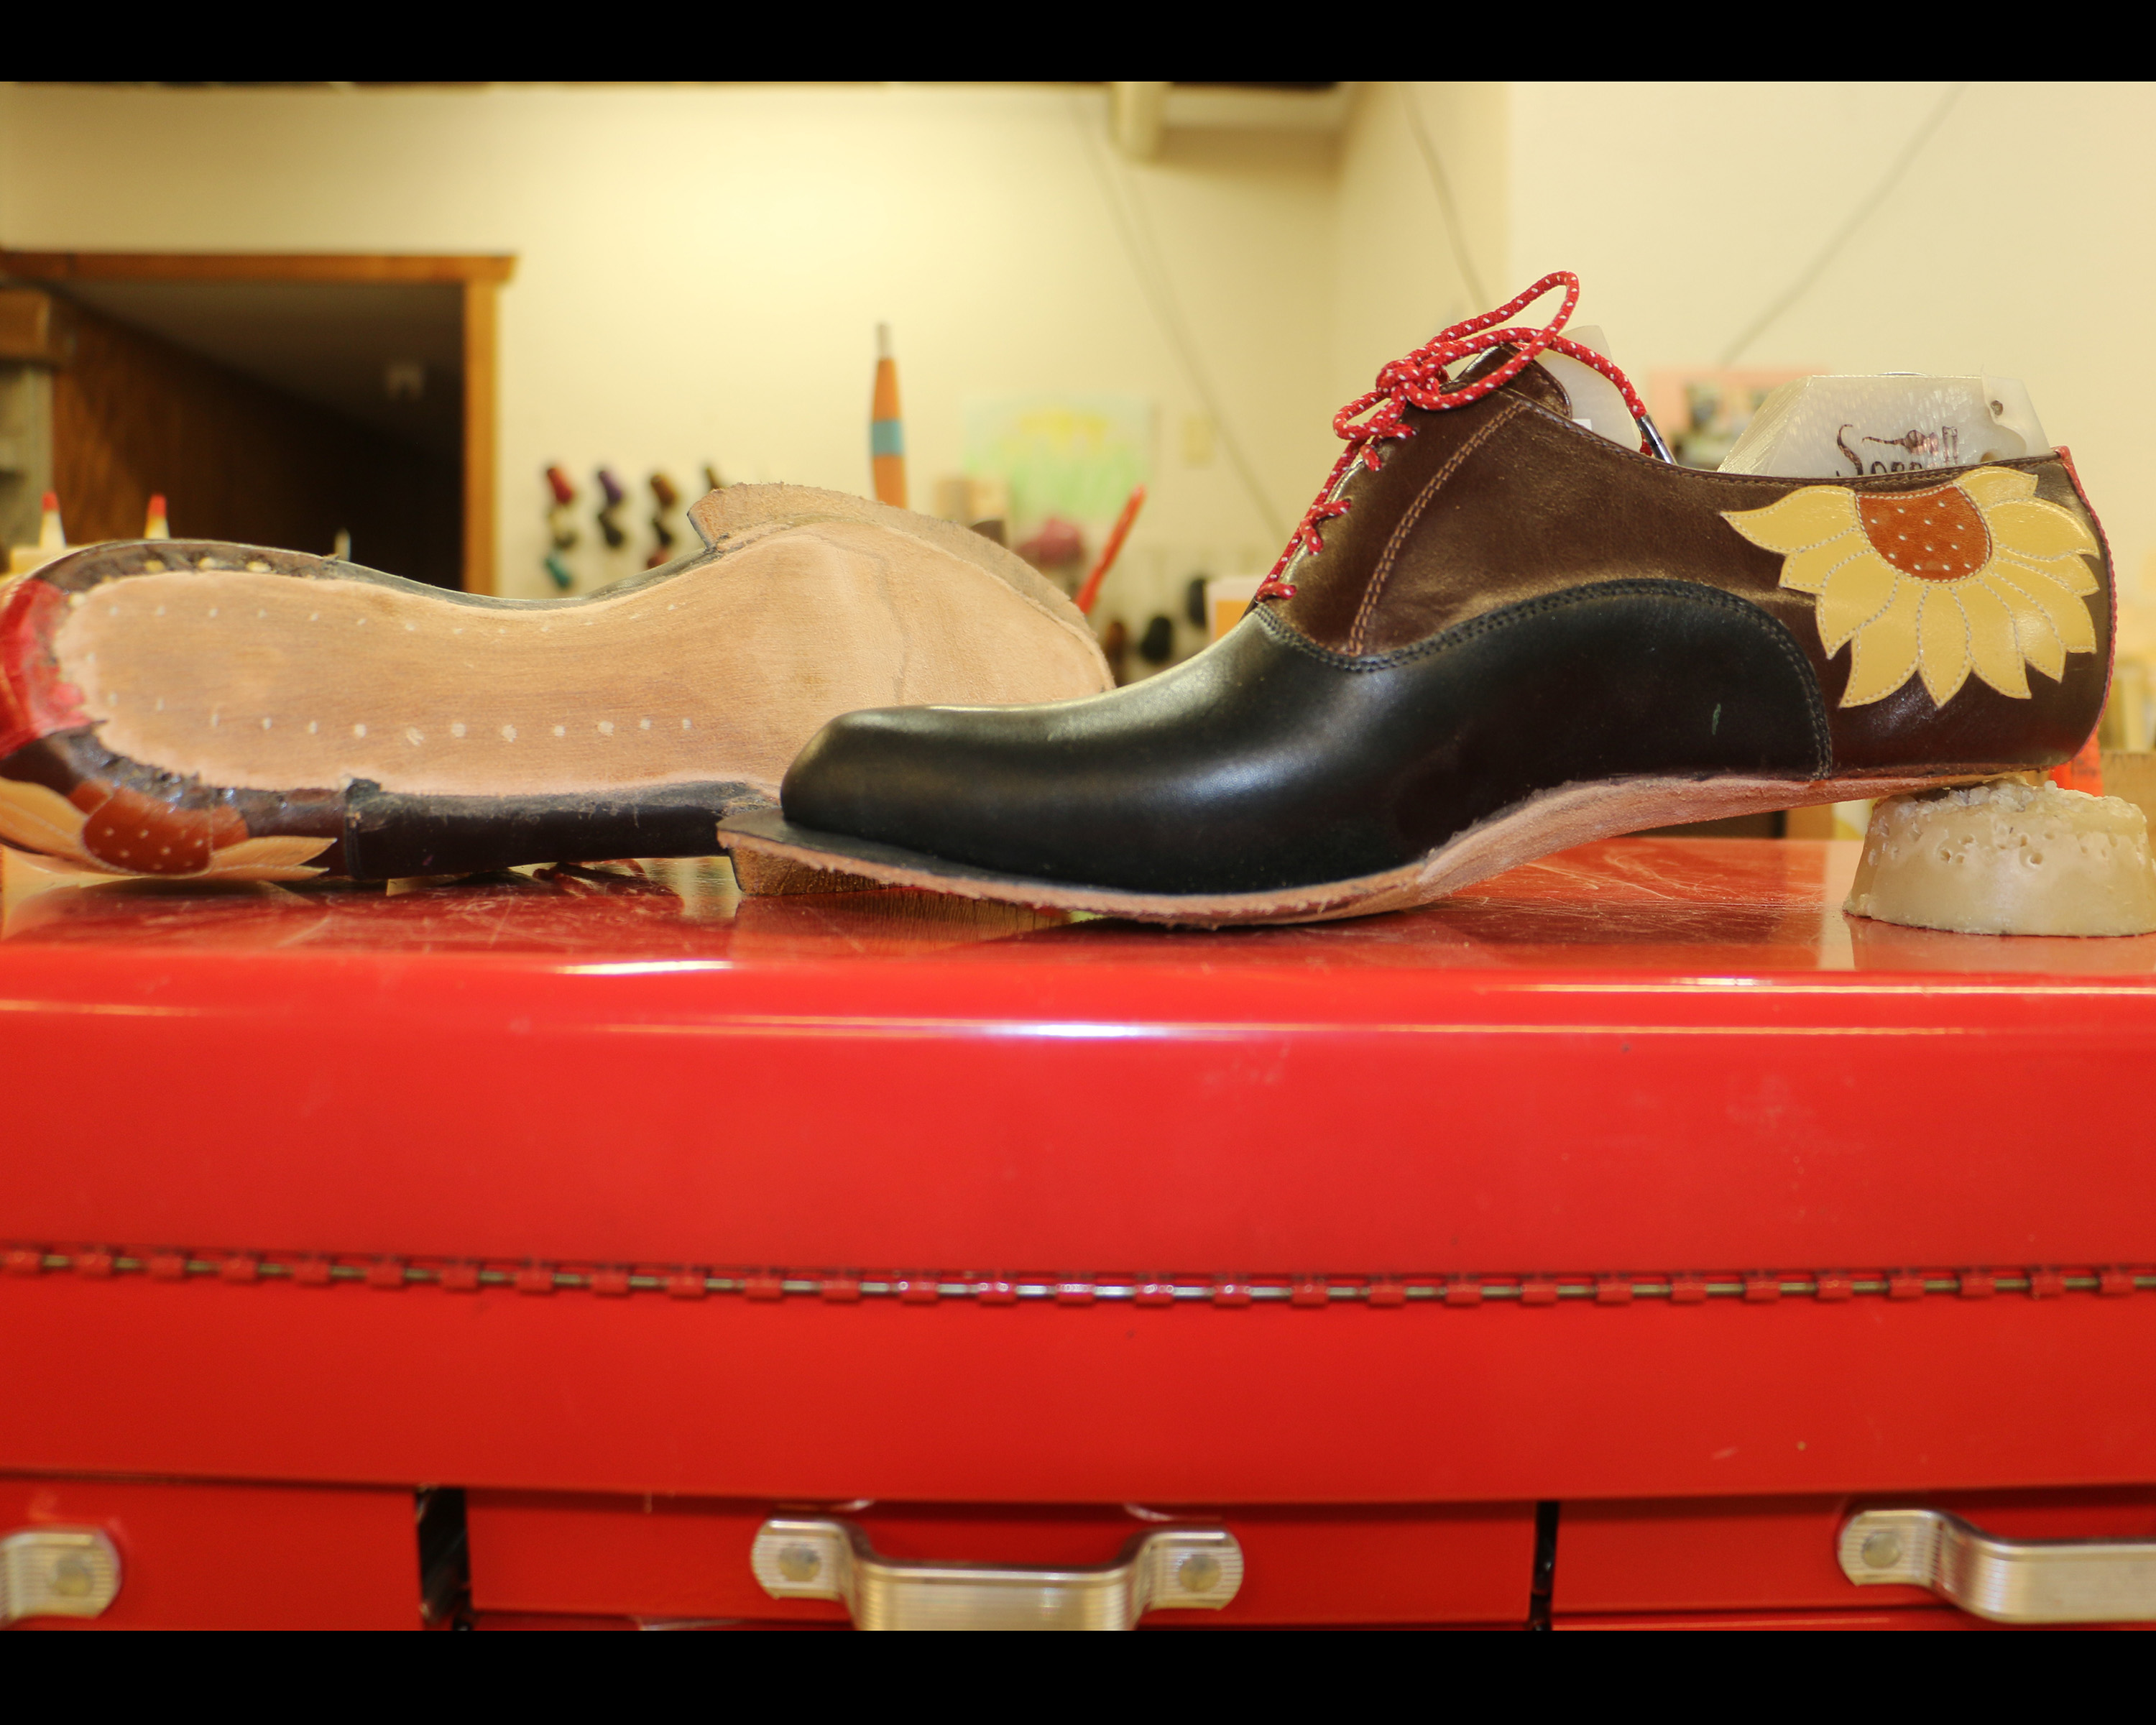
I always found it difficult to teach students how to properly shape cowboy boot shank covers (the heavy leather piece over the steel shank). It’s a simple little piece of leather but how it’s shaped determines how well the sole fits in the shank area, how easily your heel block or first heel layer goes on, and how the entire boot balances on the sole. I told my students to mentally divide the shank cover into thirds because each third is shaped differently. In the back, in the heel area, I like to angle it flatly from the point where the heel will breast* to the back edge of the shank cover (I build my heels in individual layers). If you’re using heel blocks you might want to leave it more rounded — whatever fills the heel block best is the shape you want! The middle third is the arch/shank area, and here you want it nice and flush on both edges and also gently rounded in the center to create that nice rounded cowboy boot shank area. Many boot makers just sand that front third smooth and don’t worry about it, but I like to extend my shank covers well forward into the forepart and then use that excess material to essentially make a platform. You can see that the shoe is not only touching the ground under the ball of the foot; the shank cover is extending back from the ball and creating a longer walking surface. This keeps all of the wearer’s weight from being concentrated directly on the ball of their foot, because the platform itself holds some of the weight. I also like this platform to have a well-defined flat spot in the middle so the boot has a solid spot where it rests. I always want to avoid what one of my boot maker friends called “biscuit-bottomed boots,” in other words, boots with a domed sole that just sort of rolls around when you set it down. *The front flat part of a heel is called the “breast.”
Six months ago the future of traditional cowboy boot making was looking rather grim. There are/were three companies left in the world who make wood pegs for shoe making, and all three stopped making them during the pandemic with no real plans to go back into production.
The one in the US was still making wood shoe pegs using machines from the Civil War. They said their machines would no longer make the small wood shoe pegs and couldn’t be repaired, although in the last month or so they’ve decided maybe it’s possible. Given that I gave them a bunch of money and they kept it for months before telling me they couldn’t fill my order, I’m hesitant to trust them again.
The two factories in Europe just didn’t want to make them anymore. I wrote a heartfelt, pleading letter and reached out to a German shoe maker friend, who contacted the German shoe making guild, and they approached both factories with my letter and their own requests. Long story short: Blau Ring is making wood shoe pegs again. I’m sure it was my beautifully written letter that softened their hearts.
So now I have wood shoe pegs available! I had to buy in bulk so they’ll be packaged in bags, but these are the Blau Ring pegs you’re accustomed to buying and using. I only have size 6/11 at the moment but I will try to get the other sizes in stock as soon as I can.
Notice: My website has gotten old and creaky; its latest antic is to not show prices — you have to go to shopping cart to see the price. I’m sorry! I have a brand new website in production right now and hope to have it updated in around two weeks. The old one will still take orders, it’s just grumpy about it.
Me and this indigo alligator have been eyeing each other for months now so today I decided to see if it was actually big enough to make myself the pair of boots I want. I made the patterns, laid them out, all the pieces fit perfectly, I cut them out, and now I have to lay them aside and go back to working on customer boots. Someday, my beautiful indigo alligator, we’ll be together again.