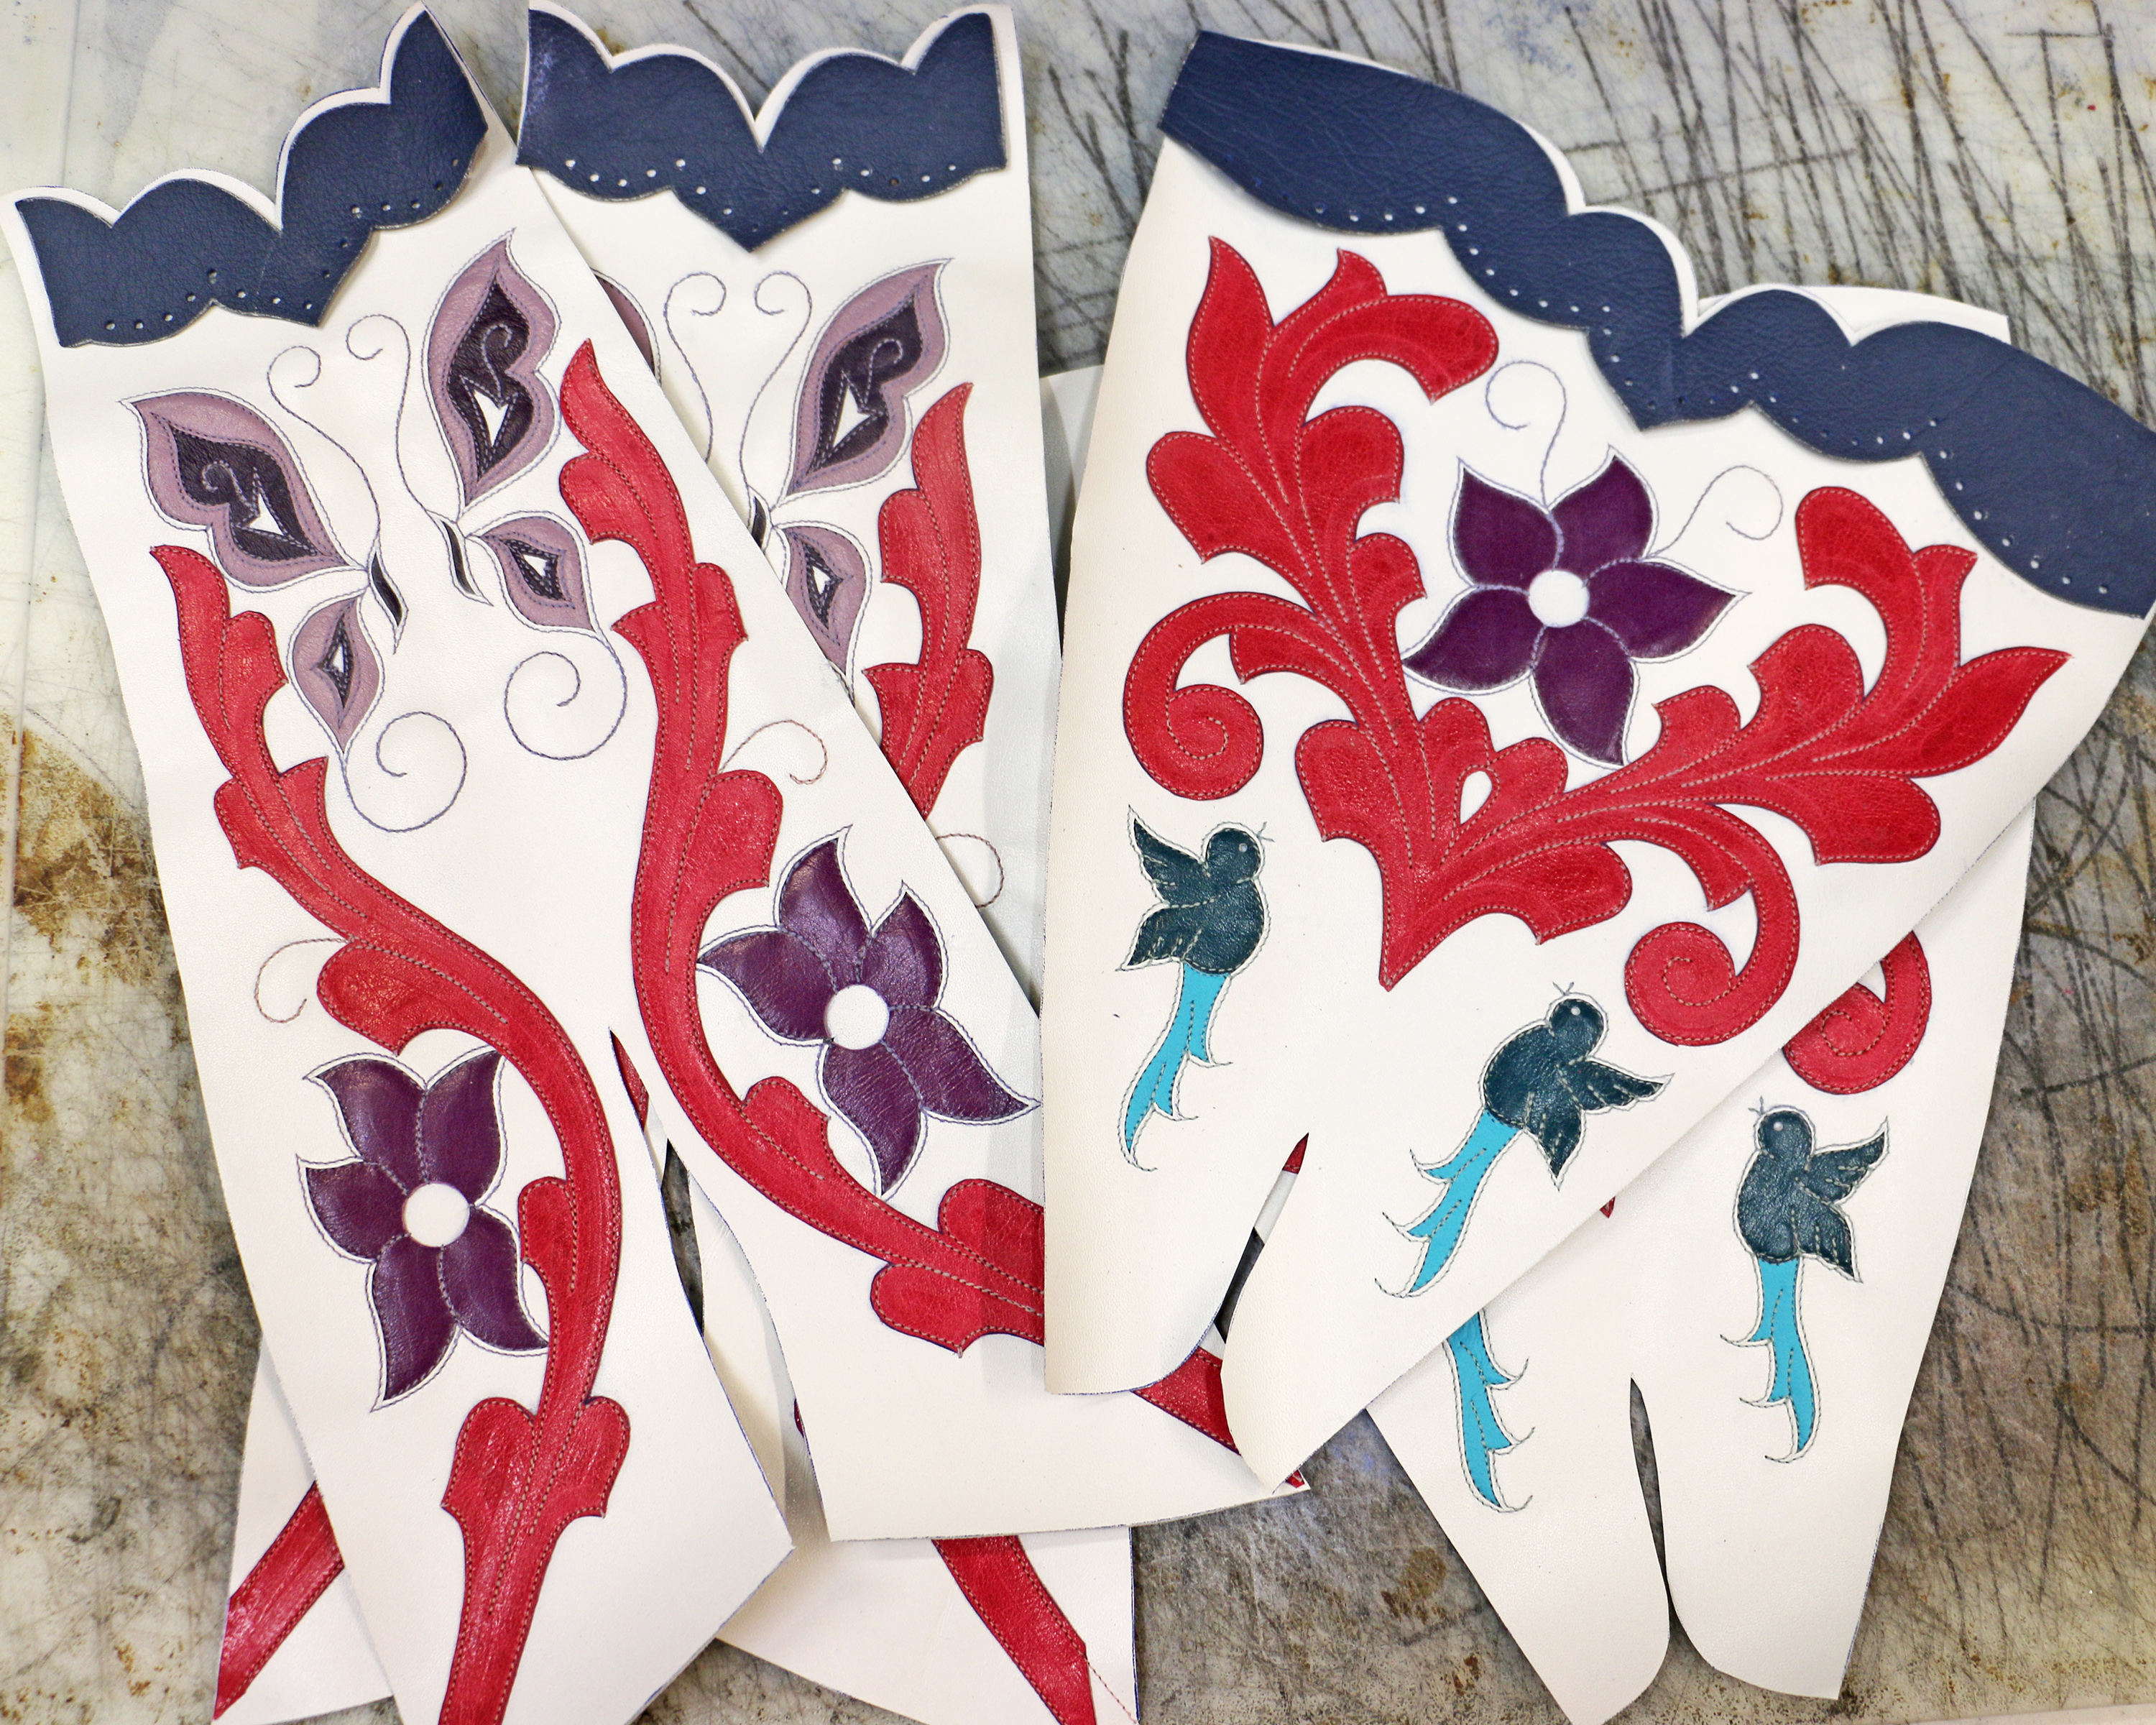
Here are the boot tops with the rest of the design elements stitched on, and the top band resting on the leather but not stitched yet.
Here are the boot tops with the rest of the design elements stitched on, and the top band resting on the leather but not stitched yet.
Stitching on white leather is not easy. I deliberately planned the design so I’d be stitching with lighter colors (lavender, pale green) instead of darker colors (purple, turquoise) because lighter colors are a tiny bit easier to stitch and make it look good on white. Now the hard part is done!

This piece reminds me of a story: I have a friend who used to teach shoe making at a college. One day he was showing his students my work and they didn’t believe that I don’t have a laser or any computerized machines, so he called me during class and put me on speakerphone. He explained their disbelief and asked me how I made my projects. I laughed and said, “No lasers and no computers! Only me and my fingers and some knives and an old sewing machine!” I heard OOOOOHS and AAAAAAHS and he said, “Thank you!” and hung up.
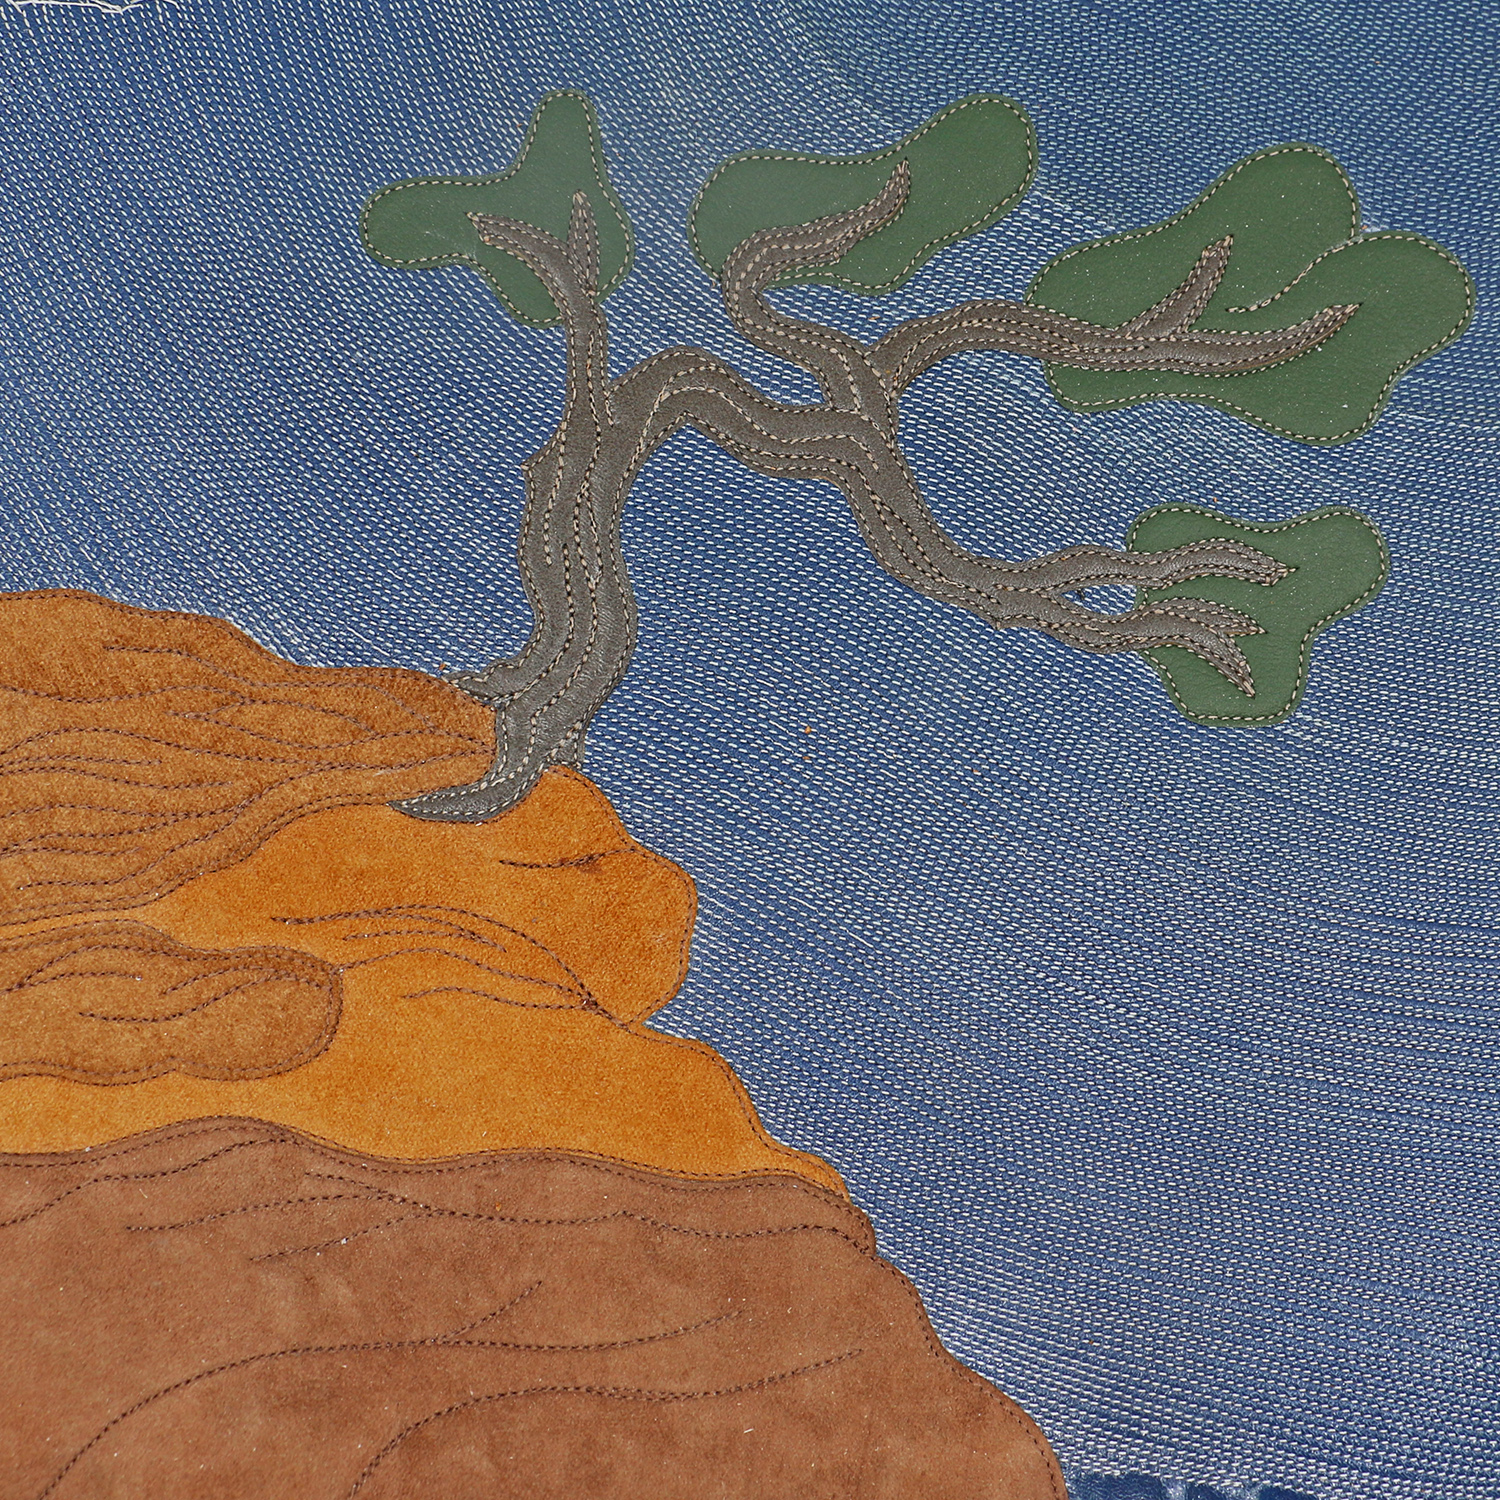
Introducing: “Rock of Ages” (not framed yet)
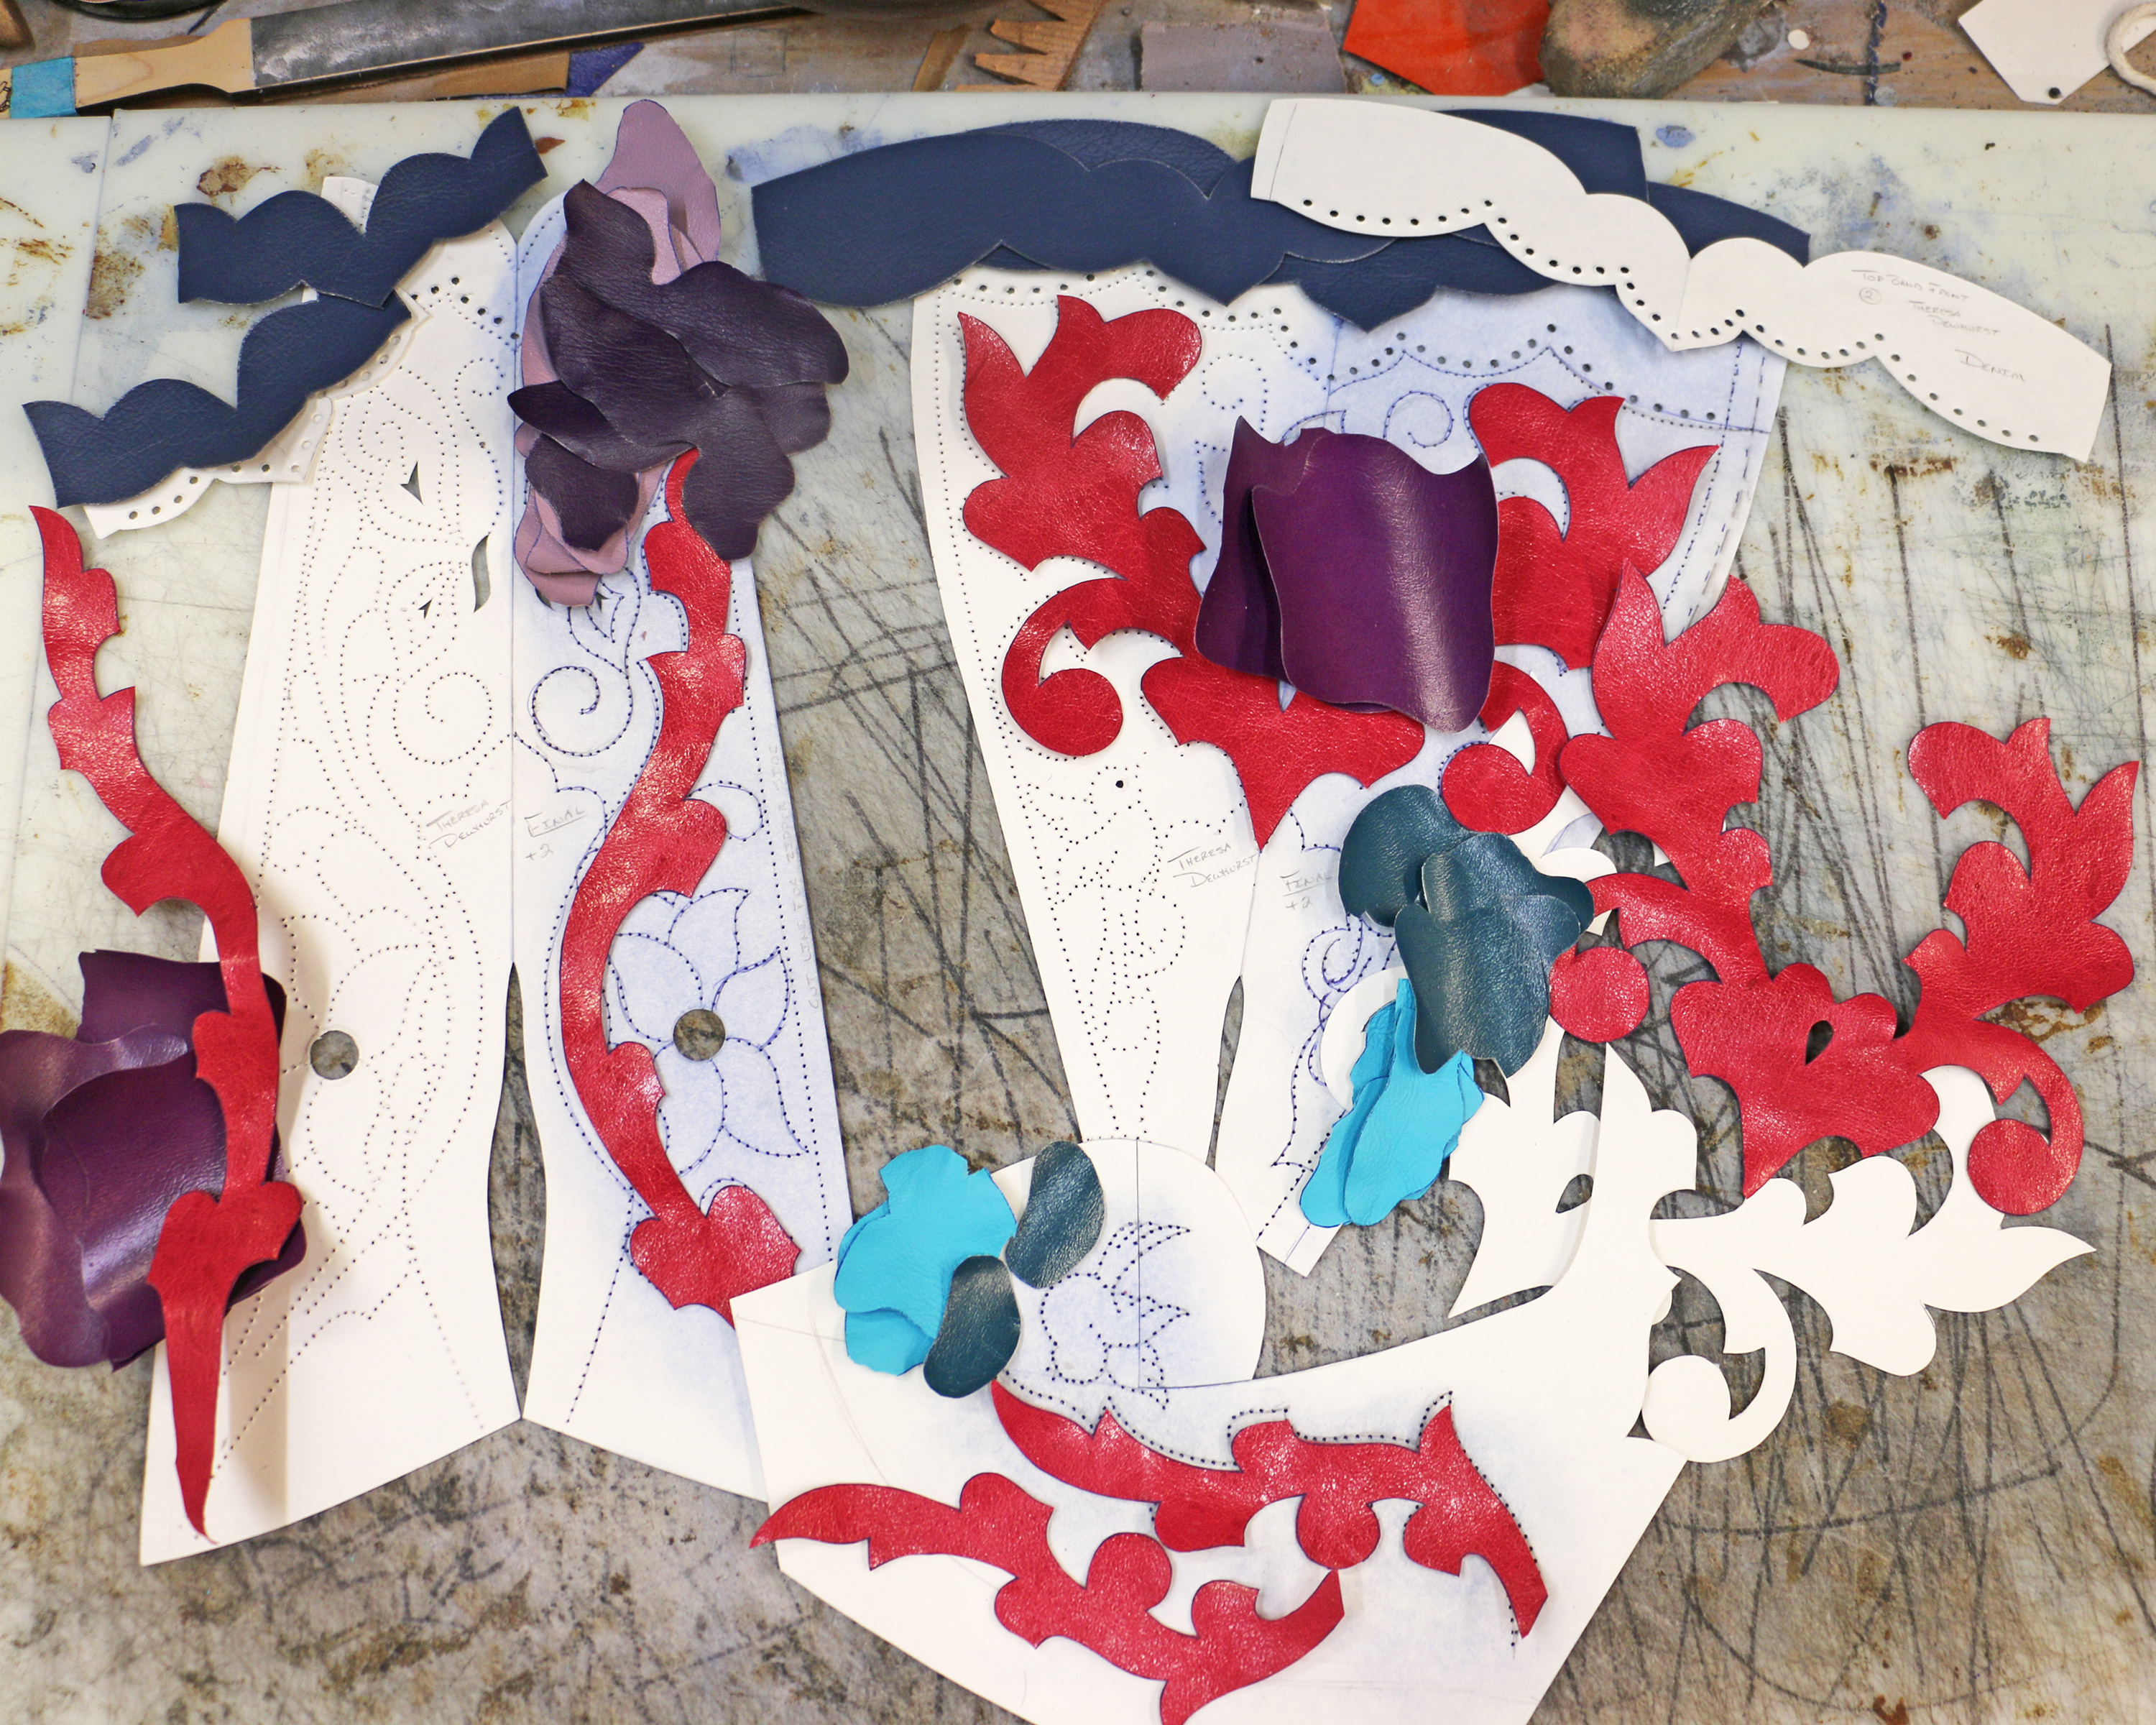
When I draw a design, I draw the stitch lines. In other words, if I’m drawing an element that will be inlaid, the pattern line isn’t where I’ll cut, it’s where I’ll stitch. If I drew the line where I planned to cut my stitching would be outside that line and I’d need to remember to allow for that. It’s no fun to create a beautiful pattern and then lose bits of it in the side seam because it got bigger than you anticipated.
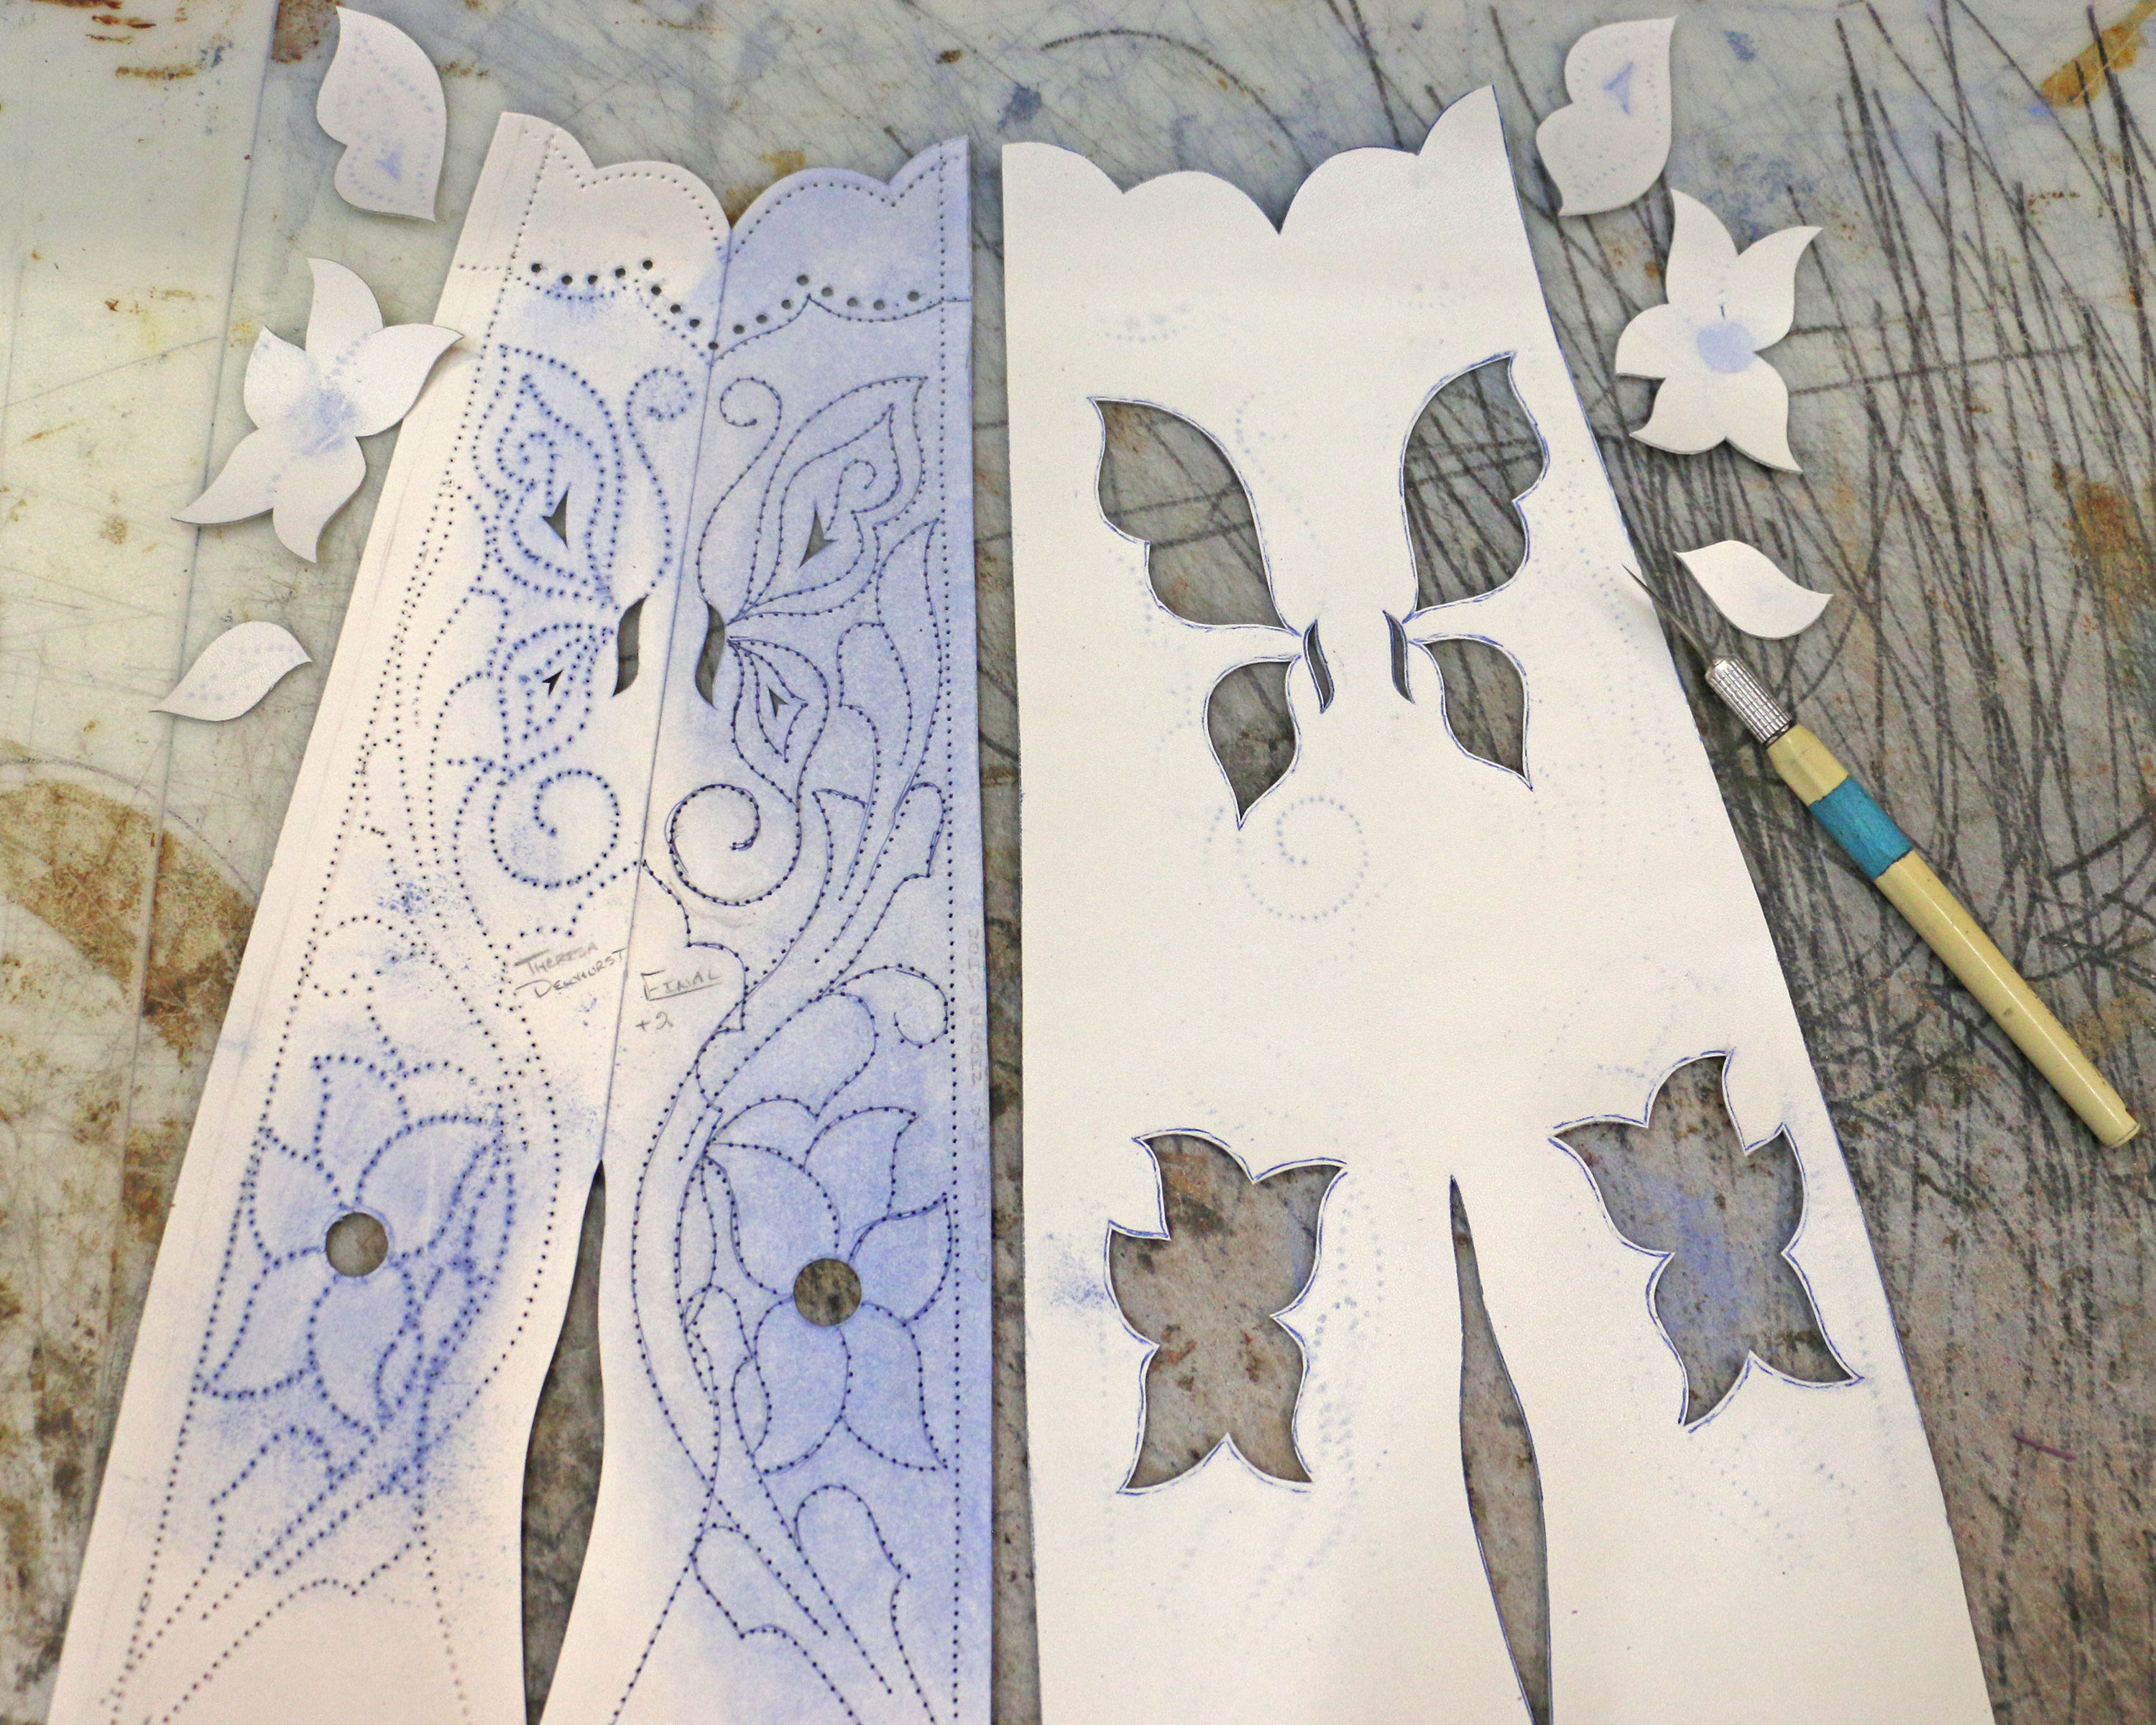
Design with inlay elements cut out
As you can see, I’ve cut slightly inside the lines which will allow me to stitch exactly on the lines.

All the inlay/overlay pieces are cut and skived for this pair of boots. You’ll notice that the pink pieces are carefully cut to their final shape and the other bits of leather are amorphous blobs. That’s because the pink pieces are overlay and they will lay on top of the boot top leather, while the other elements are inlay and their final shape will be determined by the contours of the hole I cut into the boot top leather.
I know several boot makers who are using lasers to cut their intricate patterns and since I’m not the boss of boot making I have no desire to try and make them stop it. But I always think, “WHERE’S THE FUN IN THAT?” I didn’t become a boot maker to push a button and let a machine do all the fun stuff.
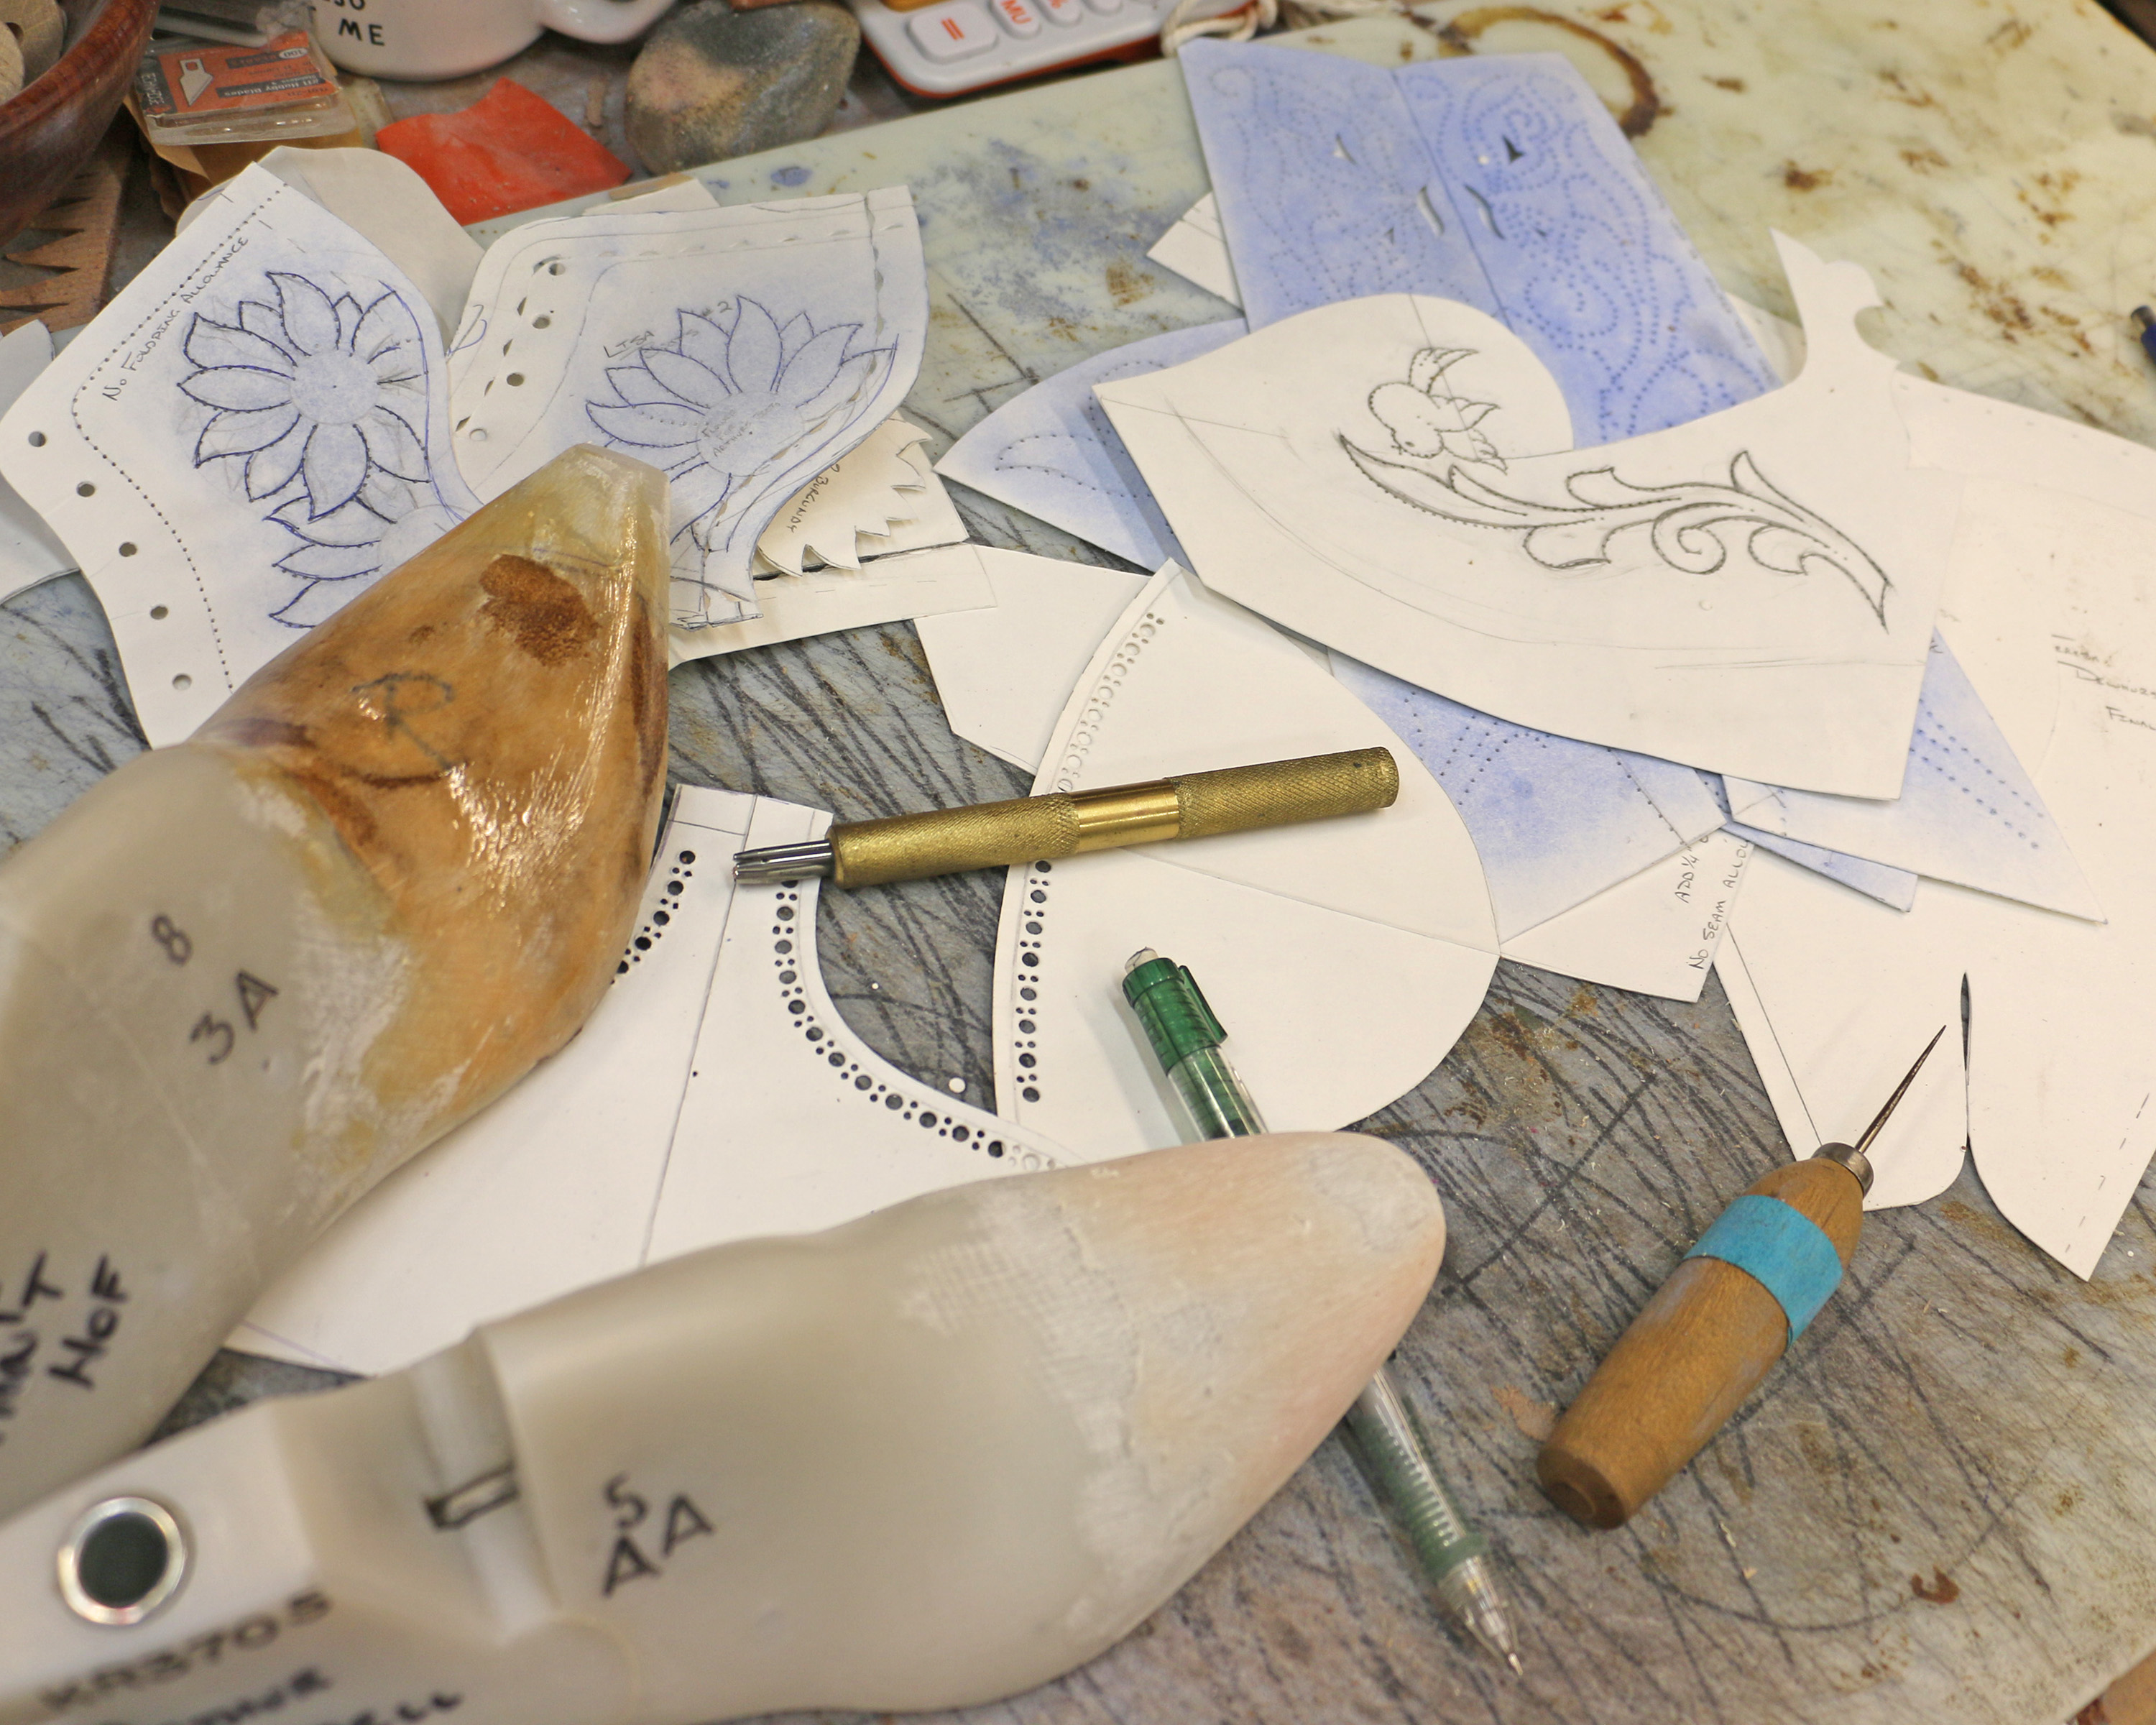
I decided to try something new today. Instead of marking the design onto the leather with chalk, I cut each pattern out of poster board and then traced around them with my heat-erasable pen. It’s easier to see and therefore more accurate, and it didn’t take me long to cut out the little paper patterns. I really, really love all aspects of patterning.

In my opinion boot makers who refuse to allow scissors simply don’t know how to use them well and probably don’t have any good scissors. I cut one of these with my X-Acto knife and one with scissors and I couldn’t even tell you which is which now.

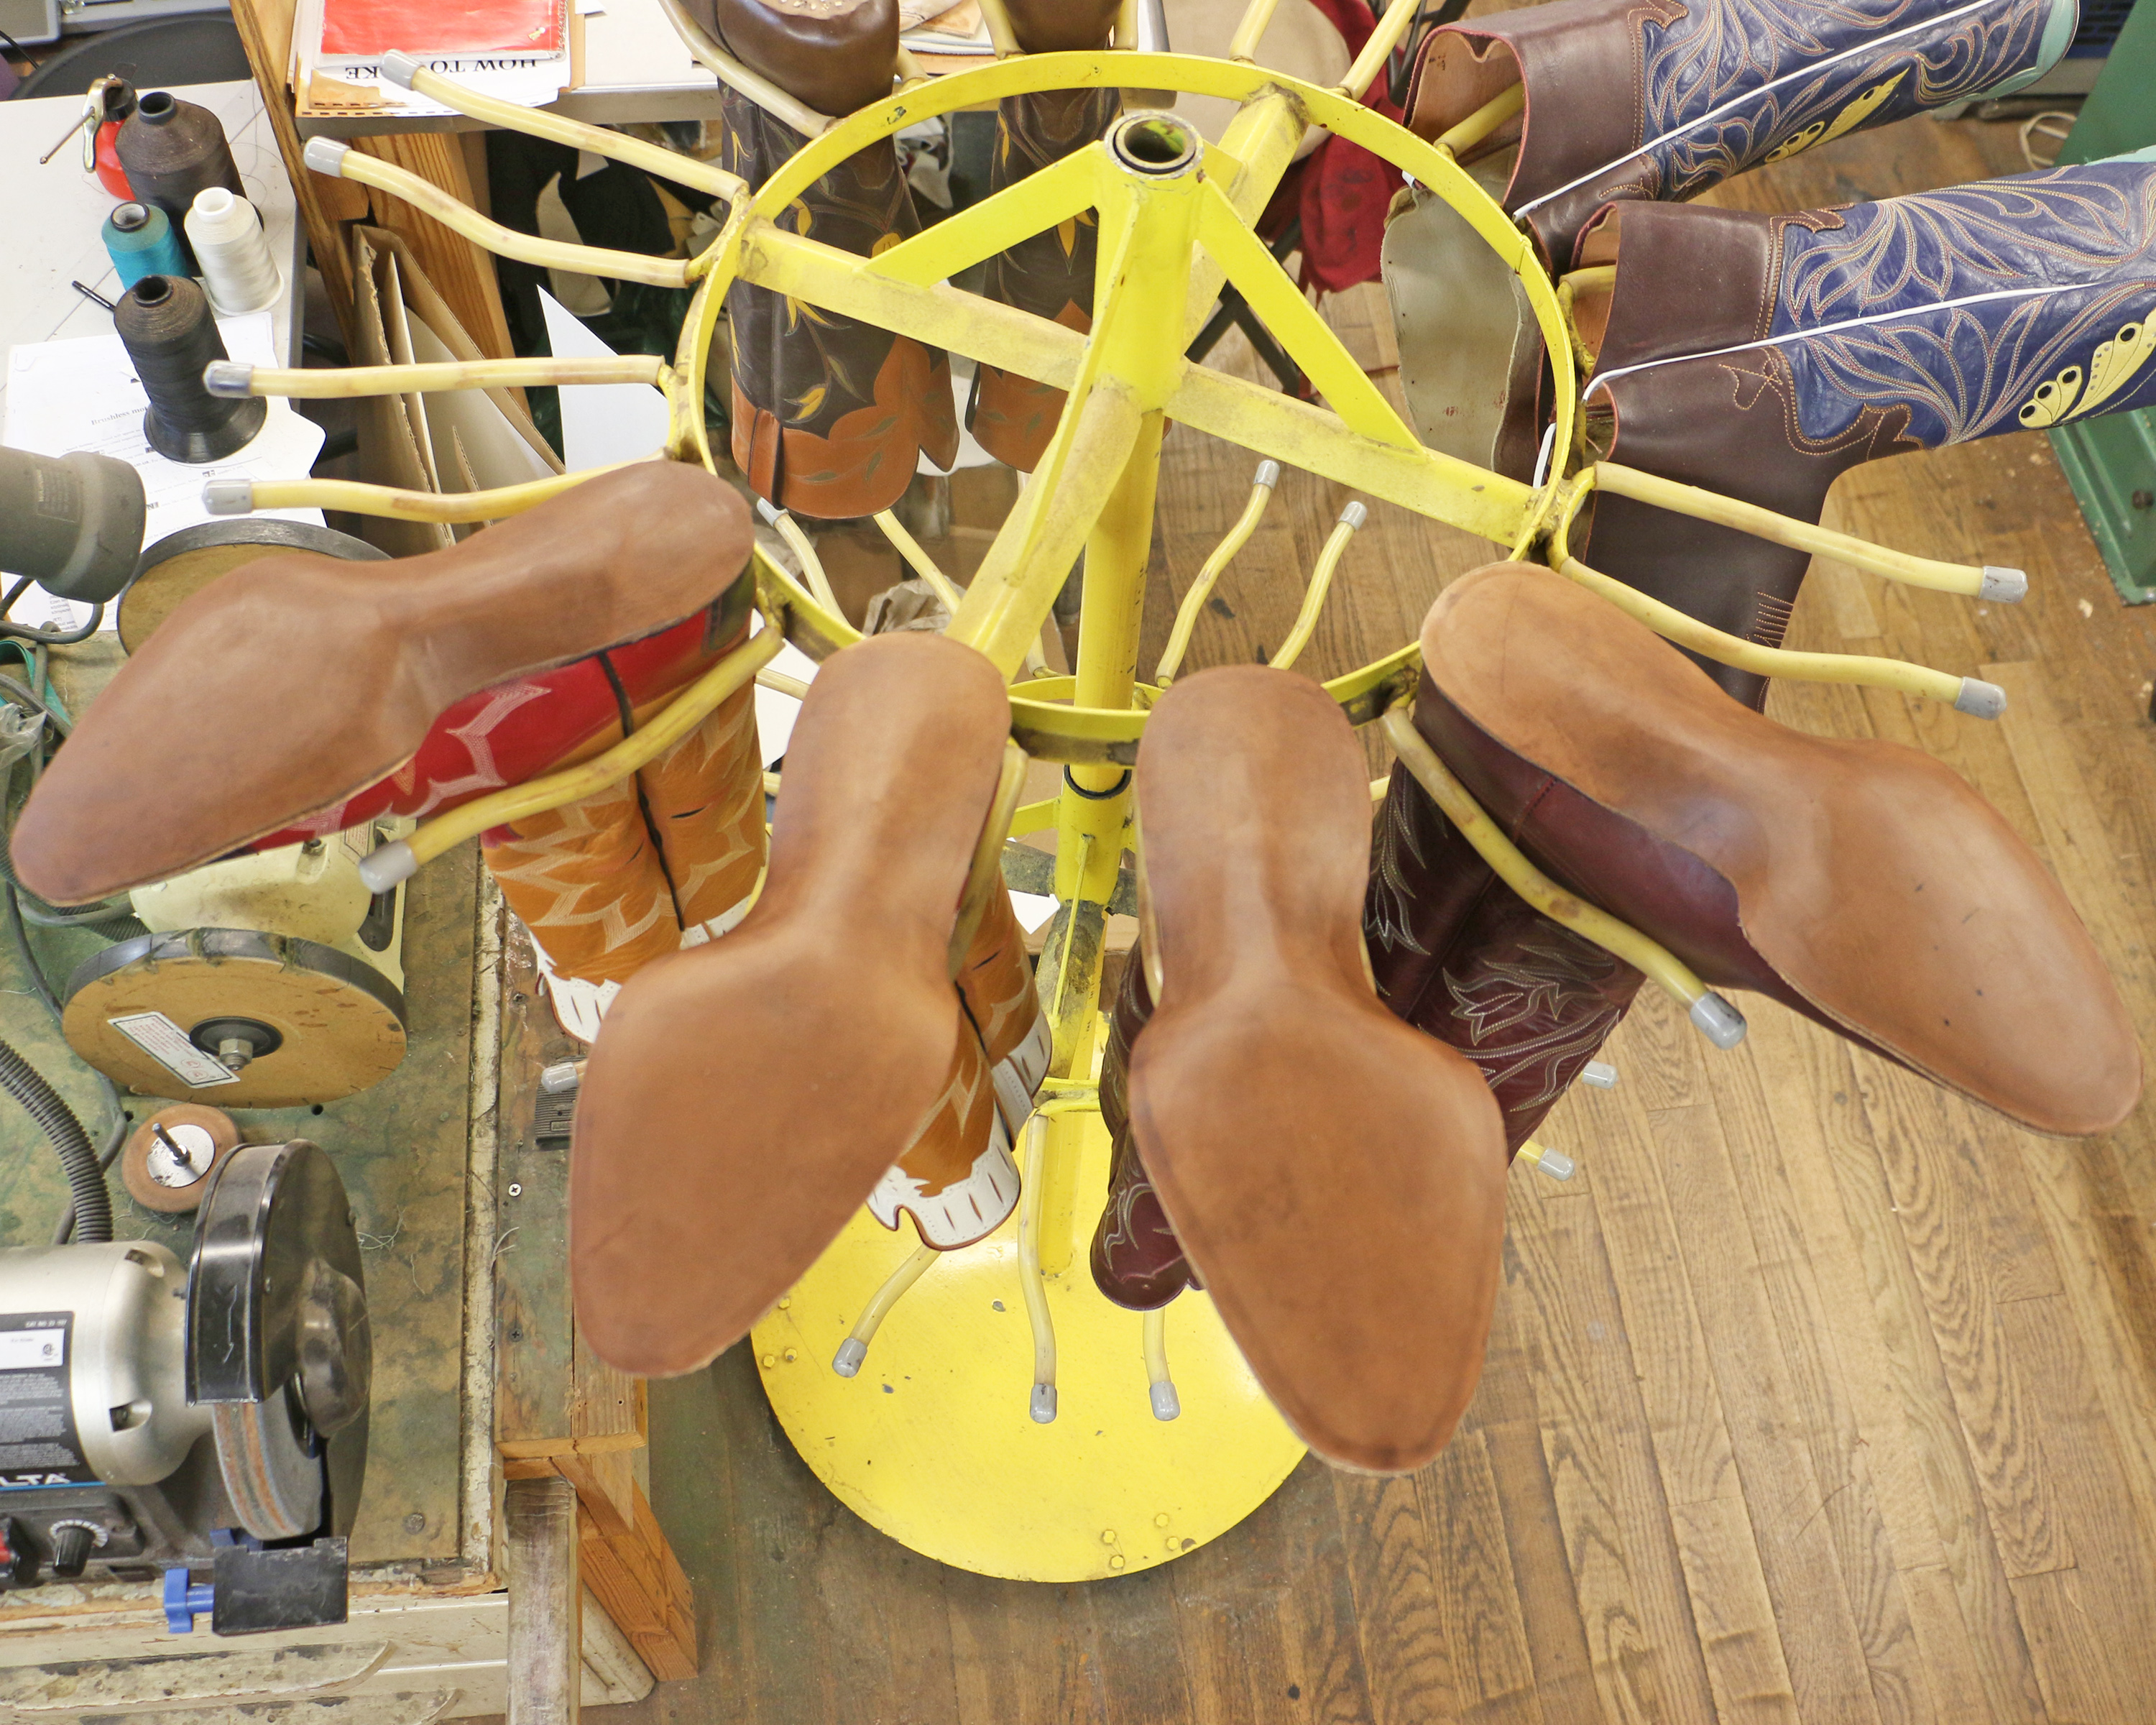
Trimming the shank area after laying the soles is one of my favorite things. It’s challenging to do accurately and get both boots to match, there are zero second chances, it’s difficult to explain and teach, and the curves are so beautiful when you get it right.
Today I customized two pairs of lasts and worked on patterns for the next two pairs of boots I’ll be making.
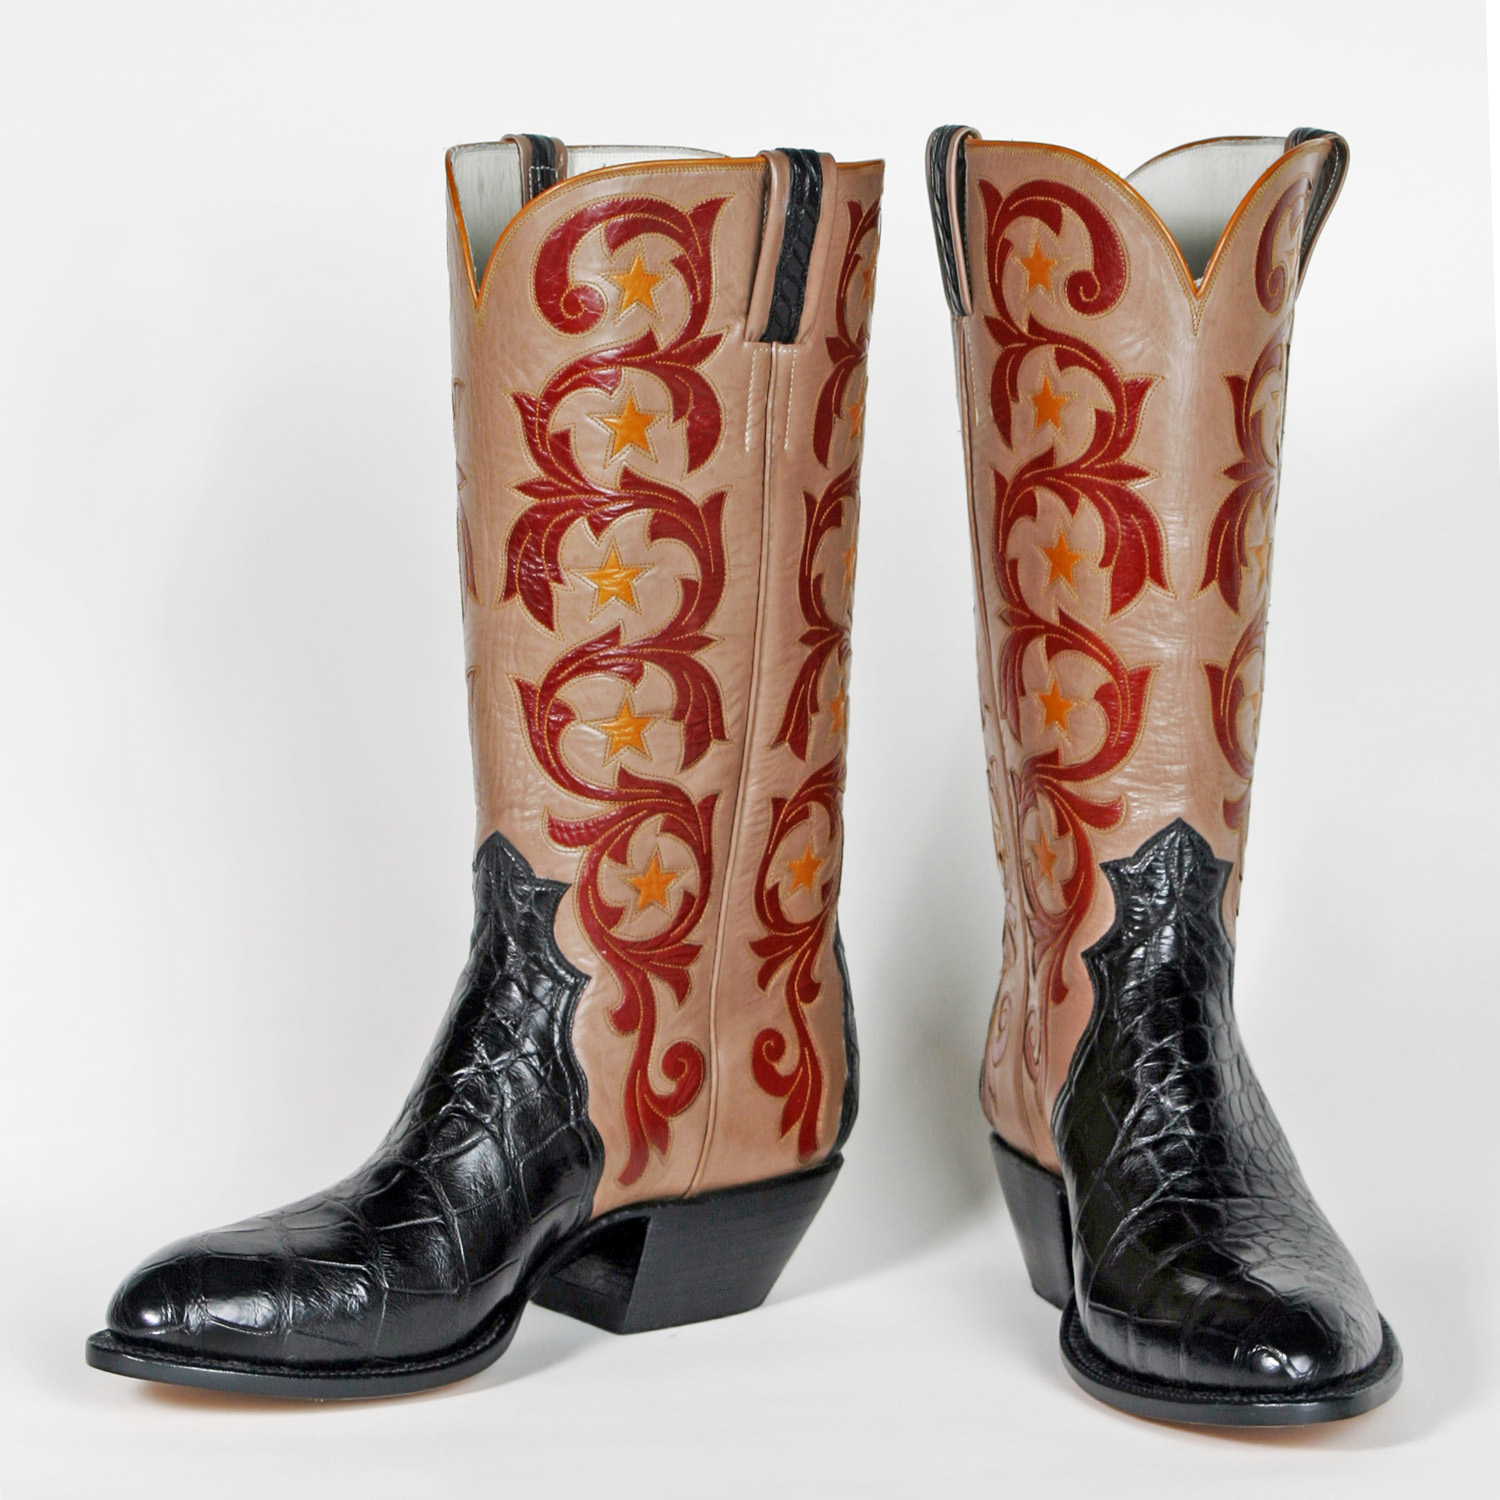
I made these boots in 2009. They’re a triad construction; the boot tops extend all the way to the sole. A triad is a three-piece boot — there’s the vamp (foot part), the front boot tops, and the back boot tops. There is a hard counter (heel) as normal but the counter cover (the part of the heel area that is on the outside and matches the vamp/foot) is purely decorative.
The boots are titled “T for Texas”
I made a pair of full alligator boots for a client one time and I named them “Amos Moses.”

| 118. Crafting Cowboy… on Jay Griffith | |
| customboots on Inspiration | |
| gleaming00e65375c7 on Inspiration | |
| Olivia Henson on All through sewing | |
| customboots on So many rows |
