I always found it difficult to teach students how to properly shape cowboy boot shank covers (the heavy leather piece over the steel shank). It’s a simple little piece of leather but how it’s shaped determines how well the sole fits in the shank area, how easily your heel block or first heel layer goes on, and how the entire boot balances on the sole.
I told my students to mentally divide the shank cover into thirds because each third is shaped differently. In the back, in the heel area, I like to angle it flatly from the point where the heel will breast* to the back edge of the shank cover (I build my heels in individual layers). If you’re using heel blocks you might want to leave it more rounded — whatever fills the heel block best is the shape you want! The middle third is the arch/shank area, and here you want it nice and flush on both edges and also gently rounded in the center to create that nice rounded cowboy boot shank area.
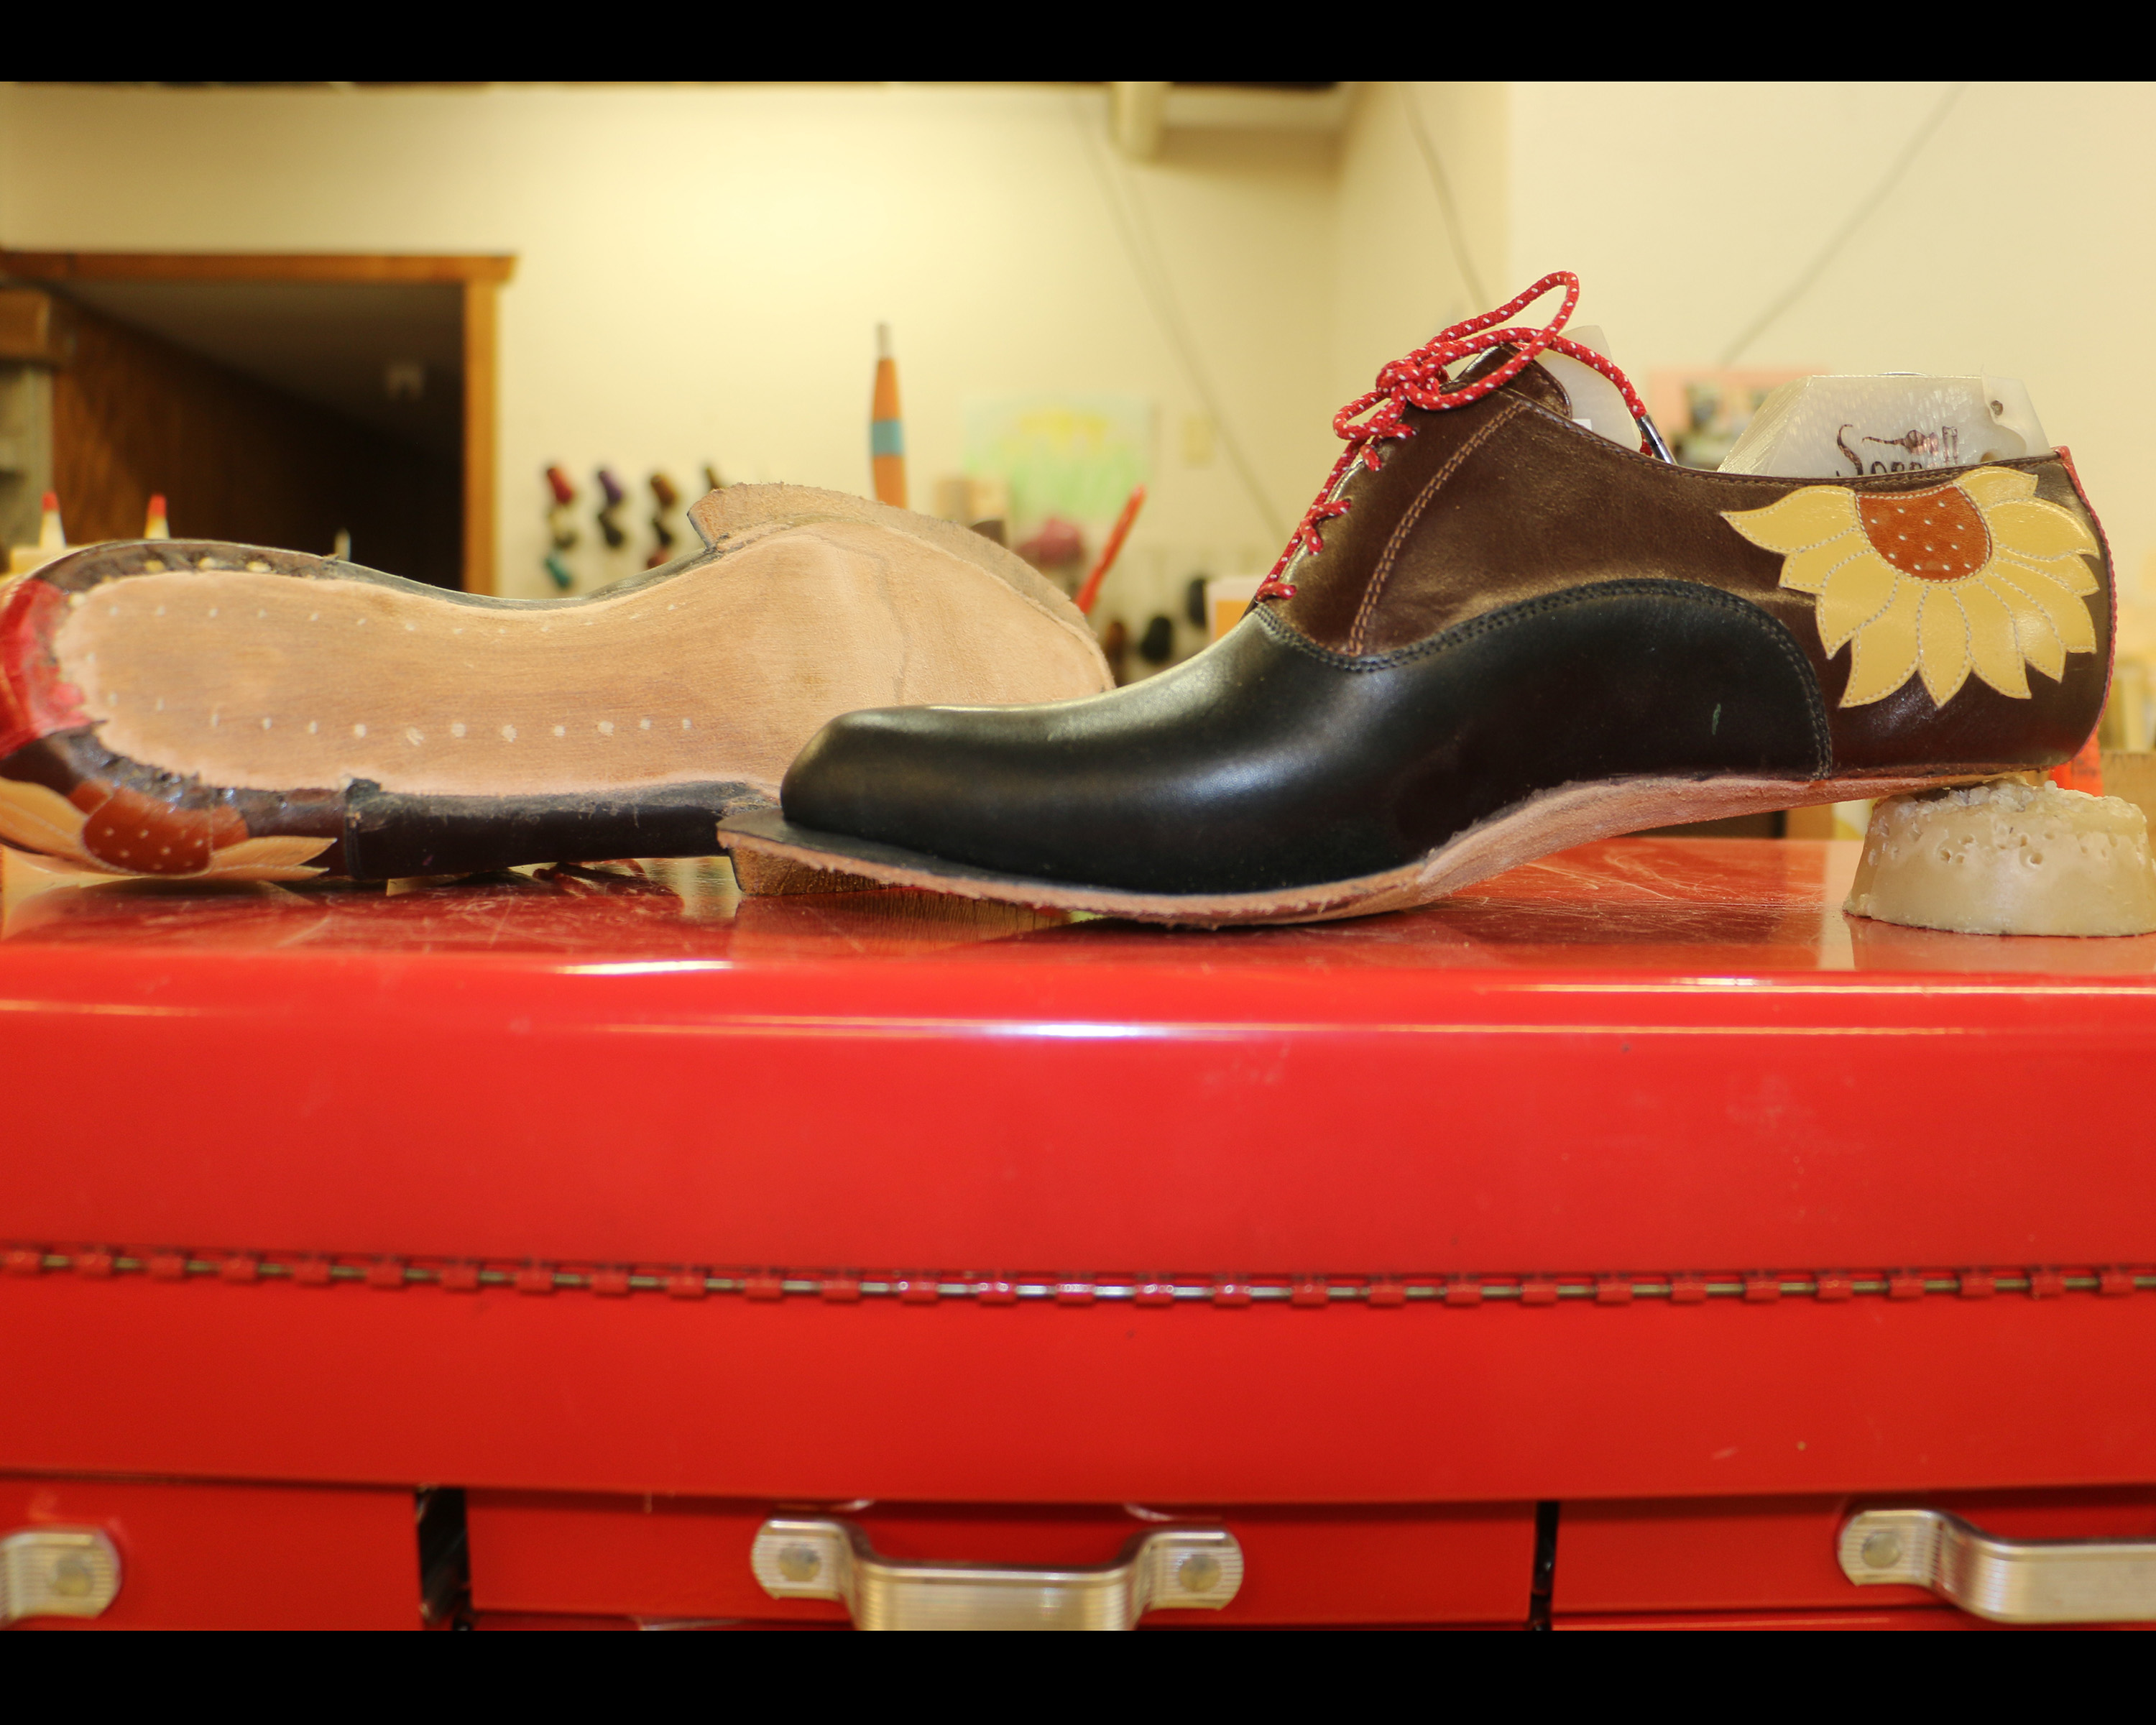
Many boot makers just sand that front third smooth and don’t worry about it, but I like to extend my shank covers well forward into the forepart and then use that excess material to essentially make a platform. You can see that the shoe is not only touching the ground under the ball of the foot; the shank cover is extending back from the ball and creating a longer walking surface. This keeps all of the wearer’s weight from being concentrated directly on the ball of their foot, because the platform itself holds some of the weight.
I also like this platform to have a well-defined flat spot in the middle so the boot has a solid spot where it rests. I always want to avoid what one of my boot maker friends called “biscuit-bottomed boots,” in other words, boots with a domed sole that just sort of rolls around when you set it down.
*The front flat part of a heel is called the “breast.”